Ninth Manning Features
Triggevent provides two major pieces of functionality for 9th manning.
Triggevent can connect to a remote ACT by way of OverlayPlugin websocket. Have at least one person of your raid group enable OverlayPlugin WSServer with settings like this:

Then, they need to configure their router to forward port 10501 to their computer, and give you their public IP.
Then, if their IP address is 1.2.3.4, set up your Triggevent like this, and restart it:

Now, you should see everything going on in real-time.
Let's go over a few features.
The Events tab gives you a view of everything that has happened. Rather than trying to read ACT log lines in real time, it actually parses and interprets them into higher-level events for you:

You can click on an event and look in the "details" section down below to get more information about that particular event.
If you do want to see the original log line, right click and select "Copy Net Line" or "Copy Emulated ACT Line".
You can hover over various elements in the table to get more information as to what was going on at the time of the event:

In addition, there are several boxes up at the top that can be used to filter down these events. For example, to see precisely when Chain Stratagem was applied and fell off, for pull #1, against Titan:

You can also use the freeform query entry (alone or in tandem with other filters). In this example, we are looking at all abilities that caused at least 1 point of damage to players, except autoattacks:

Lastly, some events support making an "easy trigger", where you can simply right click an event to make a quick trigger:

Results in:

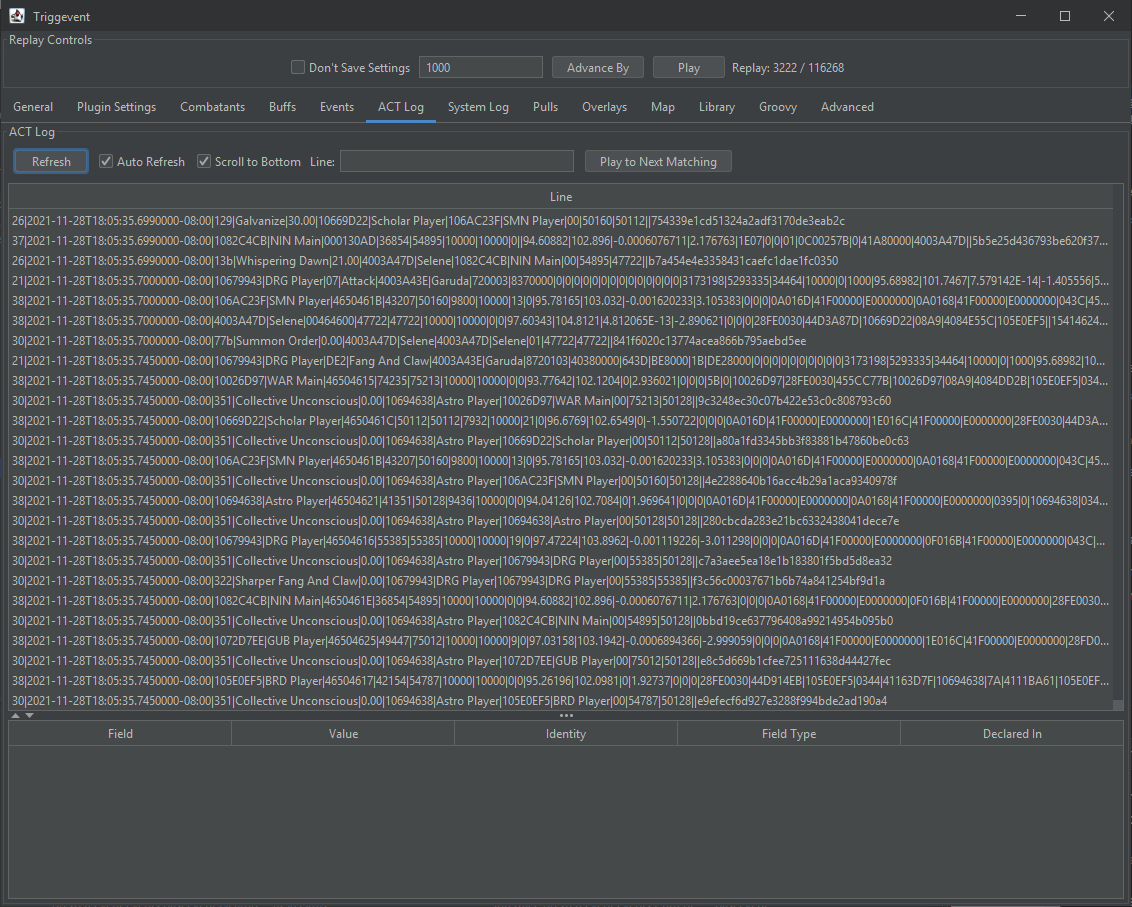
The original ACT log is also available:
This tab shows detailed information about the current state of all combatants (including fake actors):

This shows pulls. The most useful feature here is that you can right click one of them, and filter the events tab to just that pull.
While overlays are more useful for the actual player, overlays can help a 9th man visualize cooldown usage and enemy casts. You can force them to show, even when the game is not open, by checking the "Force Visible Even When Game Inactive" box:


The map tab shows combatant HP, positions, and casts at the current point in time. This includes fake actors, so it makes it very easy to make triggers that use positions.
To import an existing log, run triggevent-import.exe. Then, you can import an ACT log.
Almost everything will work in this mode. However, you won't receive updates on combatant positions until they do something, or something happens to them (more or less the same restrictions as the FFLogs replay tab).
(TODO: bug with this)
Triggevent has a more complete storage format than raw log files, which includes periodic polling of combatant data.
To save in this format, go to the advanced tab, and select this option:

Then, as you use it, it will save sessions. Click "Open Session Dir" on the same tab to see them.
You can then import this with triggevent-import.exe.
This is the most limited of the three, because FFLogs does not have certain data at all (such as headmarkers) and other data is in a slightly different format that is harder to convert back from. However, the basics will still work. You must create your own API key, and enter it in Advanced > FFLogs.
There are two options for creating triggers. The first, which we briefly mentioned already, is Easy Triggers. For example, here is a quick one for calling out if someone gets Frostbite:

You don't have to mess with log lines. You can just choose what type of event, pick IDs, and you're done. You can pick any extra conditions you want. Triggevent comes with the complete list of Abilities/Status Effects ripped from the game (same as you'd see on Xivapi), so unless there are multiple things with the same name, you don't even need a log to make a trigger.
But if you do have a log (or are watching live), if you right click something on the events tab, depending on the type of event, you may be able to have it automatically make a trigger for you. It will usually guess correctly, but you may need to tweak a few things.
Right now, these are very basic. However, you can extend them quite a bit by using Groovy if the currently supported conditions do not fit your needs (or just ask me, I can generally add them pretty quickly). Here's an example of a trigger that reminds you to use Soulsow when the countdown starts, but only if you are on Reaper:

Like Cactbot, you can write triggers as code. This is how all the built-in triggers and other doodads work.
For example, here's a trigger to call out whether you are first/second/third/fourth group for P4S Curtain Call:
	private final ModifiableCallout<BuffApplied> curtainOrder = ModifiableCallout.durationBasedCall("Curtain Order", "{number} set");

	@HandleEvents
	public void curtainCallNumber(EventContext context, BuffApplied event) {
		if (currentAct == Act.CURTAIN && event.getBuff().getId() == 0xAF4 && event.getTarget().isThePlayer()) {
			long dur = event.getInitialDuration().toSeconds();
			final String number;
			if (dur < 15) {
				number = "First";
			}
			else if (dur < 25) {
				number = "Second";
			}
			else if (dur < 35) {
				number = "Third";
			}
			else {
				number = "Last";
			}
			context.accept(curtainOrder.getModified(event, Map.of("number", number)));
		}
	}
The use of "ModifiableCallout" rather than specifying the text directly gives you a place to customize it a la Cactbot on the Plugin Settings > Callouts tab:

Each {} in the callout supports Groovy scripting. In this example, ModifiableCallout.durationBasedCall automatically puts the remaining duration on the end of the on-screen text (the TTS is unmodified). For example, it might display "Third (15.0)" if you were in the third group and there are 15 seconds left on your debuff.
Sequential Triggers are another type of code based trigger. They make it extremely easy to take long sequences of mechanics and make comprehensive triggers. Here's one of the simpler ones, which is for the double quad cleave in the first minute of DSU:
	@HandleEvents
	public void feedSeq(EventContext context, BaseEvent event) {
		p1_fourHeadMark.feed(context, event);
                // You can put all your SequentialTrigger feeds in one event handler
	}


	private final SequentialTrigger<BaseEvent> p1_fourHeadMark = new SequentialTrigger<>(30_000, BaseEvent.class,
			e -> e instanceof AbilityCastStart acs && acs.getAbility().getId() == 0x62DD,
			(e1, s) -> {
				if (s.waitEvents(4, HeadMarkerEvent.class, event -> getHeadmarkOffset(event) == 0)
						.stream().anyMatch(e -> e.getTarget().isThePlayer())) {
					s.accept(p1_firstCleaveMarker.getModified());
				}
				else {
					s.accept(p1_secondCleaveMarker.getModified());
				}
			});
This trigger is activated when it sees ability 62DD (Heavensblaze), and then simply collects four markers, with an offset ID of 0 (to deal with sequential headmarks). Then, if any of them were targeted on the player, it will tell you that you are in the first group. Otherwise, it will tell you that you are in the second group.
You can get very advanced with these. For example, take a look at the Wyrmhole trigger (in Dragonsong.java). Apart from some secondary triggers to handle intermediate gnash/lash calls and Geirskogul baits, the entirety of Wyrmhole, for every role, is written in a single trigger. It allows you to take a complex sequence of mechanics, and break it down into "wait for X, and call Y" while being able to use local variables and all that. It is also a good way to deal with re-used headmarkers or debuffs (for example, you could have it call out when you get a particular headmarker, but only if the boss cast ability XYZ in the last 20 seconds).
There are two ways you can do this:
- Fork the project and edit to your heart's content (quick and dirty)
- Fork the project, create a new module, add it to the dependencies in the Launcher module
Either way, install IntelliJ (the free version is more than fine for this), and open the project. Make sure it builds (try running launcher/src/main/java/gg/xp/xivsupport/gui/GuiLaunch).
The easiest way is to just copy the entire build system.
Edit the publish_notselfhosted.yml workflow (.github/workflows) - uncomment the "push:" near the top. Then, comment out the "push" line in publish.yml. This will cause your fork to be built every time you push to a branch. You may need to check your security settings to make sure the necessary actions are allowed.
Then, simply have your users point to your version instead of mine (Advanced > Updates):

Assuming you kept the name 'event-trigger', change the URL to https://github.com/your_user_name/event-trigger/raw/gh-pages/%s/v2/%s. (The actual release is set to use the github.io link, but this has a ~10 minute delay after pushing an update before it goes live - not recommended for 9th manning).