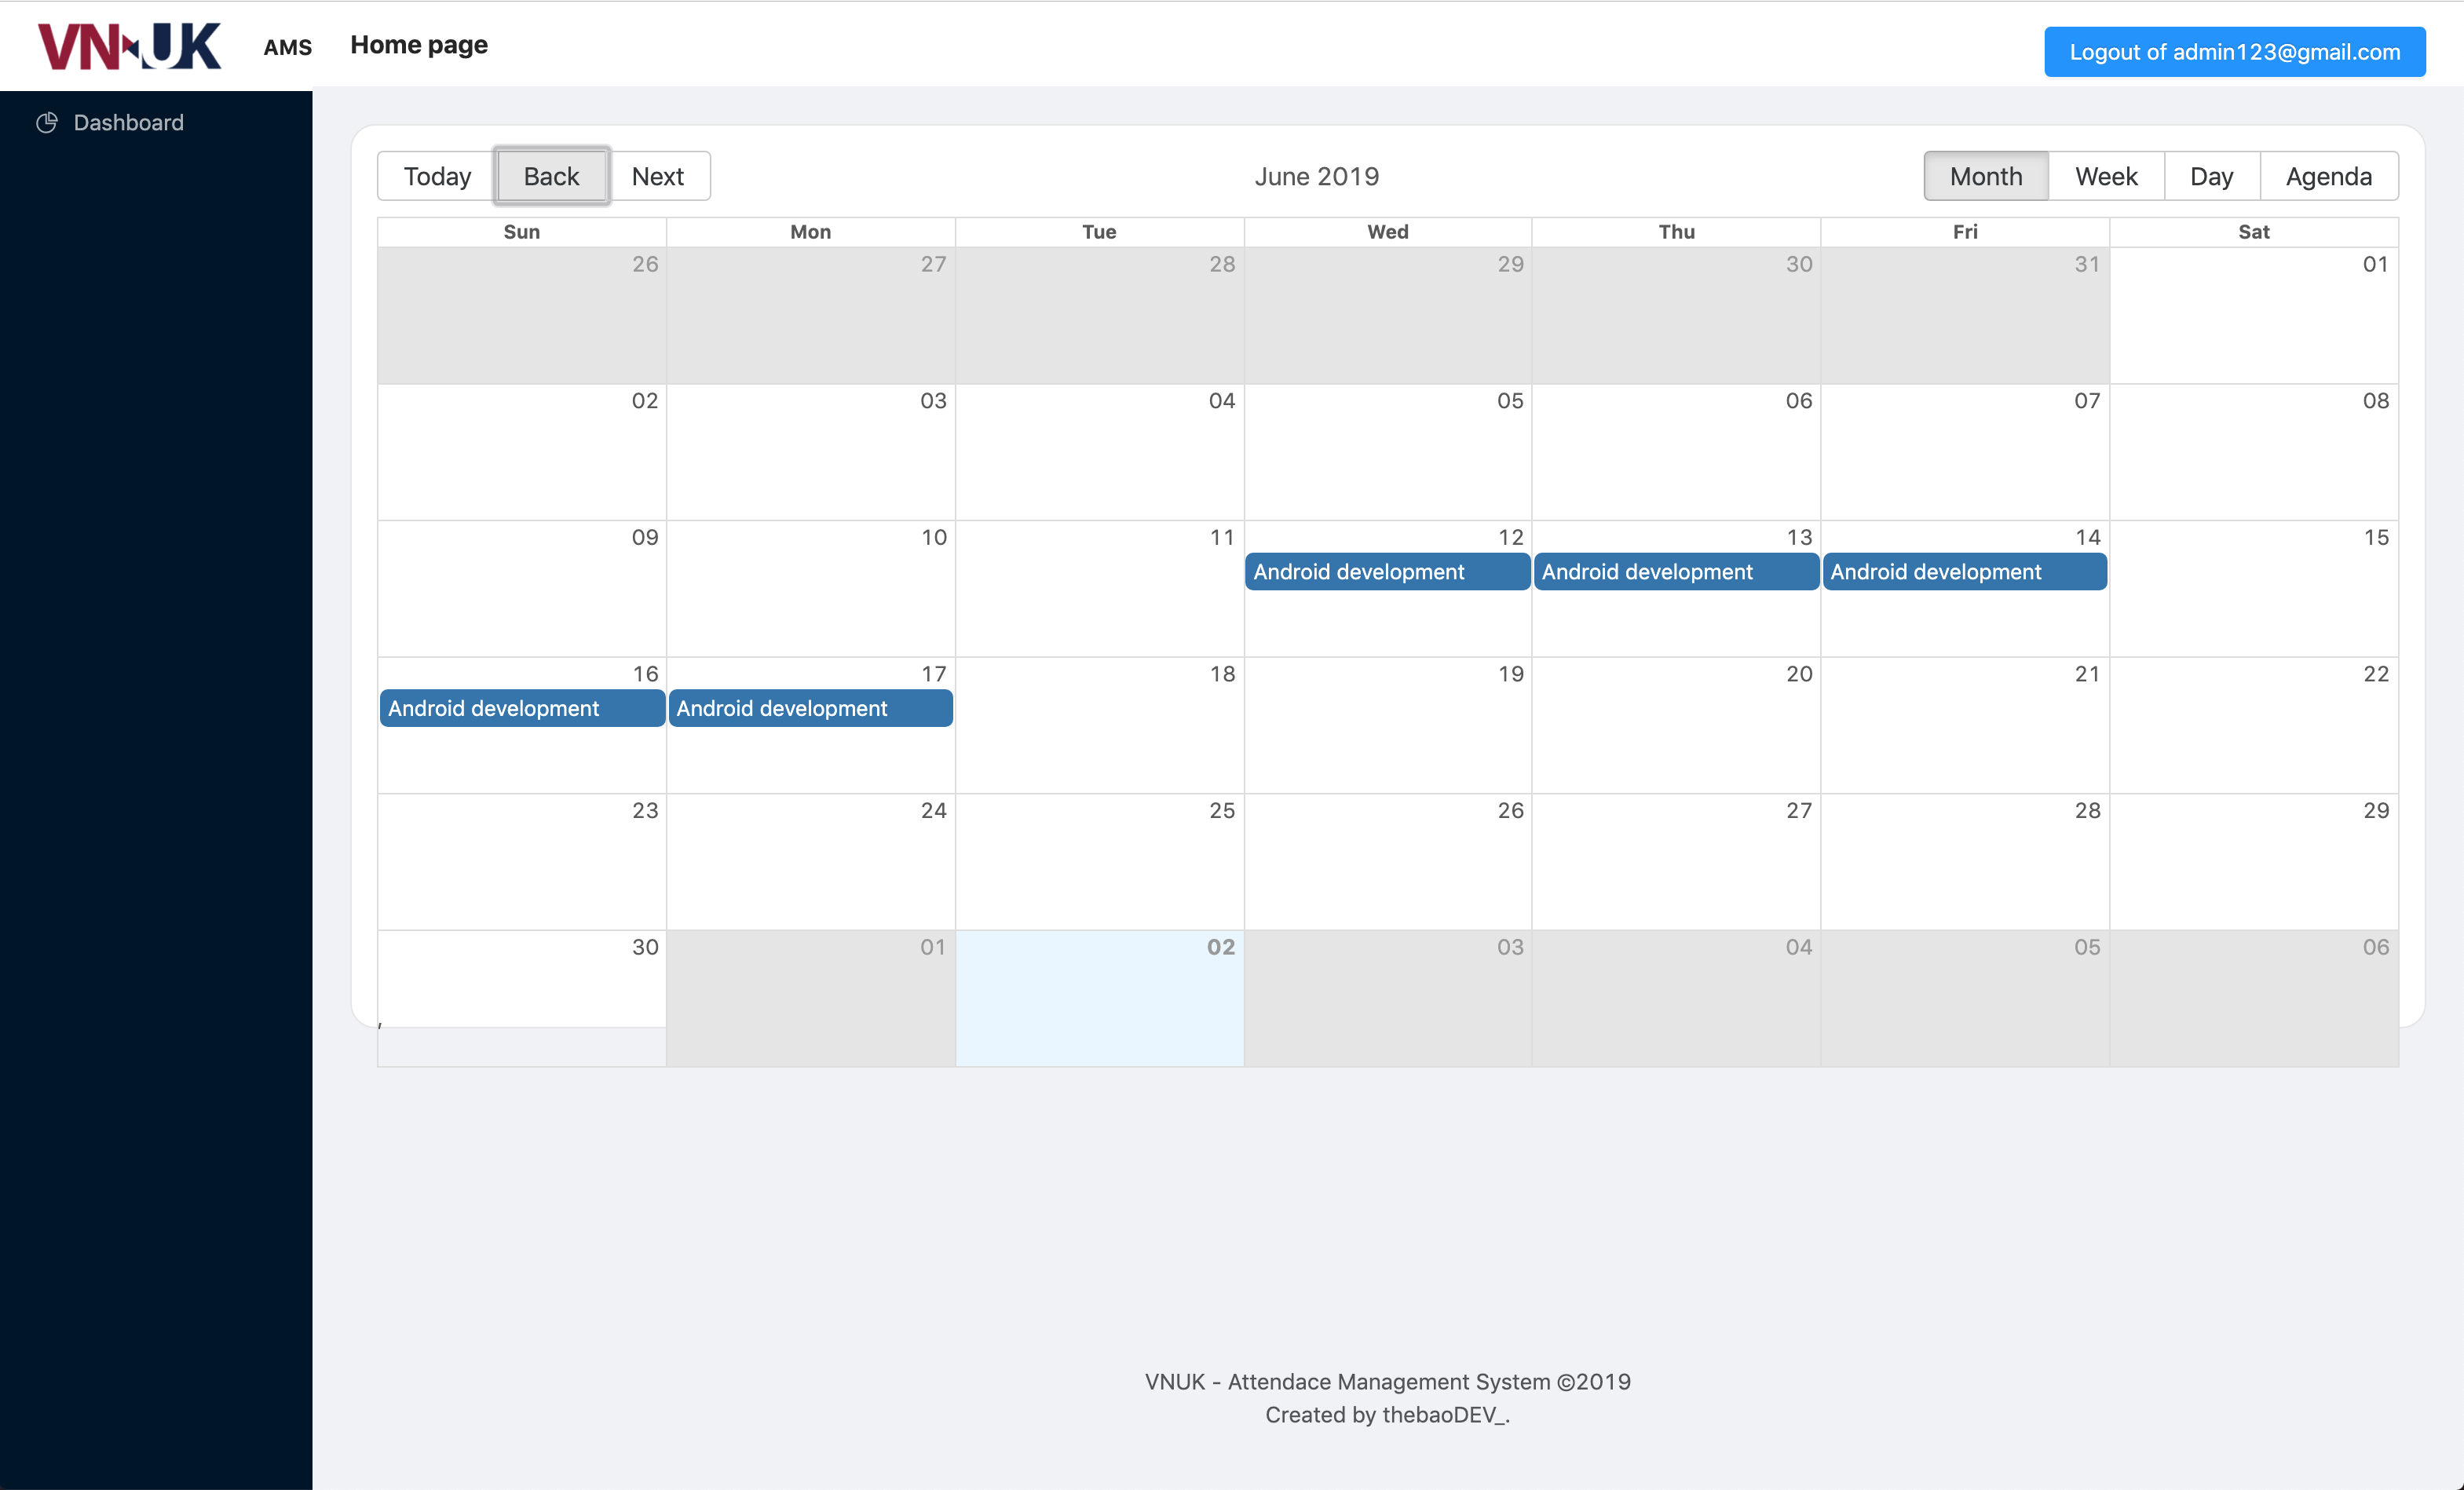
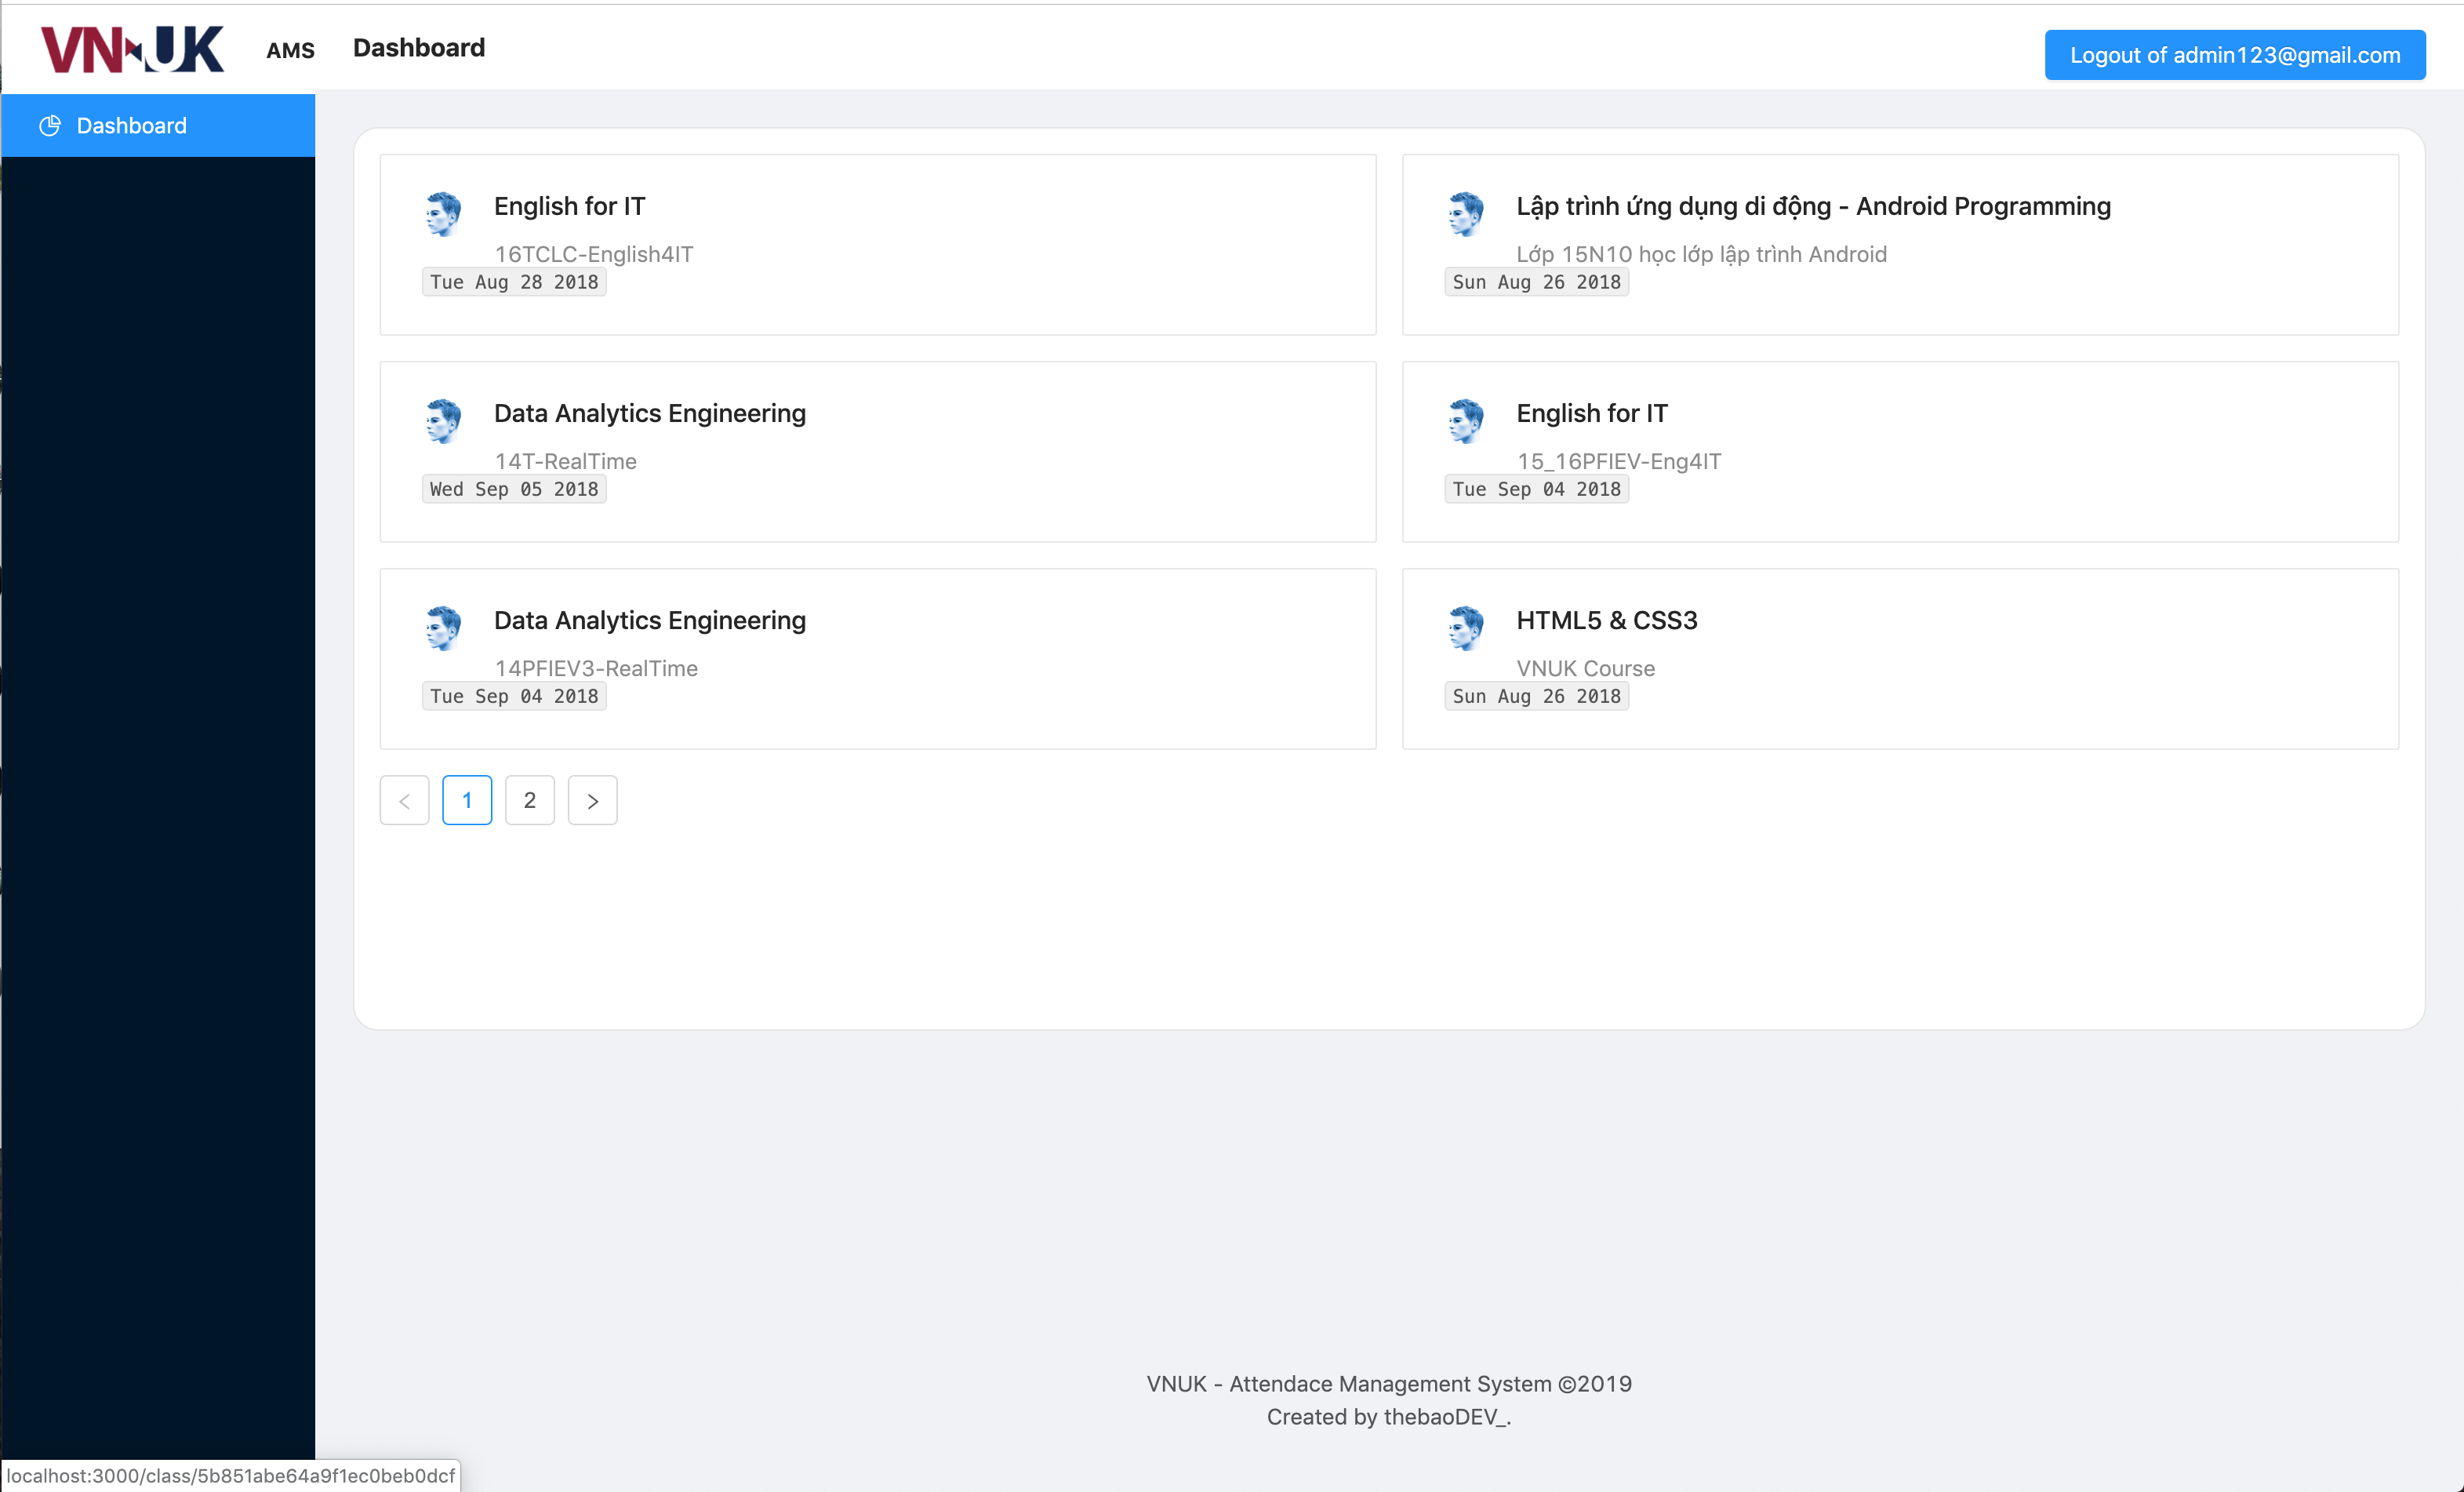
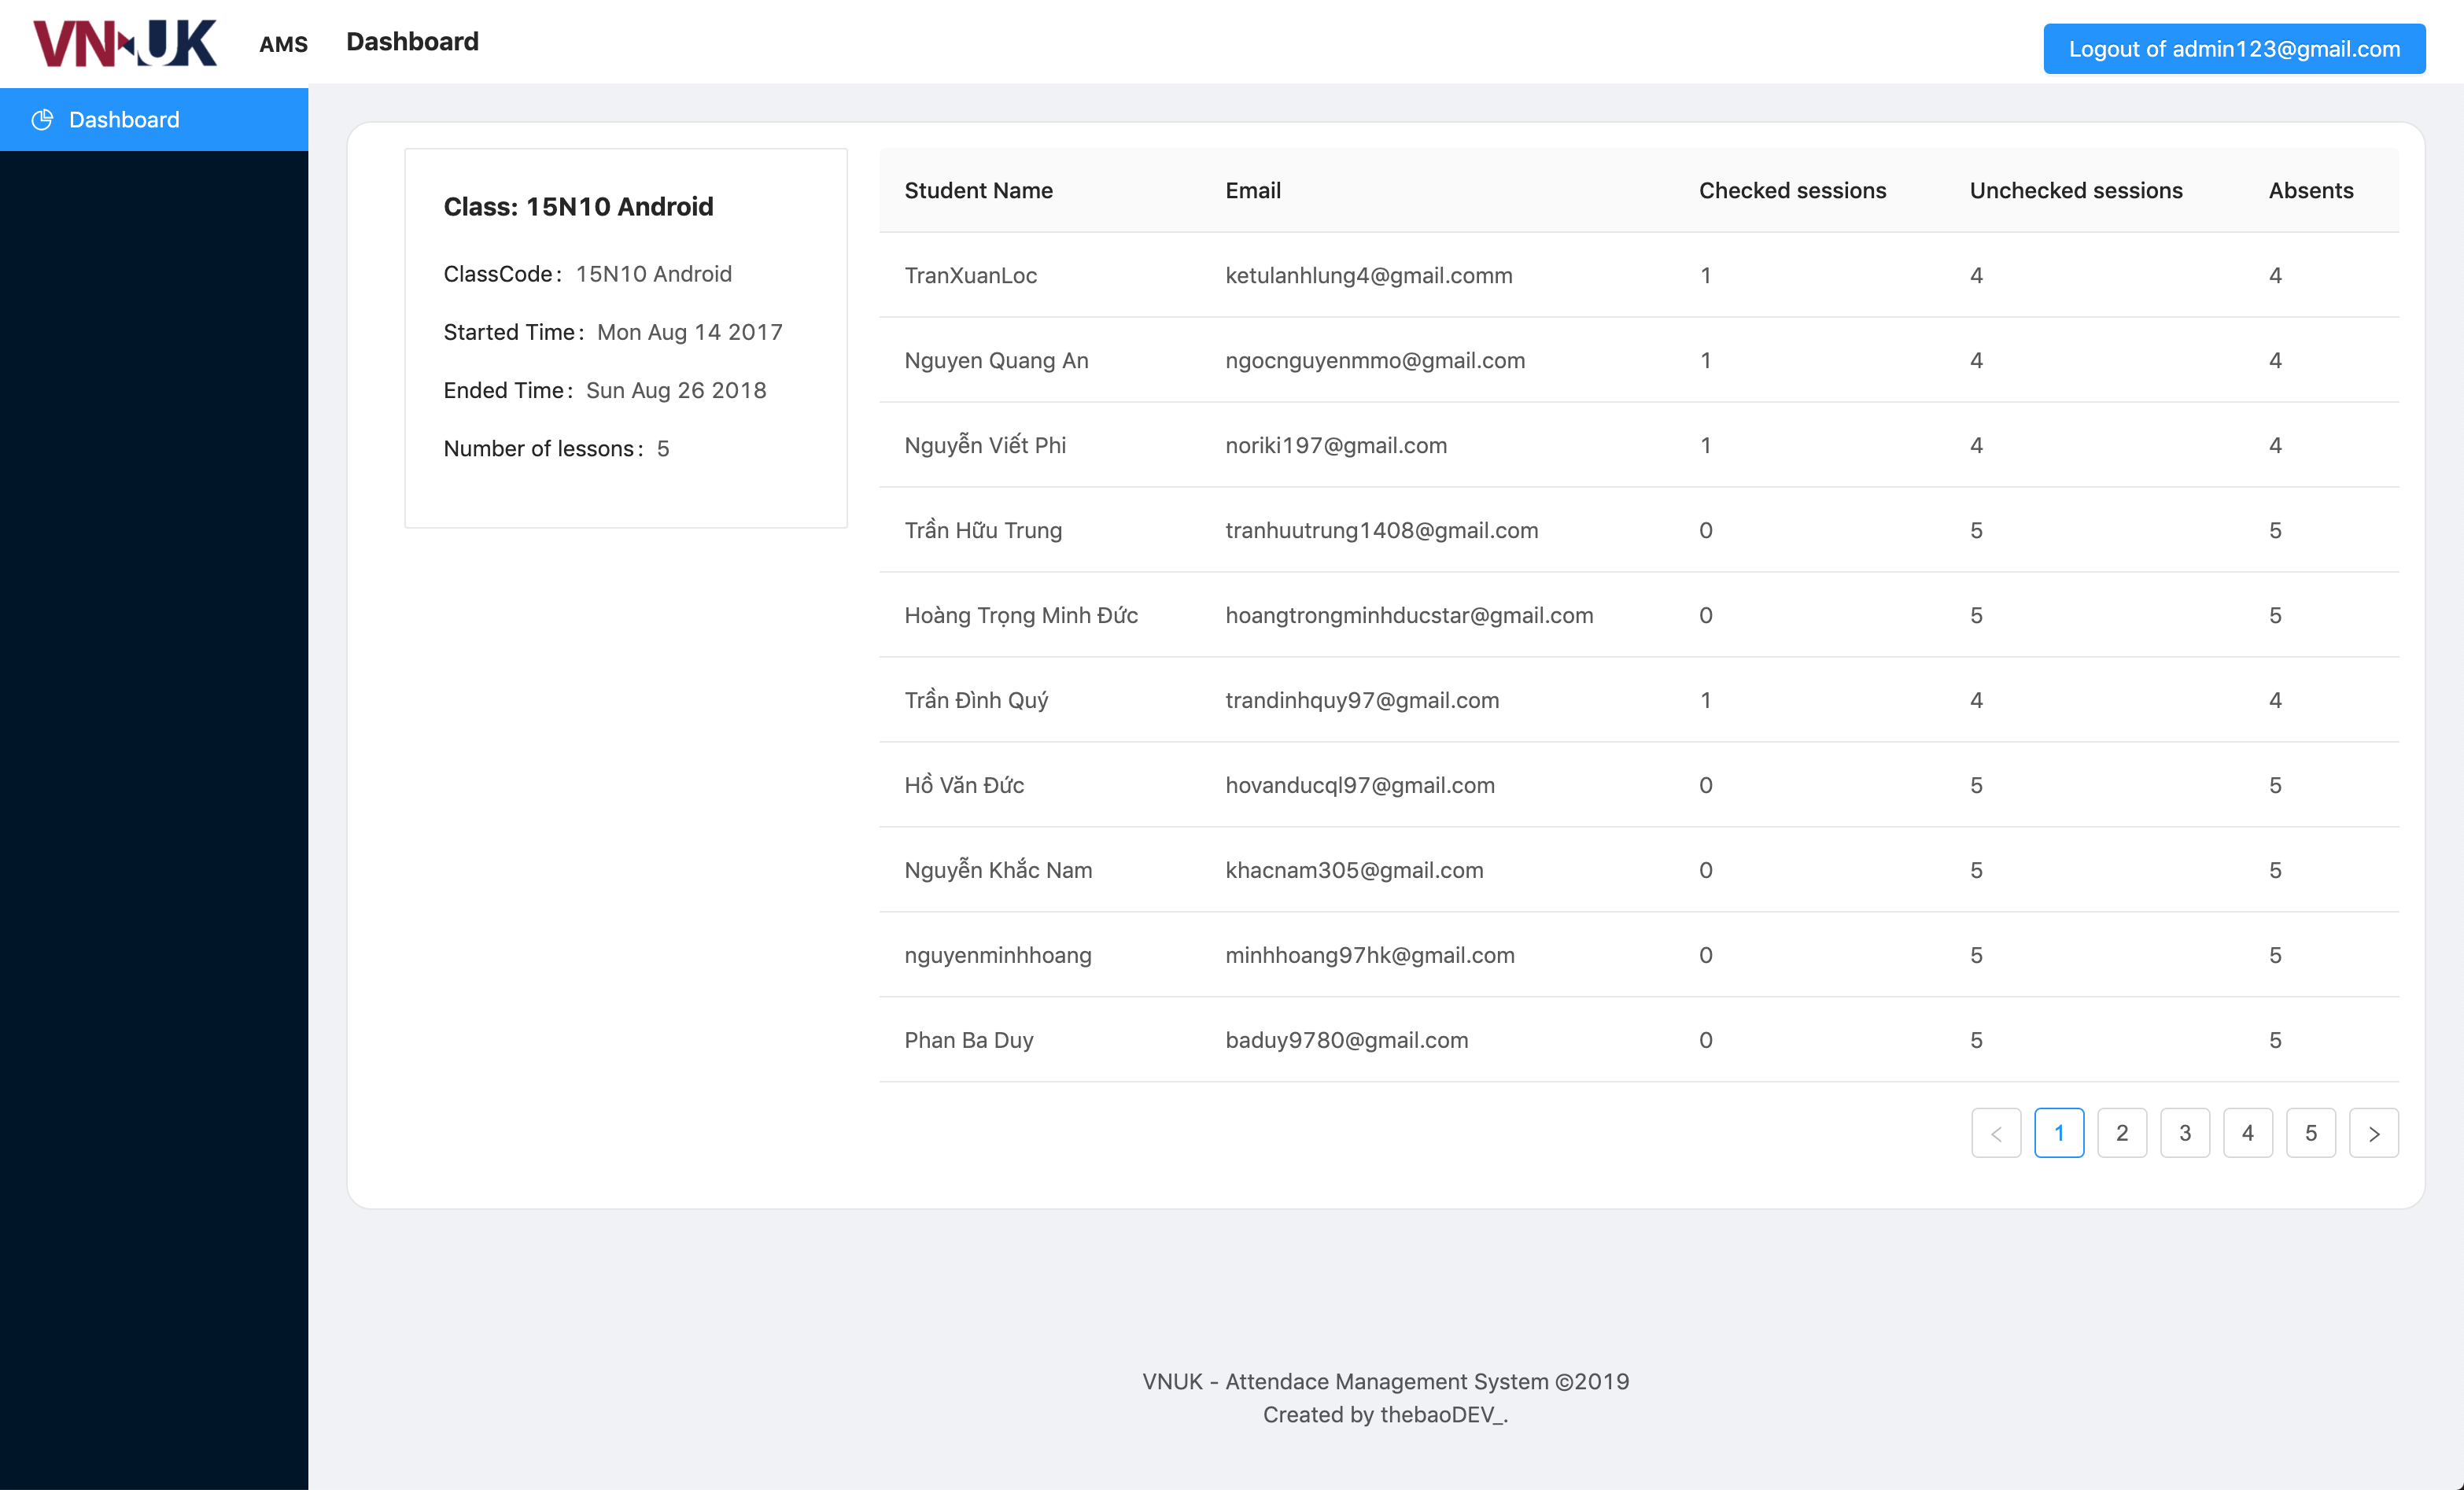
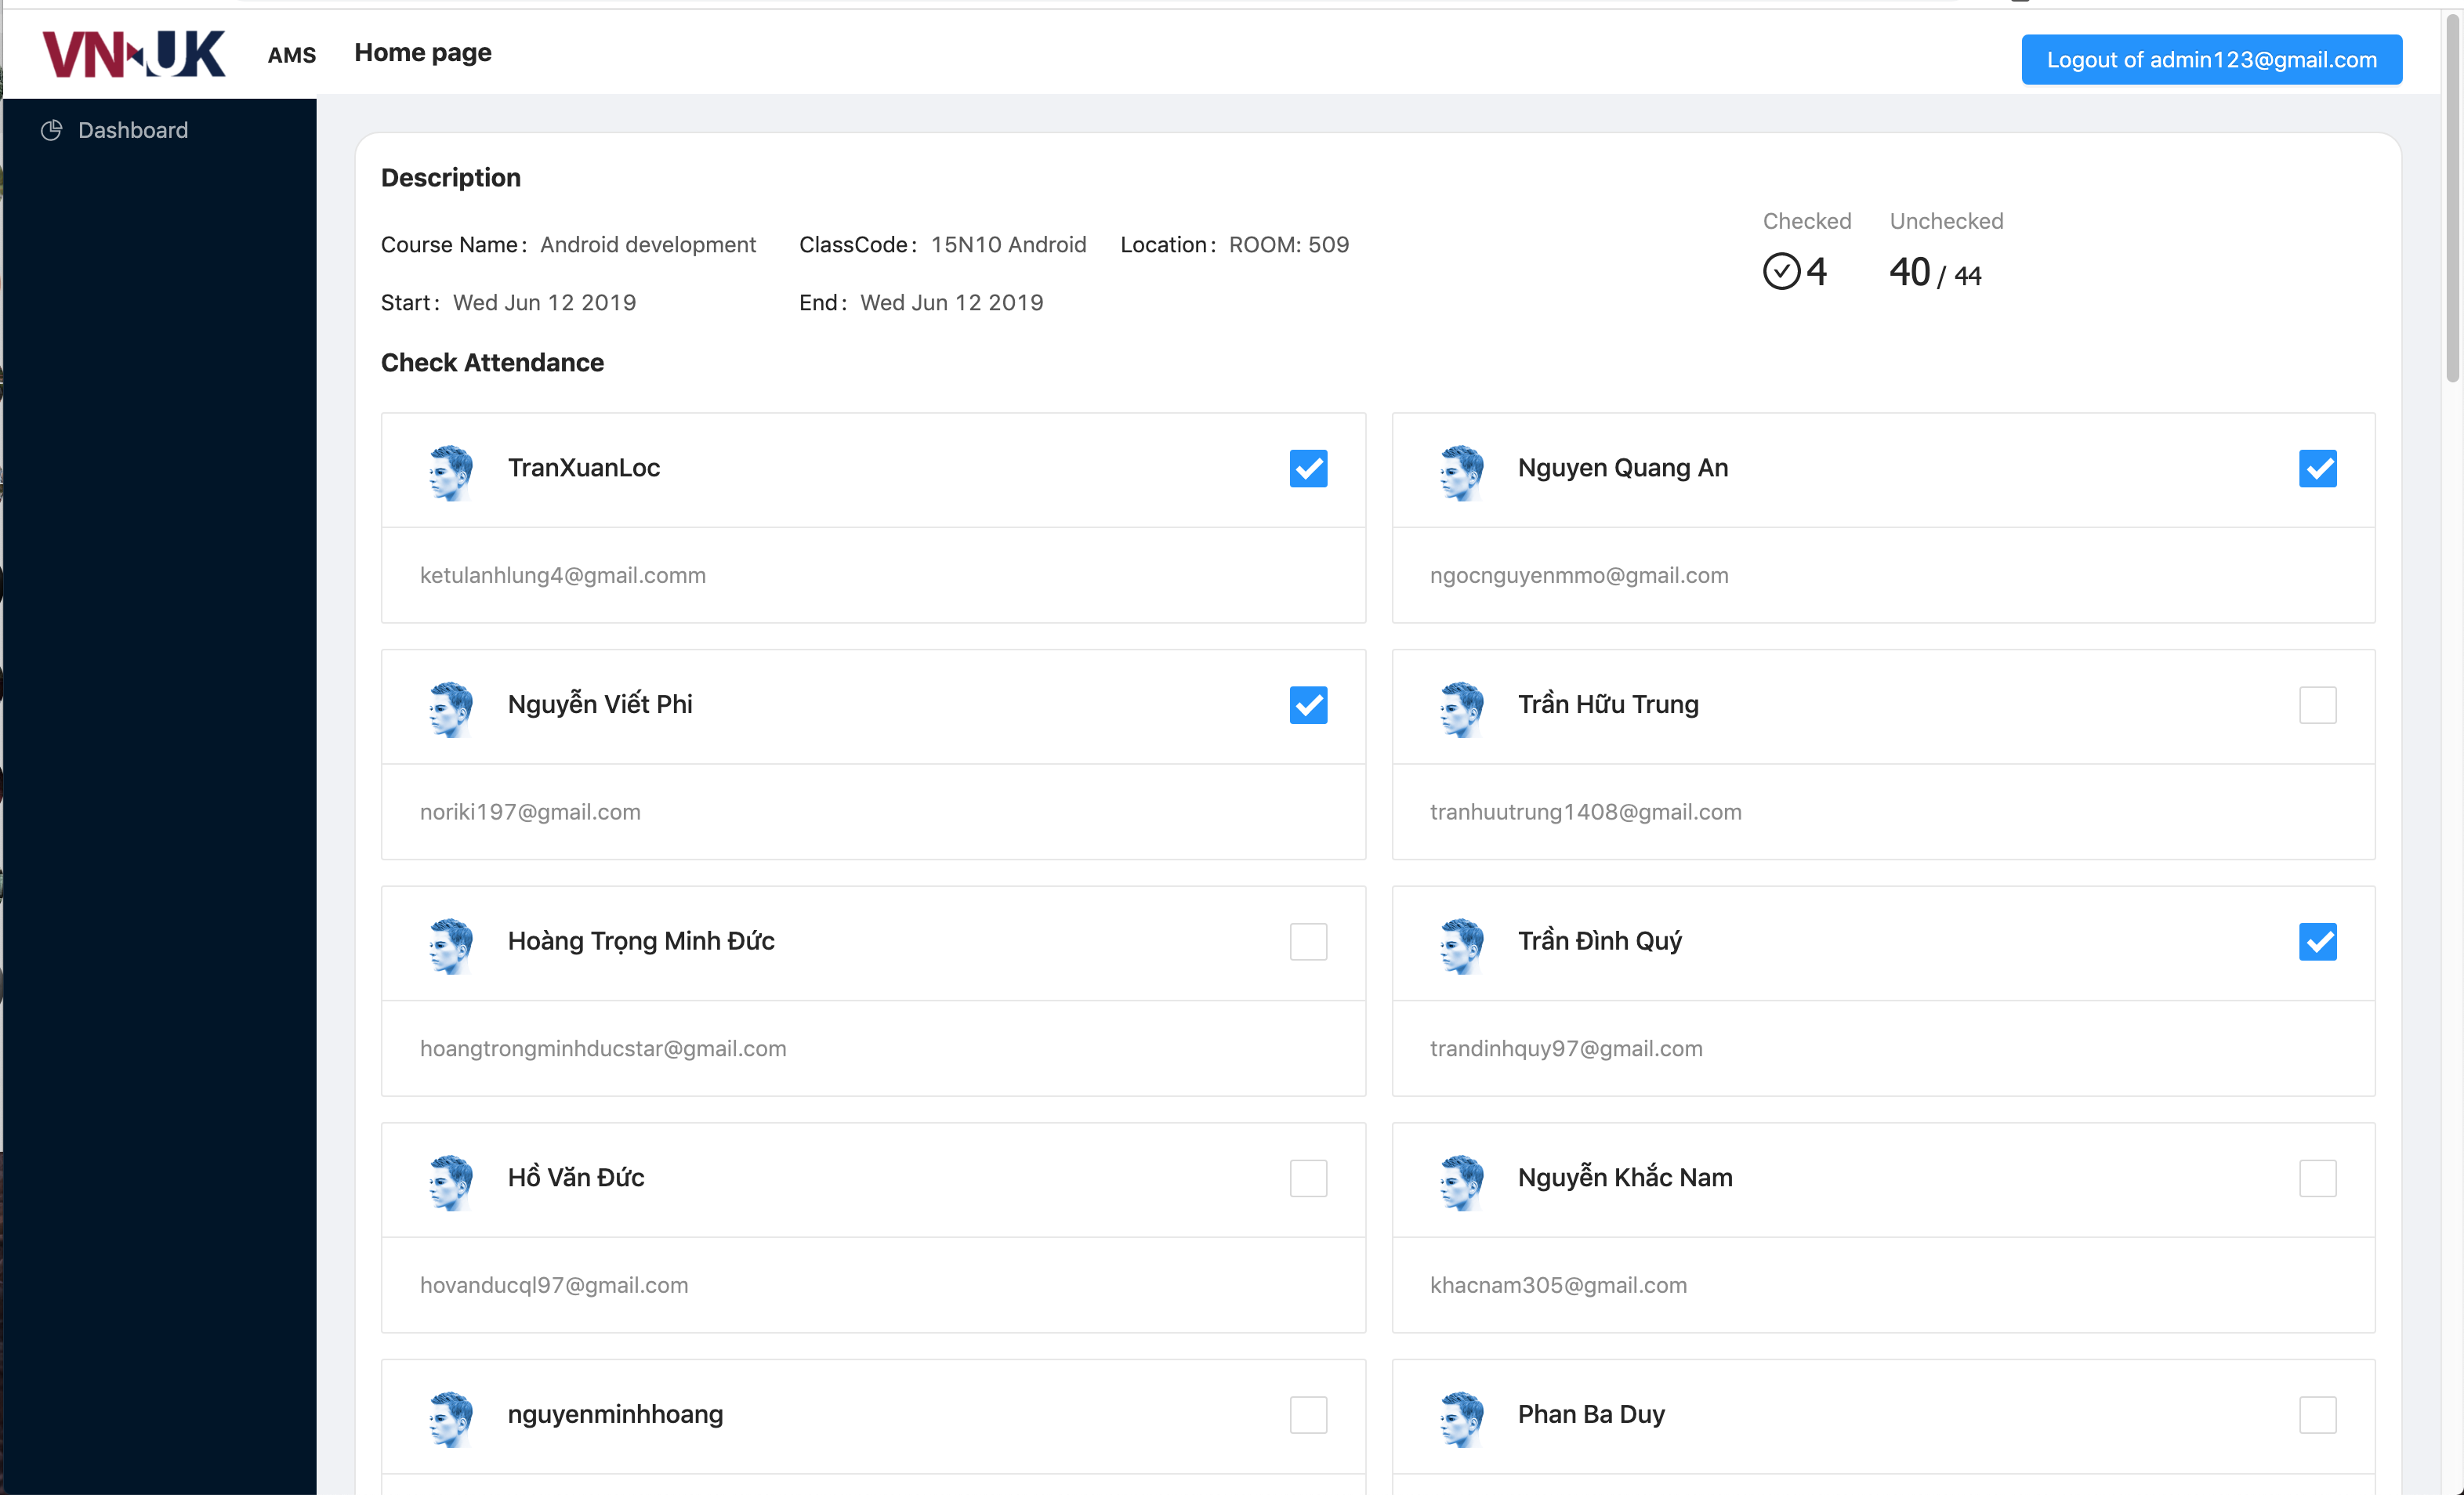
This is full-stack javascript application which is a major part of my bachelor graduation project and named VNUK AMS - Attendance Management System
-
[Setup guidelines](#Setup guidelines)
The specs contained in this project are:
Server App:
- NodeJS - Node.js® is a JavaScript runtime built on Chrome's V8 JavaScript engine.
- ExpressJS - A minimal and flexible Node.js web application framework.
- googleapis - Node.js client library for using Google APIs.
- PassportJS - Authentication middleware for Node.js.
Client App:
- ReactJS -A JavaScript library for building user interfaces.
- Redux - A predictable state container for JavaScript apps.
- SASS - Css processor
- Ant Design - A design system with values of Nature and Determinacy for better user experience of enterprise applications.
- PassportJS - Authentication middleware for Node.js.
Face Recognition AI App:
- Python - the Python Programming Language
- face_recognition - Recognize and manipulate faces from Python or from the command line with the world’s simplest face recognition library.
- OpenCV2 - a library of programming functions mainly aimed at real-time computer vision.
Development mode
- Download shape predictor for face_attendance application : 95MB - Google Drive
- Copy file
shape_predictor_68_face_landmarks.datto folder./face-attendance/models/
- Database: MongoDB located at
./database/vnuk-ams-database.zipexported by [mongodump][https://docs.mongodb.com/manual/reference/program/mongodump/] - Import to your local MongoDB:
- Firstly, you need MongoDB installed locally: MongoDB Community Edition installation tutorials
- After installed, open Terminal / cmd and type
mongoand enter. If you seeMongoDB shell version v4.0.10and bla bla, good to move next steps. Remember exit out of mongo command by type "exit" and Enter.
- After installed, open Terminal / cmd and type
- Unzip
vnuk-ams-database.zip - Back to Terminal/ cmd, type
mongorestore -d [database-name] [path-to-database-folder]- Replace [database-name] with database name you want
- Replace [path-to-database-folder] with path to vnuk-ams-database just extracted above.
Get this path maybe tricky, so to get this step easier, some tips:
- You can simply type
mongorestore -d vnuk-amsand then drag the folder database to terminal / cmd to get exact path - For not supported drag-drop termnial / cmd, you can move database folder to top folders like Downloads, Documents for easier get path.
- You can simply type
- After all, my entire import command is (you will have different path):
mongorestore -d vnuk-ams /Users/nguyen.the.vinh.bao/Projects/Personal/vnuk-ams/database/vnuk-ams-database
- Finally, get into mongo with
mongocommand andshow dbsto check if our database created or not> show dbs admin 0.000GB config 0.000GB local 0.000GB vnuk-ams 0.007GB (this is our database imported )
- Firstly, you need MongoDB installed locally: MongoDB Community Edition installation tutorials
- Config mongURL in server application:
- Open keys.js located at
./config - Replace value of
mongoURLfield with new correct url: default ismongodb://localhost:27017/vnuk-amsand your will bemongodb://localhost:27017/[your database name imported] - Save it ! ☕️
- Open keys.js located at
This section is specific to Node.js/npm projects, but can be generalized to any language and ecosystem. The following instructions will probably be relevant if any of the following are true:
- The top level of the project contains a file called
package.json- The instructions in the README talk about
npmoryarn
- Install Node.js by following the instructions on the website.
- If the project's README explicitly mentions any other dependencies or libraries, follow the site instructions to install those as well.
You're finally ready to install the actual project!
- Follow the instructions in the project README, which probably involve the following steps:
- Run
npm installinside the project - Run
npm startafterwards
- Run
Node.js comes with a package manager called
npm, which is kind of like a free App Store for JavaScript software.If the project's README mentions
yarn, you can probably replaceyarnwithnpmand things will go fine.For example:
yarn install          # npm install
yarn start            # npm start
yarn run some-script  # npm run some-script
One pitfall is with global installation (installing a package to your whole computer, not just the specific project).
yarn global add some-package # npm install -g some-package
- Install server packages: From the project root directory, run command
yarn installornpm install - Install client packages: Go to client folder:
cd clientand then run commandyarn installornpm install - When successfully installed dependencies, move on.
- Back to root by
cd ..to ready for next steps.
The page will reload if you make edits.
You will also see any lint errors in the console.
- Database: MongoDB exported at
/database/vnuk-ams.zipby mongodump - Config mongoDB:
mongoURLin file/config/keys.js - Test account: located at
/database/test-account.json
- From root, then run
yarn run devornpm run devto start server and client app.- Your browser will be navigate to http://localhost:3000 as client application running which built with React and Redux
- Also, you will endup with another port running is api server http://localhost:5000
Note that : The react project was already proxy configured: so for example instead of
http://localhost:5000/api/*, the actual api address ishttp://localhost:3000/api/*. All request followingapi/*from port5000will be fowarded to port3000
- Start a new tab/window terminal or cmd ( still keep terminal server app above running)
- At
./face-attendacedirectory - Run
python3 face_watcher.py - Application will turn to watching mode.
- Yay! You are done.
Feel free to dive in! Open an issue or submit PRs.
MIT © thebaoDEV_


