Focal_Fossa_Server
You've configured the host-only network on the host, you've pointed virtualbox to the (still beta) Focal Fossa Server ISO image, you've added a second network adapter to the virtual machine we're about to create, and now it's time to click the big green Start arrow.
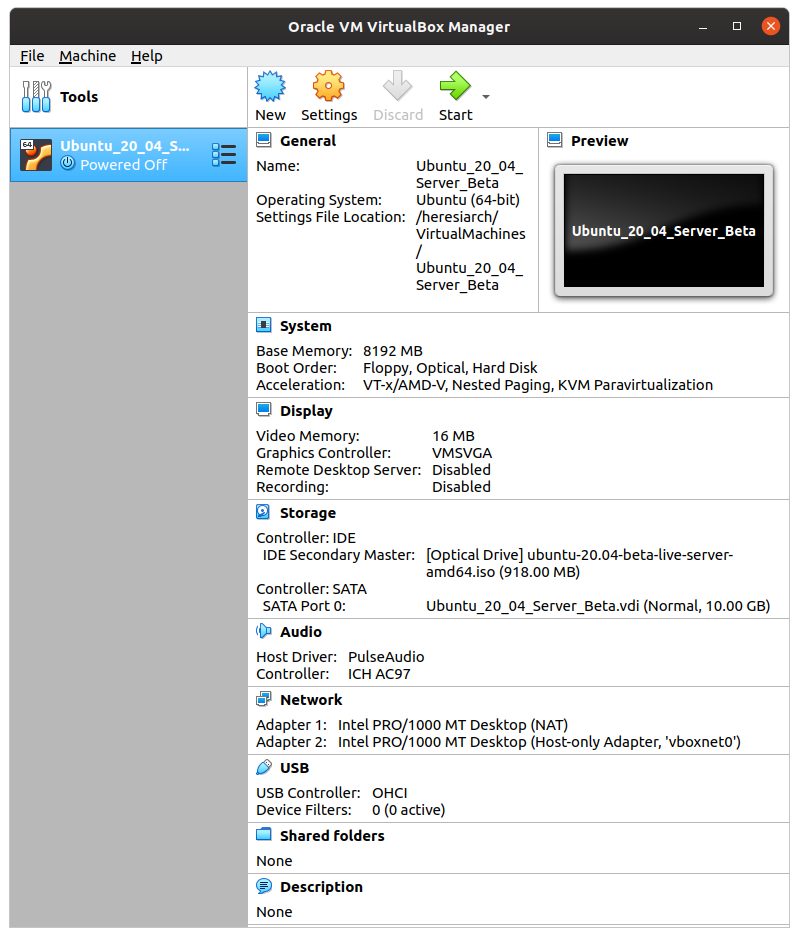
Doing so will open a new terminal window showing the initial boot process and, eventually, the sequence of installation screens. For readers who have installed Ubuntu dozens or hundreds of times, the only information of interest here might be the network configuration. For readers new to Ubuntu and Linux, I've included each screen in turn. Note that the desktop ISO images have a very different (and friendlier) installation process.
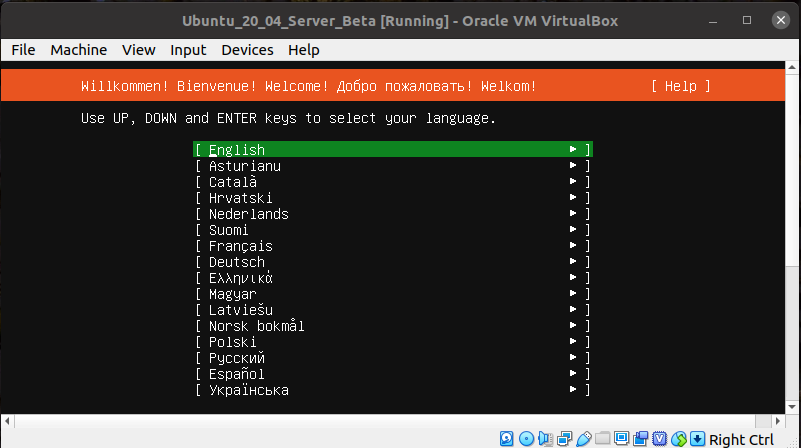
Assuming you prefer English, just hit Enter.
Choose to upgrade the installer.

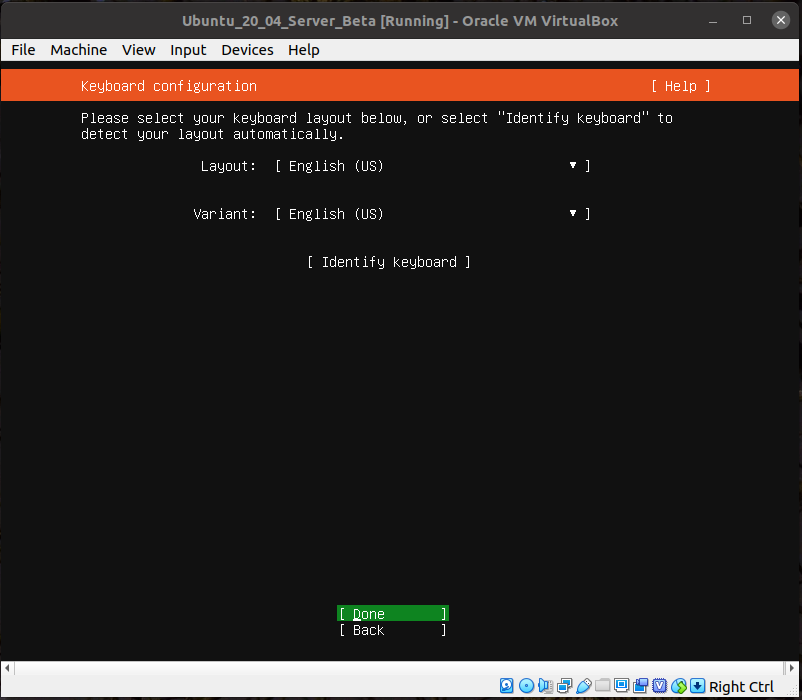
Choose your keyboard.
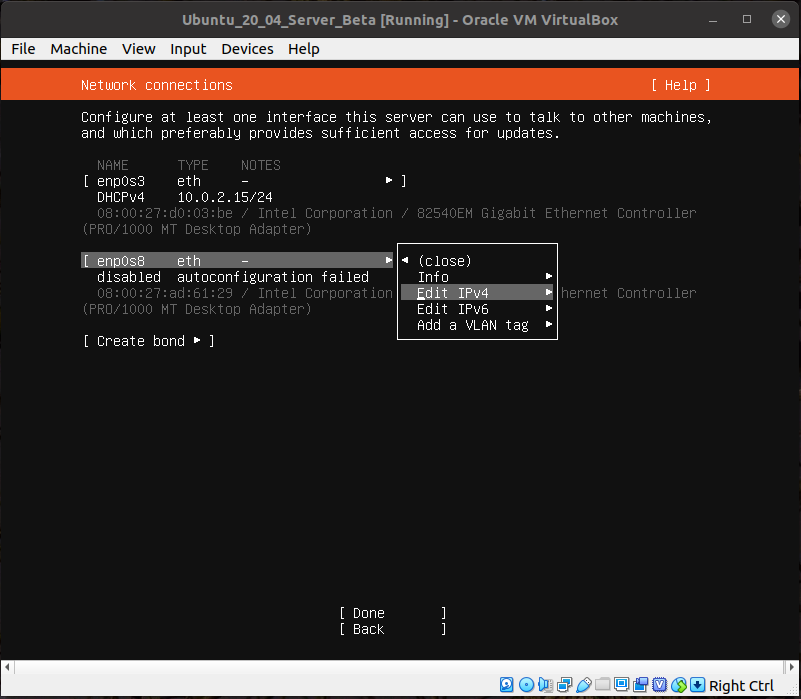
We're now ready to configure the network. This is the initial screen.

Use the arrow keys to highlight the enp0s8 device.

Hit Enter and select Edit IPv4.
Hit Enter again to bring up the selection dialog.

Choose Manual.

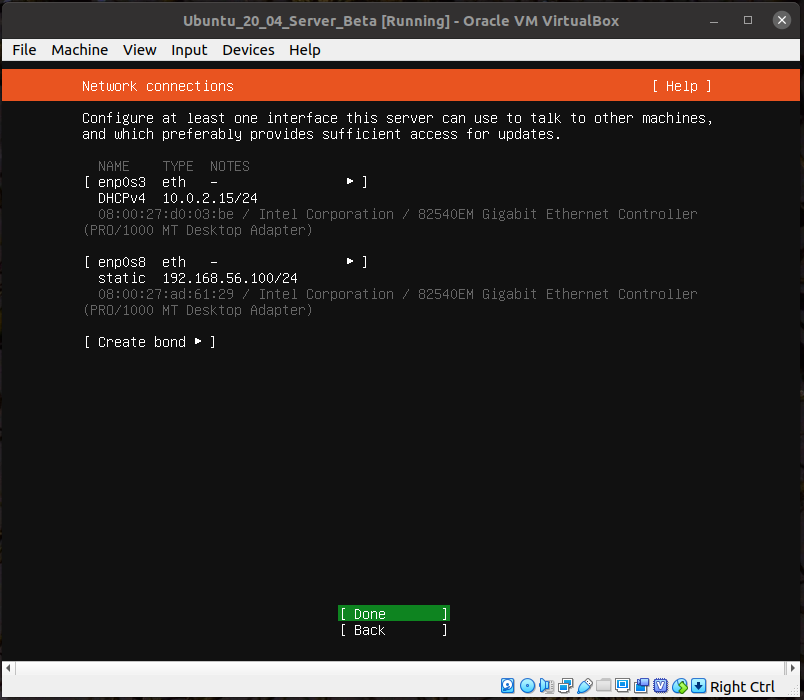
Fill in the subnet (192.168.56.0/24) and address (192.168.56.100), highlight Save, and hit Enter.

And we're done with networking devices.
No changes need for the default (blank) proxy.

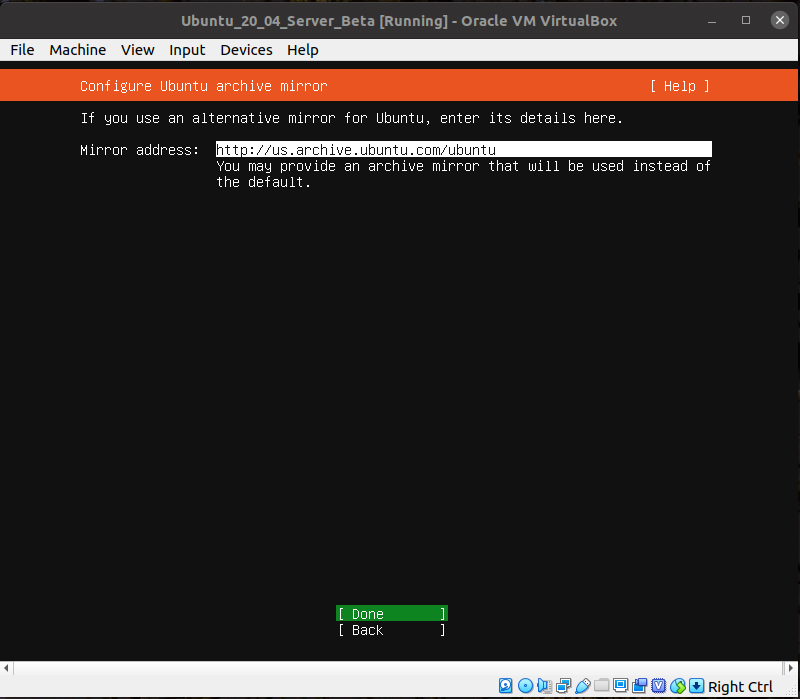
Default mirror is fine.
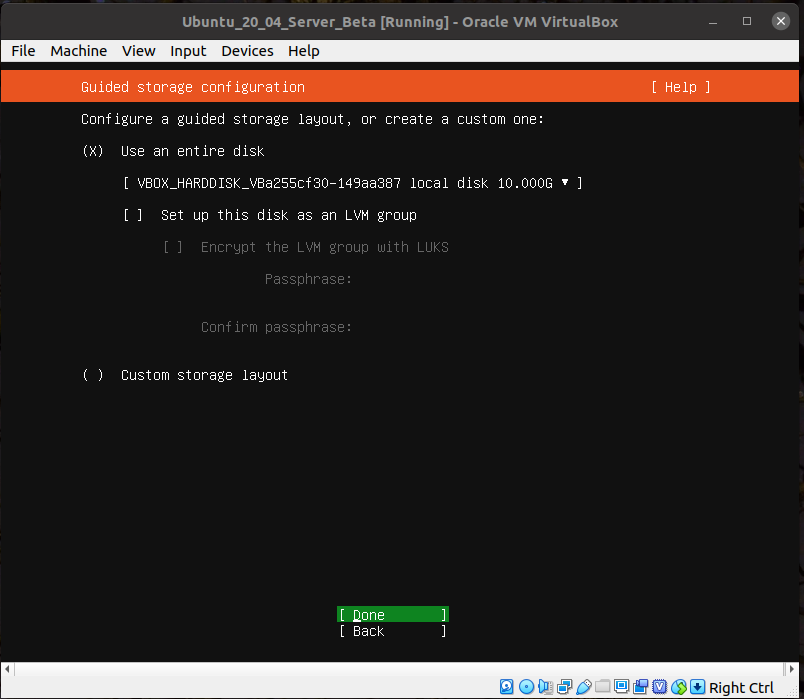
Default disk layout is fine.
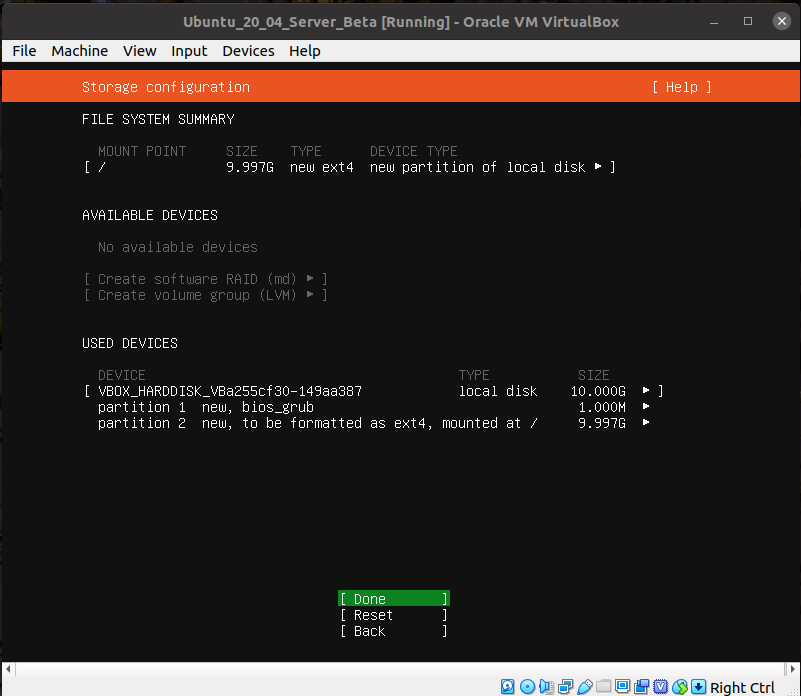
Default partitioning scheme is fine.
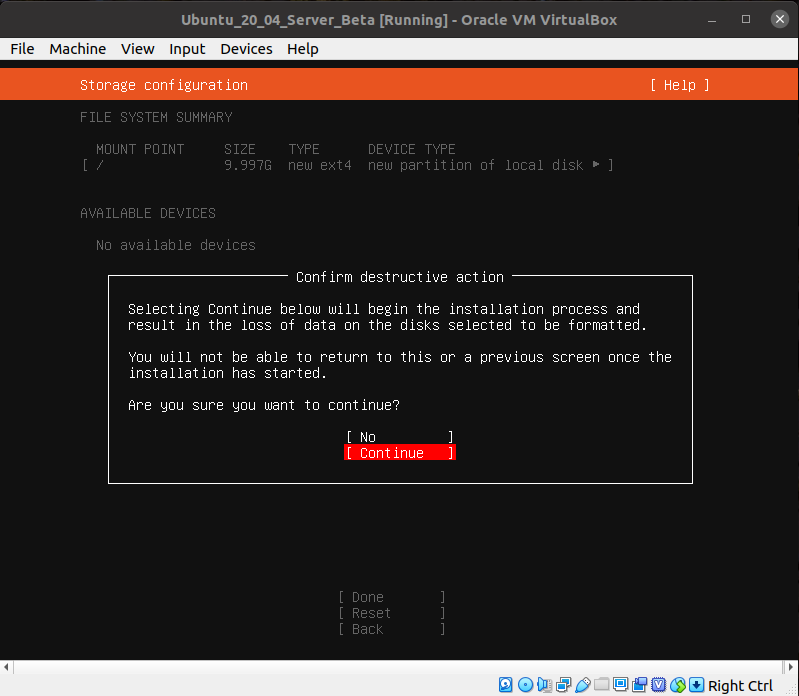
And we're good to go!
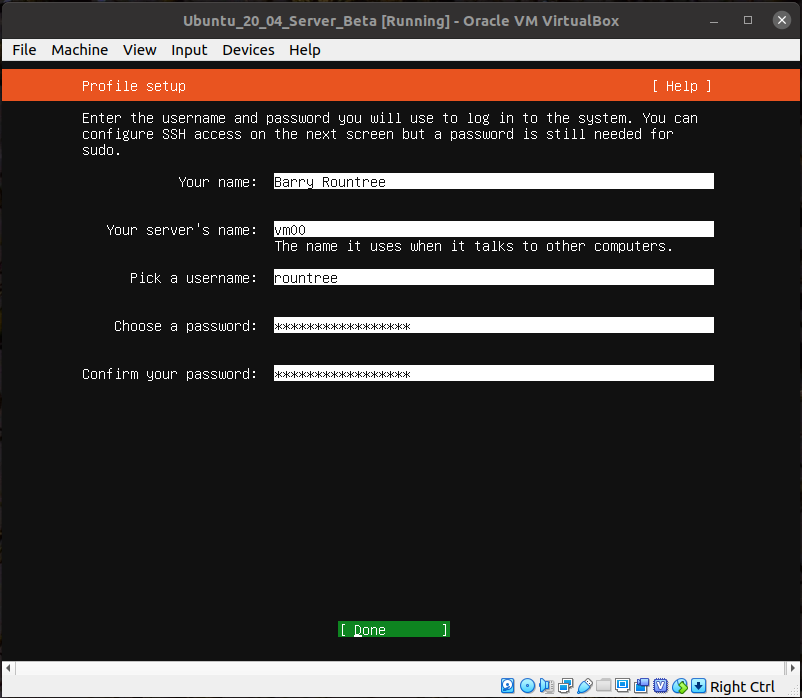
You'll probably want to customize this bit.
Check the box to install the OpenSSH server.

No other software is necessary.

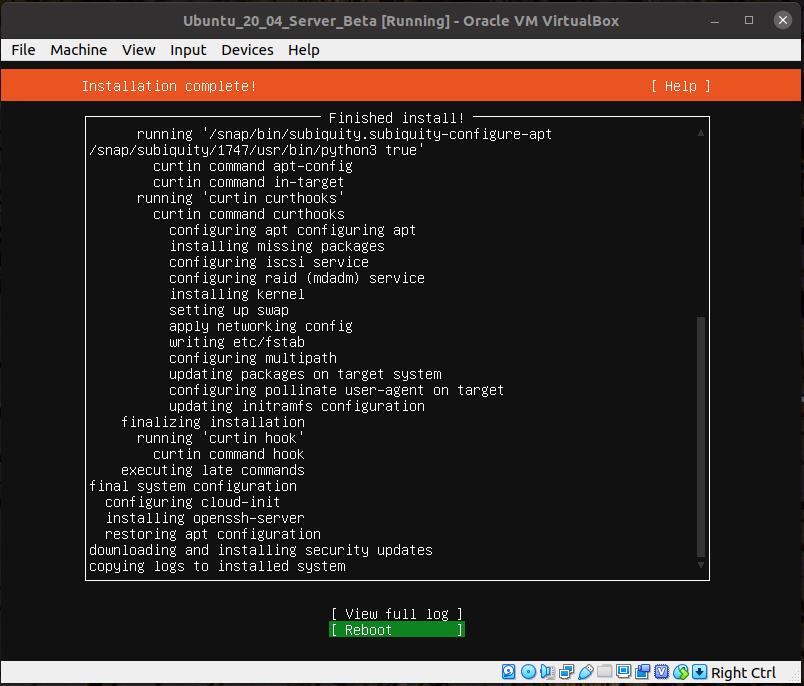
At this point the installation proper begins. After some amount of time you'll have the option to reboot. This doesn't quite work as well as it could, but select that...
It will error out as such:
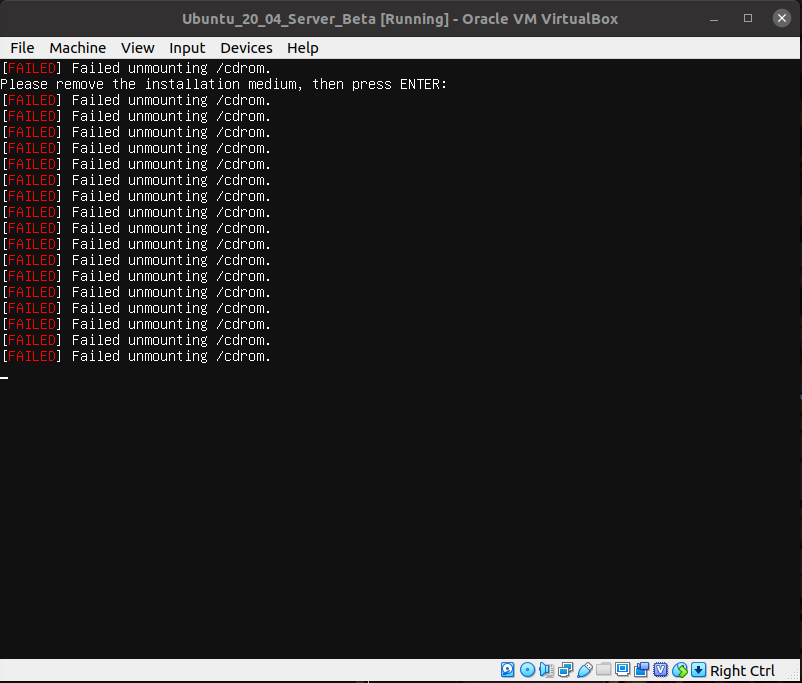
At this point we can pull the plug on the machine. Closing the window will result in this dialog.

Choose "Power off the machine" and click OK.
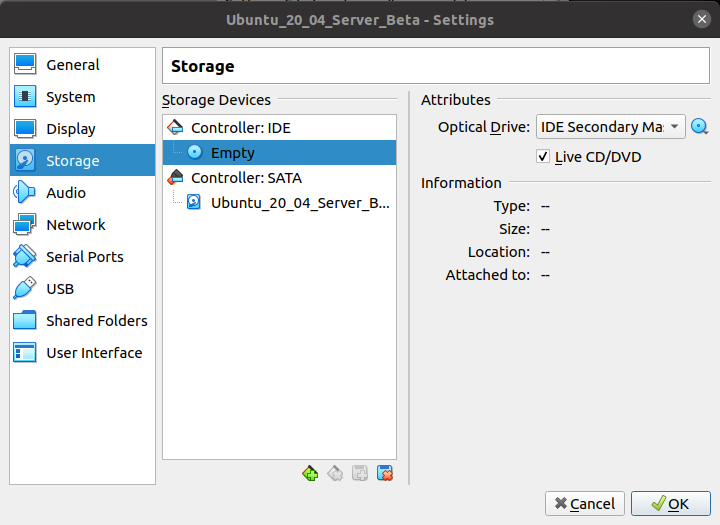
We now need to remove the CD. Back at the VirtualBox Manager click on Setting, then Storage. In the Storage Devices column, click on the ISO filename under Controller:IDE. That will bring up the attributes of that device in the attributes column.

Click on the CD-ROM icon and choose "Remove Disk from Virtual Drive" and then click OK. This should cause the Controller:IDE to read "Empty".
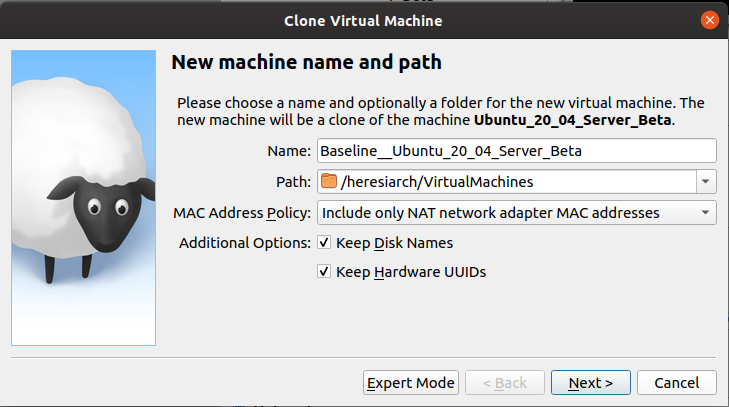
One final chore in the GUI: Let's make a clone of this VM so we don't need to walk through the installation process again.
In the tools column, right-click on the entry for Ubuntu_20_04_Server_Beta and select "Clone". Fill in the blanks as such:
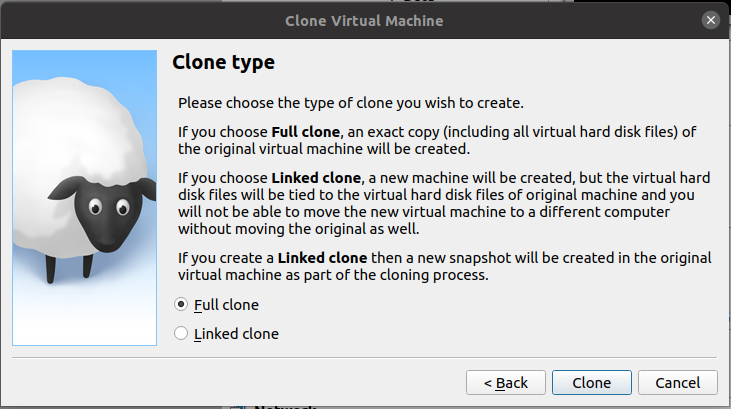
On the next screen, the default "Full Clone" is what we want. Click "Clone".
At this point we should be done with the GUI and the VirtualBox Manager window can be closed.
- Fire up the vm from the command line using the "headless" option::
- rountree@Solvent:/heresiarch$ vboxmanage startvm --type=headless Ubuntu_20_04_Server_Beta Waiting for VM "Ubuntu_20_04_Server_Beta" to power on... VM "Ubuntu_20_04_Server_Beta" has been successfully started.
While "power on" is instantaneous, there will be a lag before the ssh server starts up. Be patient.:
rountree@Solvent:/heresiarch$ ssh rountree@192.168.56.100
    The authenticity of host '192.168.56.100 (192.168.56.100)' can't be established.
    ECDSA key fingerprint is SHA256:0sU2pizYCbXPVhniwyqV49ZcUbN/ZVYCH3tS/pUrmBo.
    Are you sure you want to continue connecting (yes/no/[fingerprint])? yes
    Warning: Permanently added '192.168.56.100' (ECDSA) to the list of known hosts.
    rountree@192.168.56.100's password:
    Welcome to Ubuntu 20.04 LTS (GNU/Linux 5.4.0-26-generic x86_64)
    ....
Let's make sure everything is up to date.:
rountree@vm00:~$ sudo -s
[sudo] password for rountree:
root@vm00:/home/rountree# apt-get update
    ....
root@vm00:/home/rountree# apt-get upgrade
    ....
    Do you want to continue? [Y/n] Y
    ....
root@vm00:/home/rountree# exit
rountree@vm00:~$
At this point we could grab the source from github (as we're still on the less-secure workstation with internet access). But just to see how this works, let's create an msr-safe directory, initialize it as a git repo, and see if we can populate the repo using the workstation. (This is the same technique we'll be using in the secure environment.):
rountree@vm00:~$ mkdir msr-safe.bare
rountree@vm00:~$ cd msr-safe.bare
rountree@vm00:~/msr-safe$ git init --bare
    Initialized empty Git repository in /home/rountree/msr-safe/
Jumping back to the host now.:
rountree@Solvent:/heresiarch$ git clone git@github.com:rountree/msr-safe.git
Cloning into 'msr-safe'...
    remote: Enumerating objects: 15, done.
    remote: Counting objects: 100% (15/15), done.
    remote: Compressing objects: 100% (11/11), done.
    remote: Total 1329 (delta 6), reused 9 (delta 4), pack-reused 1314
    Receiving objects: 100% (1329/1329), 5.74 MiB | 3.98 MiB/s, done.
    Resolving deltas: 100% (790/790), done.
rountree@Solvent:/heresiarch$ cd msr-safe
Note that I'm using git rather than https, which requires my own ssh key.:
rountree@Solvent:/heresiarch/msr-safe$ git remote remove vm00
rountree@Solvent:/heresiarch/msr-safe$ git remote add vm00 ssh://rountree@192.168.56.100/home/rountree/msr-safe.bare
rountree@Solvent:/heresiarch/msr-safe$ git push vm00 master
    rountree@192.168.56.100's password:
    Enumerating objects: 1291, done.
    Counting objects: 100% (1291/1291), done.
    Delta compression using up to 16 threads
    Compressing objects: 100% (493/493), done.
    Writing objects: 100% (1291/1291), 5.72 MiB | 65.03 MiB/s, done.
    Total 1291 (delta 776), reused 1291 (delta 776)
    remote: Resolving deltas: 100% (776/776), done.
    To ssh://192.168.56.100/home/rountree/msr-safe.bare
     * [new branch]      master -> master
Now jumping back into the virtual machine....:
rountree@vm00:~/msr-safe.bare$ cd ..
rountree@vm00:~$ man git-clone
rountree@vm00:~$ git clone ./msr-safe.bare/ ./msr-safe
    Cloning into './msr-safe'...
    done.
That's the path we'll follow once the virtual machine no longer has access to the internet. Continuing on in the vm,
let's see if we can build msr-safe using what we have already installed.:
rountree@vm00:~/msr-safe$ make

    Command 'make' not found, but can be installed with:

    sudo apt install make        # version 4.2.1-1.2, or
    sudo apt install make-guile  # version 4.2.1-1.2

rountree@vm00: sudo -s
    ....
root@vm00:/home/rountree/msr-safe# apt-get install build-essential
    ....
root@vm00:/home/rountree/msr-safe# exit
rountree@vm00:~/msr-safe$ make
    cc  -fPIC -shared -c msrsave/msrsave.c -o msrsave/msrsave.o
    cc    -c -o msrsave/msrsave_main.o msrsave/msrsave_main.c
    cc   msrsave/msrsave.o msrsave/msrsave_main.o   -o msrsave/msrsave
    make -C /lib/modules/5.4.0-26-generic/build M=/home/rountree/msr-safe modules
    make[1]: Entering directory '/usr/src/linux-headers-5.4.0-26-generic'
      CC [M]  /home/rountree/msr-safe/msr_entry.o
      CC [M]  /home/rountree/msr-safe/msr_whitelist.o
      CC [M]  /home/rountree/msr-safe/msr-smp.o
    /home/rountree/msr-safe/msr-smp.c: In function ‘msr_safe_batch’:
    /home/rountree/msr-safe/msr-smp.c:108:1: warning: the frame size of 1032 bytes is larger than 1024 bytes [-Wframe-larger-than=]
      108 | }
          | ^
      CC [M]  /home/rountree/msr-safe/msr_batch.o
      LD [M]  /home/rountree/msr-safe/msr-safe.o
      Building modules, stage 2.
      MODPOST 1 modules
      CC [M]  /home/rountree/msr-safe/msr-safe.mod.o
      LD [M]  /home/rountree/msr-safe/msr-safe.ko
    make[1]: Leaving directory '/usr/src/linux-headers-5.4.0-26-generic'
We have a new kernel module!:
rountree@vm00:~/msr-safe$ ls -l msr-safe.ko
    -rw-rw-r-- 1 rountree rountree 38840 Apr 22 05:33 msr-safe.ko
Let's load it up!:
rountree@vm00:~/msr-safe$ ls -l msr-safe.ko
    -rw-rw-r-- 1 rountree rountree 38840 Apr 22 05:33 msr-safe.ko
rountree@vm00:~/msr-safe$ sudo -s
root@vm00:/home/rountree/msr-safe# insmod ./msr-safe.ko
root@vm00:/home/rountree/msr-safe# lsmod | grep msr
    msr_safe               28672  0
    intel_rapl_msr         20480  0
    intel_rapl_common      24576  1 intel_rapl_msr
root@vm00:/home/rountree/msr-safe# ls -l /dev/cpu/*/*
    crw------- 1 root root 238, 0 Apr 22 05:35 /dev/cpu/0/msr_safe