lesson 13
In this lesson, we will add the search bar to send the filter query to our API endpoint.
Let's begin by creating a new file to and place the following code in there. Save and name it src\components\FilterBar.vue
  // FilterBar.vue

  <template>
    <div class="filter-bar ui basic segment grid">
      <div class="ui form">
        <div class="inline field">
          <label>Search for:</label>
          <input type="text" v-model="filterText" class="three wide column" @keyup.enter="doFilter" placeholder="name, nickname, or email">
          <button class="ui primary button" @click="doFilter">Go</button>
          <button class="ui button" @click="resetFilter">Reset</button>
        </div>
      </div>
    </div>
  </template>

  <script>
  export default {
    data () {
      return {
        filterText: ''
      }
    },
    methods: {
      doFilter () {
        console.log('doFilter:', this.filterText)
      },
      resetFilter () {
        this.filterText = ''
        console.log('resetFilter')
      }
    }
  }
</script>
The FilterBar component contains one text input for the user to enter the filter text, and two buttons; one to set the filter, and another to reset the filter. We also use @keyup.enter to immediately apply the filter when the user presses the Enter key in the text input.
But, as usual, in order for it to work, we have to import it and put it in our main template MyVuetable first. Let's do that now.
  // MyVuetable.vue

  <template>
    <div class="ui container">
      <filter-bar></filter-bar>   // <----
      <vuetable ref="vuetable"
      //...
    </div>
  </template>

  <script>
  //...
  import FilterBar from './FilterBar'

  Vue.component('filter-bar', FilterBar)
  //...
  </script>
Now you should be able to run the project. Try entering something in the text input of FilterBar, and also clicking on those two buttons and see the output in the console window of the browser.
At the moment, the FilterBar does not do anything much, just logging out a message to the console to prove that it does work.
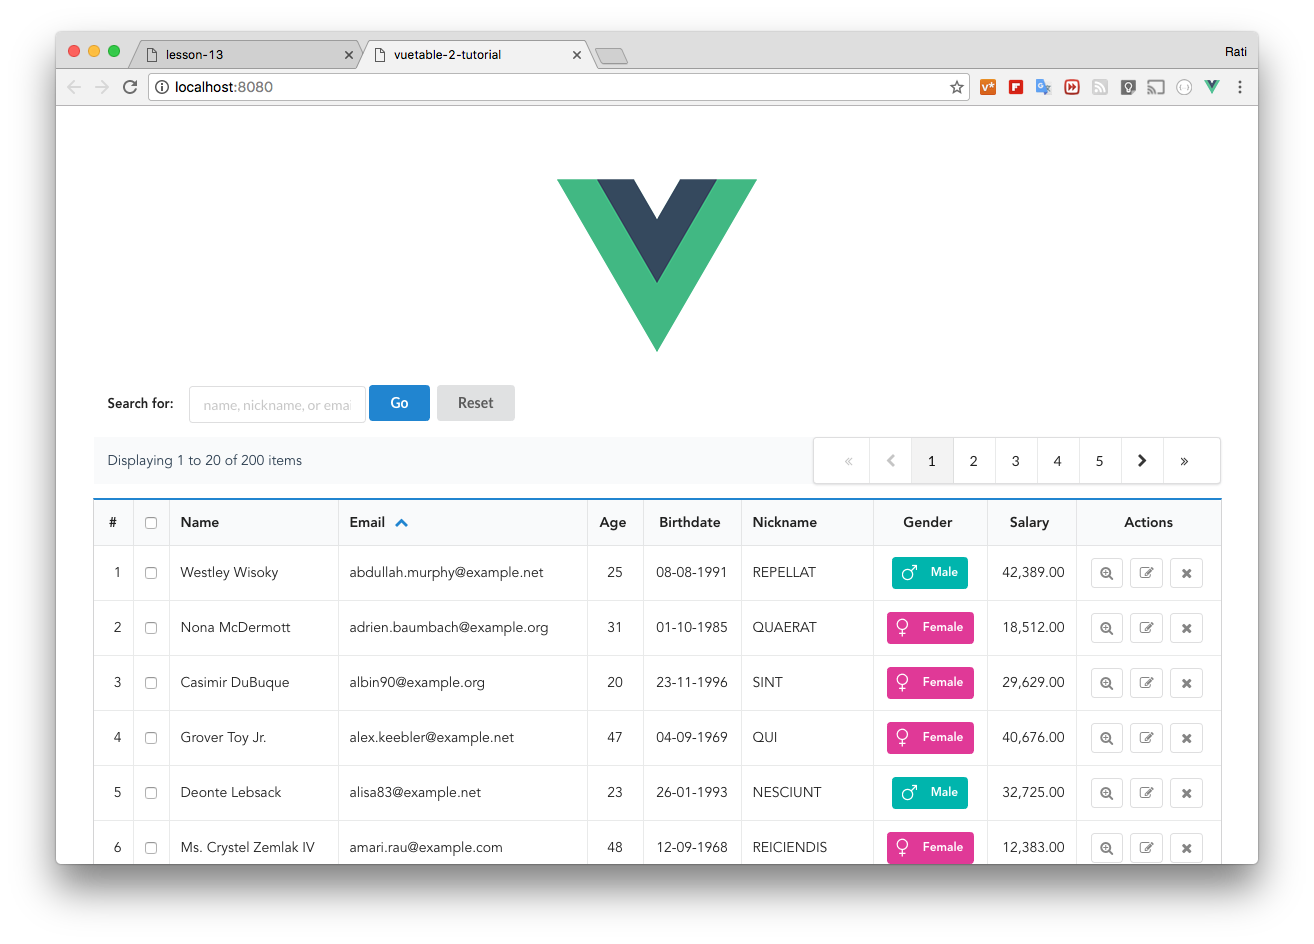
Right now our FilterBar looks a bit odd on top of the top pagination. As it already serve its purpose, we should now remove it out and make our FilterBar looks a little nicer.
Remove the following line from our MyVuetable template, so that the <filter-bar></filter-bar> tag now is next to the <vuetable ref="vuetable" line.
    <vuetable-pagination-info ref="paginationInfoTop"
    ></vuetable-pagination-info>
    <vuetable-pagination ref="paginationTop"
      @vuetable-pagination:change-page="onChangePage"
    ></vuetable-pagination>
We also have to remove any reference to the paginationInfoTop in our code.
In the onPaginationData methods, remove the following lines
this.$refs.paginationTop.setPaginationData(paginationData)
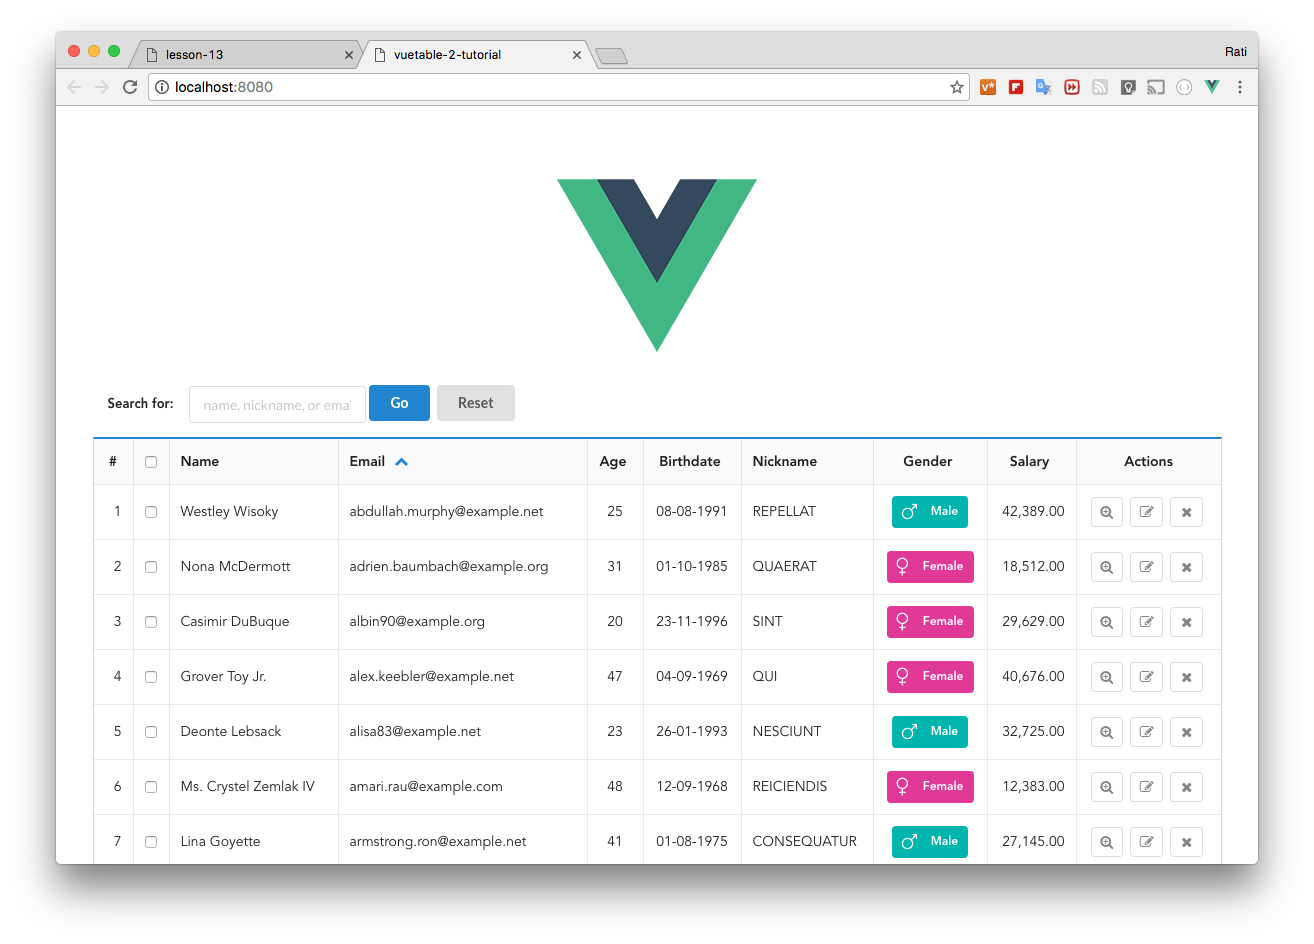
this.$refs.paginationInfoTop.setPaginationData(paginationData)The top pagination should now be removed.
Next, we will modify FilterBar so that when the user click the "Go" button or press Enter in the text input to apply the filter, we will fire an event to notify other components that the user has just set the filter.
We will also do the same for "Reset" button by firing an event to notify the others that the user has decided to reset the filter.
We used to have event broadcasting/dispatching mechanism in Vue 1.x, but it has its limitation when the application grows more complex. So in Vue 2.x, the old event mechanism has been deprecated and we are encouraged to use centralized event hub or state management system like Vuex instead.
For us, Vuex is a bit complex for a simple project, so we will instead use the centralized event hub. But you should be able to adapt it to Vuex as well if you wish.
In this lesson, we will not create our own centralized event hub. But we will use another Vue plugin instead and it is called vue-events and you can find more information about it and how to install it via npm in its GitHub repo here.
Now, let's use it in our component. Add the following code to MyVuetable.vue to import and register it with Vue.
  // MyVuetable.vue

  //...
  import Vue from 'vue'
  import VueEvents from 'vue-events'
  Vue.use(VueEvents)
  //...
vue-eventsis a Vue.js plugin, so we have to import and register it with Vue.js viaVue.use(). And since we have to referenceVue, we have to import it as well and that's what the first line is for.
Once we have registered vue-events with Vue, we will now have $events prototype object in our Vue instance. This $events object is the centralized event hub that we can use throughout our Vue instance and it provides event related functions for use to use. Read more about it here.
Furthermore, it will also allow us to register the event listeners to the events option, just like in Vue 1.x.
Let's modify our FilterBar component to fire the filter-set and filter-reset events.
  // FilterBar.vue

  //...
  methods: {
    doFilter () {
      this.$events.fire('filter-set', this.filterText)
    },
    resetFilter () {
      this.filterText = ''  // clear the text in text input
      this.$events.fire('filter-reset')
    }
  }
Then, let's register the event listeners in MyVuetable.vue to handle those filter events. With the help of vue-events.
  // MyVuetable.vue

  //...
  mounted() {
    this.$events.$on('filter-set', eventData => this.onFilterSet(eventData))
    this.$events.$on('filter-reset', e => this.onFilterReset())
  },
  methods: {
    //...
    onFilterSet (filterText) {
      console.log('filter-set', filterText)
    },
    onFilterReset () {
      console.log('filter-reset')
    }
  }
Run the project and try it. It will demonstrate the use of vue-events, but our work is not finish yet as we haven't send the filter text to the API endpoint.
First, please note that Vuetable does not filter the data by itself. The filter functionality is done on the server side via the API endpoint. So, our job is to let Vuetable send the filter query string back to the server.
Normally, Vuetable will send the following query to the API endpoint
- number of records per page (
per_page) - requested page number (
page) - requested sort order (
sort)
But you can send more parameters to the API by using append-params prop.
The append-params is an object containing a list of key-value pair. Anything you put in here will be converted to key-value query string and appends to the default query string.
In our case, the sample API endpoint we use provides the filter functionality via the filter keyword. If you want only the records that contain the word "dan", the filter=dan must be added to the query string that send to the API.
So, we will bind append-params prop to a new variable called moreParams in our MyVuetable component like this to later use it in our event listeners.
  // MyVuetable.vue

  <template>
    //...
    <vuetable ref="vuetable"
      //...
      :append-params="moreParams"   // <----
    ></vuetable>
    //...
  </template>

  <script>
    //...
    data () {
      //...
      sortOrder: [
        //...
      ],
      moreParams: {}  // <----
    },
    //...
  </script>
Then, we will modify our event listener to use moreParams to add or remove the filter key.
  // MyVuetable.vue

  //...
  methods: {
    //...
    onFilterSet (filterText) {
        this.moreParams = {
            'filter': filterText
        }
        Vue.nextTick( () => this.$refs.vuetable.refresh())
    },
    onFilterReset () {
        this.moreParams = {}
        Vue.nextTick( () => this.$refs.vuetable.refresh())
    }
  }
Note that we call vuetable.refresh() inside Vue.nextTick. This is necessary and it tells Vue that it should wait until the reactivity has finished the update before running the callback inside Vue.nextTick.
You can rewrite the
Vue.nextTickline like this insteadvm = this Vue.nextTick( function() { vm.$refs.vuetable.refresh() })
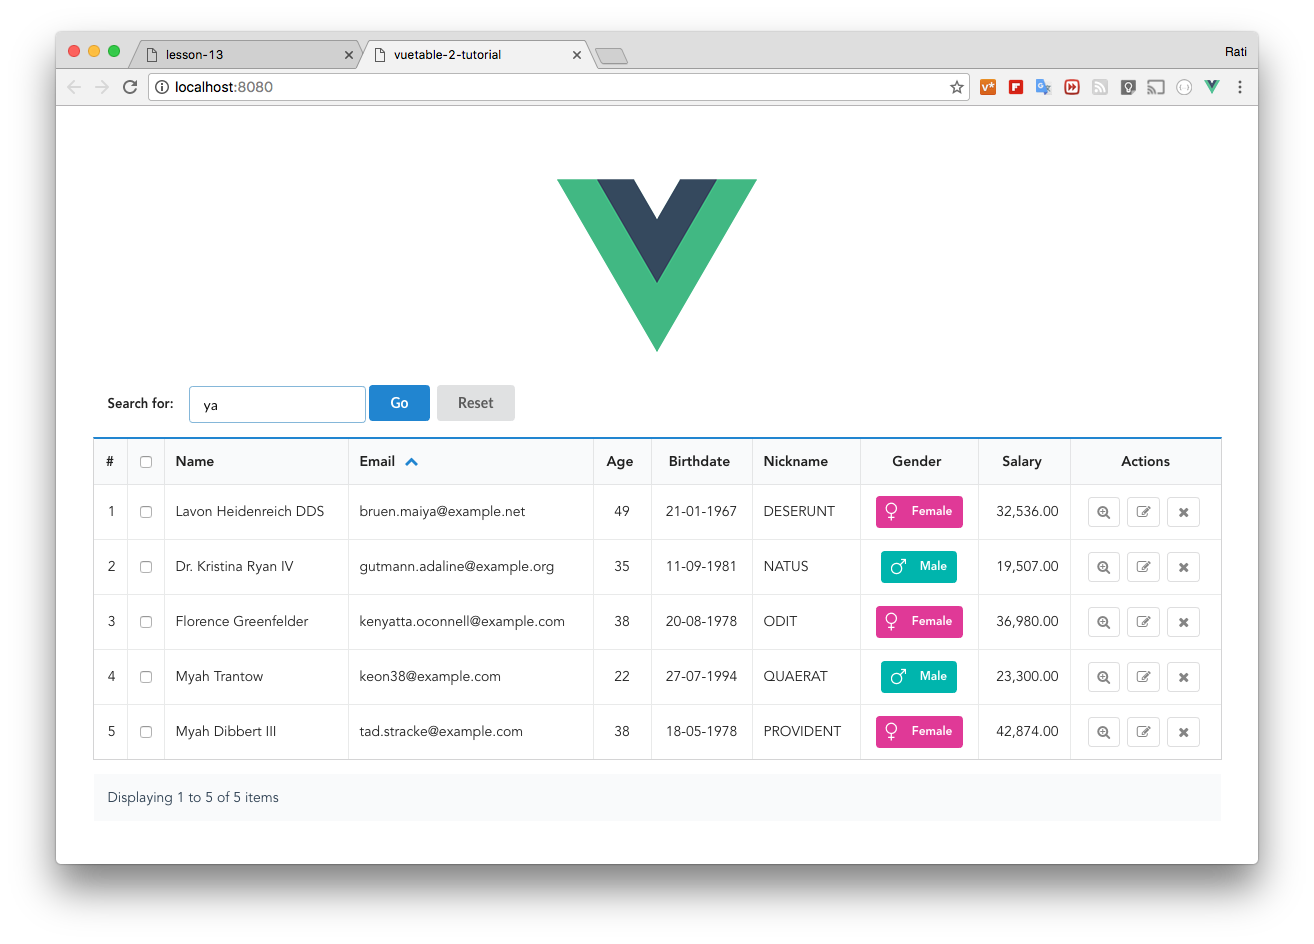
Run the project and try it. The filter functionality should now work.