| title | date | published | description | categories | cover_image | ||
|---|---|---|---|---|---|---|---|
Quickly publish and install a library with GitHub Packages |
2022-04-04 |
true |
How to publish a react library for free using the built-in functionality of Github Packages. Also, how to use said library in another project. |
|
Github comes in with some pretty useful baked-in features, such as the ability to create your own package. In this tutorial, I’ll go over how to set up the Github Packages repository, then create a simple React hook, publish it and then install it in another project.
Disclaimer: This tutorial assumes some basic knowledge of React!
A package is a file or directory of code that has been privately or publically available. Normally these file(s) add functionality to your application.
For example, one of the most popular packages in the world is lodash which is a “JavaScript utility library delivering modularity, performance, & extras” ie most commonly used for the functions it provides to make our lives a whole lot easier.
These packages typically tend to live in a folder called node_modules when installed locally. Yes, that folder that weighs a ton and should never be committed to Github Repository.
GitHub Packages allows us to directly host a package we create. This comes with a whole swath of functionalities since it’s tied to the GitHub ecosystem such as integrations with GitHub APIs, GitHub Actions, and webhooks.
We’ll be creating our React component library as a package to host on Github Packages.
First, let’s go ahead and create a new repository. GitHub already includes a thorough guide on doing so. Link here. For context, this is GitHub’s official guide for the setup of the package repository as well.
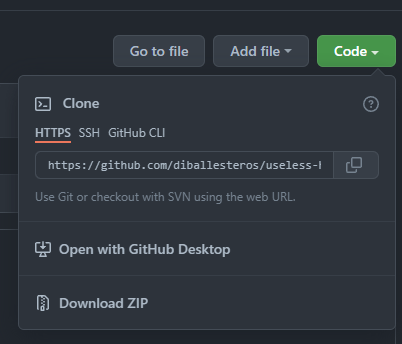
With that out of the way let’s open up Visual Studio Code or your IDE of choice and clone it locally. In the repo click on code and grab the clone link.
And clone it into our local machine.
Sweet! Now we can initialize npm to generate our package.json
You’ll be asked several questions about the new package. Remember to leave the name as:
@YOUR-USERNAME/YOUR-REPOSITORY
...
test command: exit 0
...
Run the following commands:
npm install
git add .
git commit -m "initialize npm package"
git pushWe’ll build a simple React package. As you may have seen I named my package useless-hooks . So I'll add a generic useless hook. In this case, useKonamiCode which just added an event listener for user input. If the user inputs a certain combination of keys in a row then it'll trigger a callback.
The main takeaway here is to just create your hook and place it in the src folder:
We will be using GitHub actions to make sure we can publish our package. This article won’t go into depth about that but I do have a few that takes advantage of the functionality.
What’s important to know is that GitHub checks if your repository has a .github folder at the root of your directory and for a workflows subfolder.
Here’s a definition straight from their site:
YAML is a human-friendly data serialization language for all programming languages
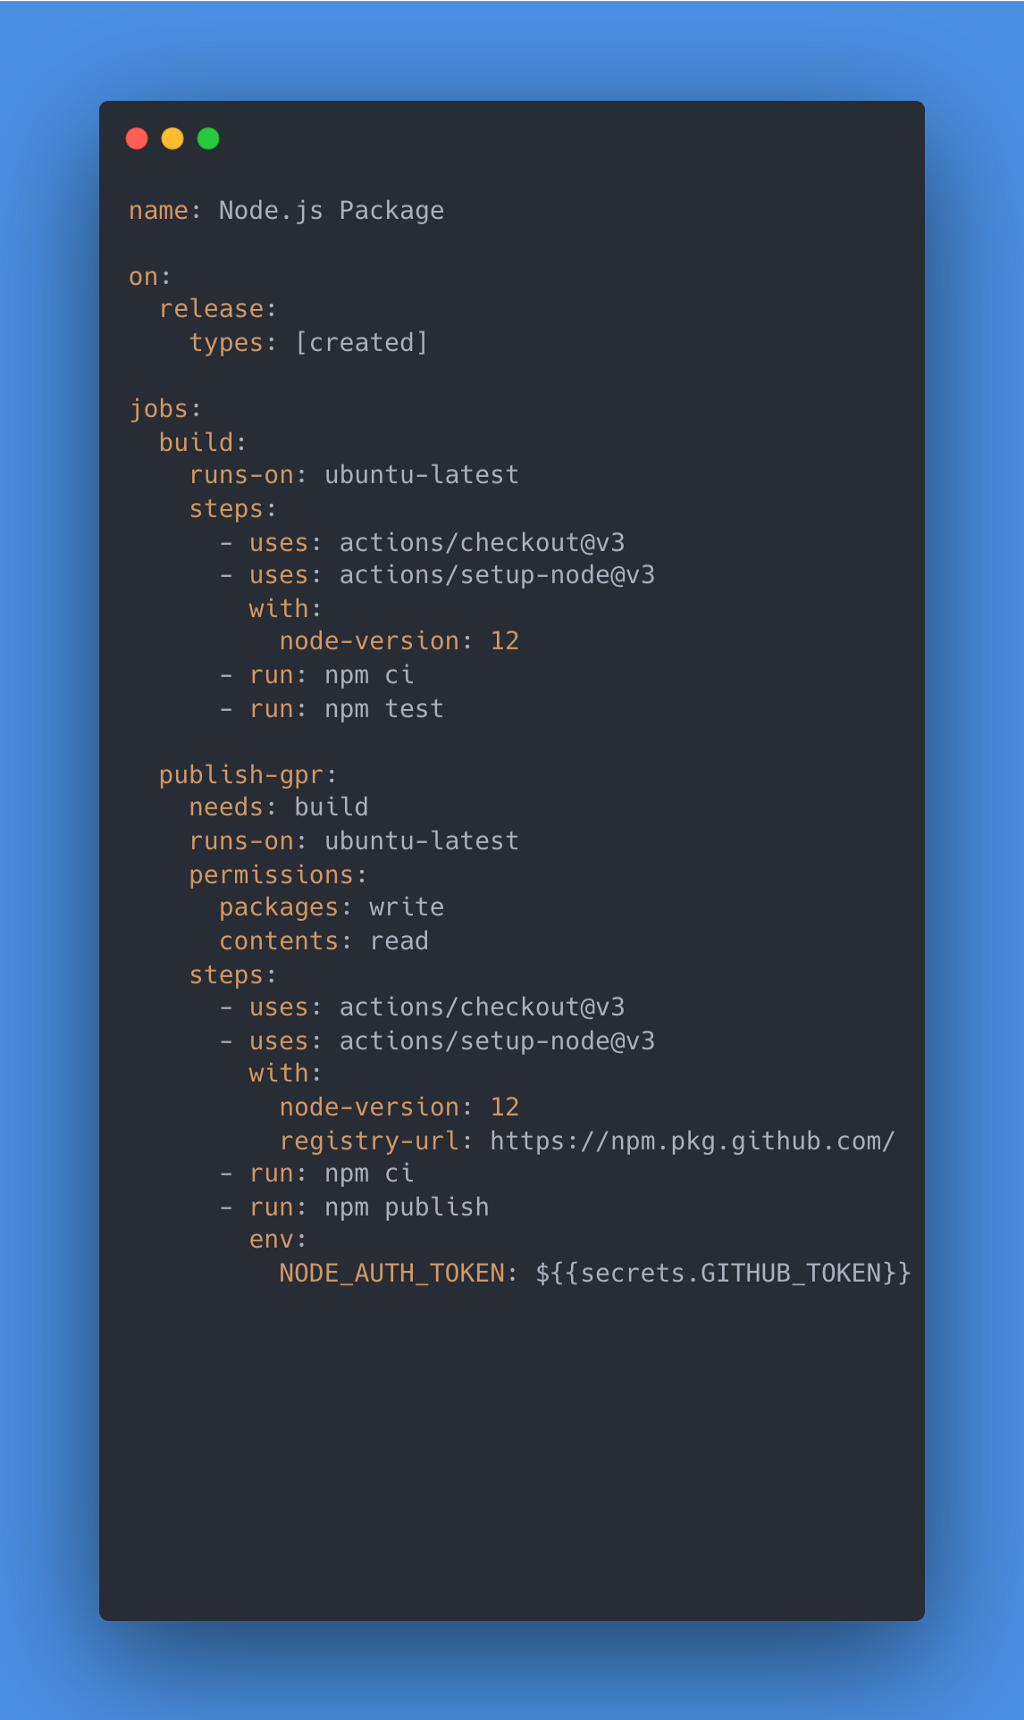
In this case, every time we create a release in GitHub it will publish the package for us following the workflow laid out in the file.
Create the following folders and files at the root of the directory:
And in the file add the following lines:
Now we can hook it up to NPM by creating a .npmrc file at the root directory and adding the following line (and replacing YOUR-USERNAME with your GitHub username:
@YOUR-USERNAME:registry=https://npm.pkg.github.comor by creating the following entry in the package.json
"publishConfig": {
    "registry": "https://npm.pkg.github.com"
},
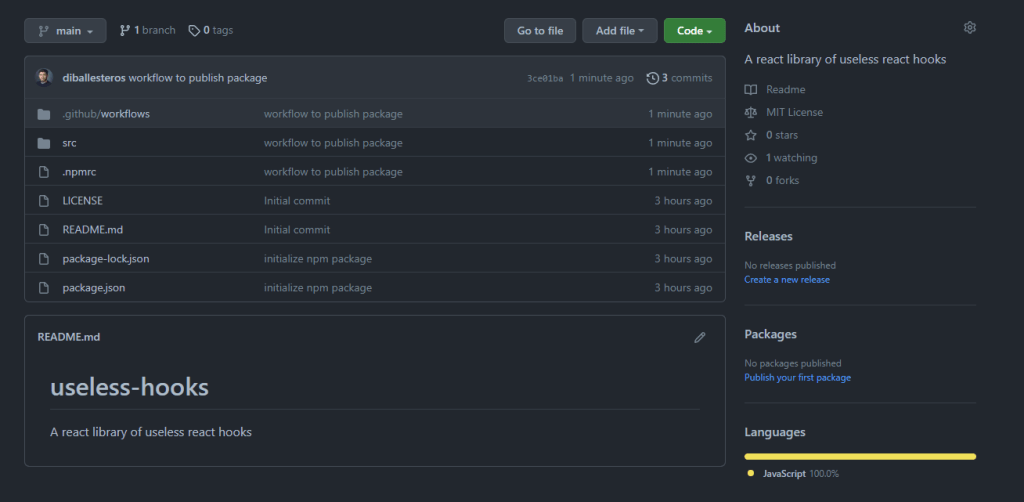
Last but not least we’ll push up all our changes to the repository:
git add .
git commit -m "workflow to publish package"
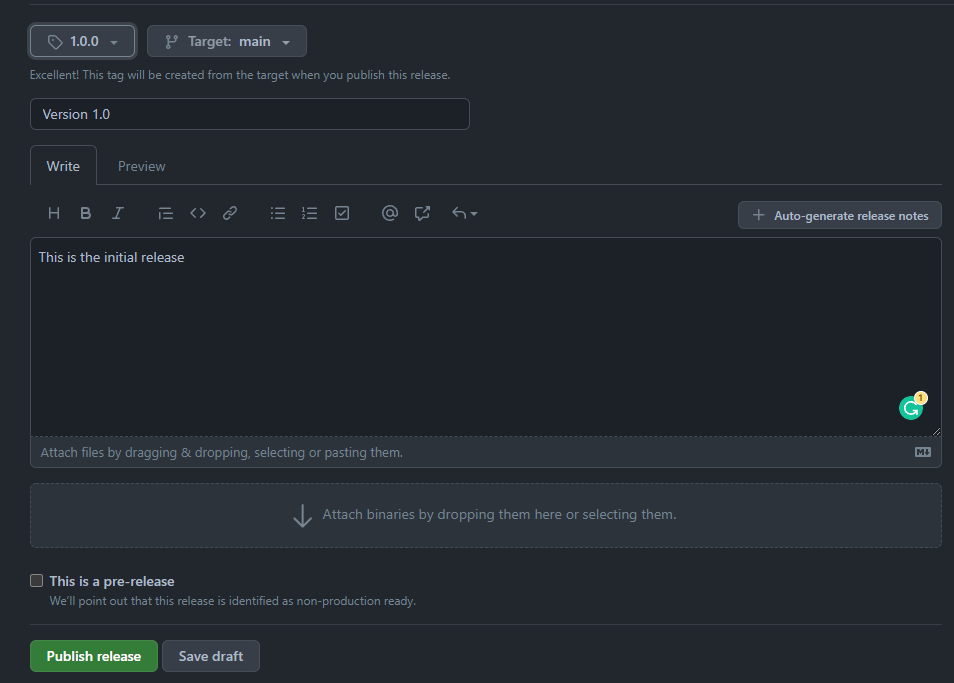
git pushTo create the release head over to your repo on GitHub and on the right side you’ll see a Releases section. Go ahead and create a new release.
Afterward, in the new screen, you can create the release by adding the tag, title, and description and then hitting Publish Release.
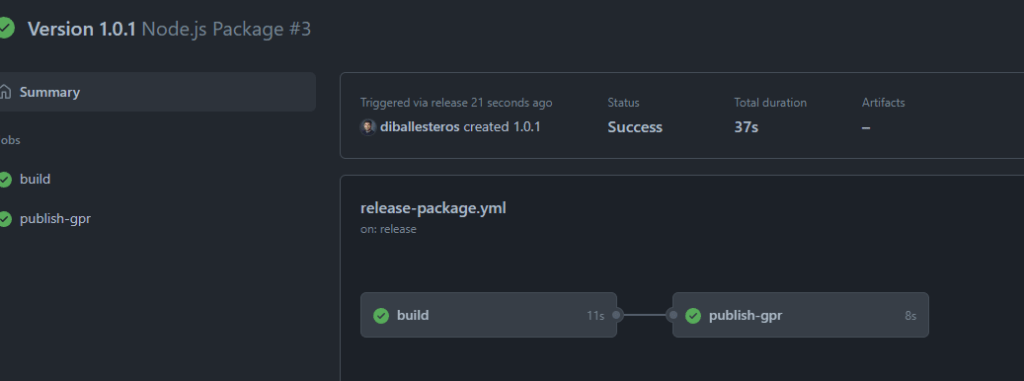
Now in the GitHub Actions tab, we’ll see our workflow running! ( You might see the version as 1.0.1, I forgot to upload the YAML file with any content…. 😅)
Success!
I’ll just bootstrap an app for the sake of the example with the following commands:
npx create-react-app my-app
cd my-app
Normally, I’d be able to use npm install useless-hooks directly, but first, we have to point our app to the GitHub Packages.
First, we have to authenticate to GitHub Packages. I’ll leave this guide here by GitHub themselves: Link
Create a .npmrc file at the root of our project.
Replace @diballesteros with your GitHub user name or the one you used to create the package.
And in our package.json we’ll include the new dependency:
"dependencies": {
    ...other dependencies,
    "@diballesteros/useless-hooks": "^1.0.1"
}
And run:
npm installFinally, we can use our package!
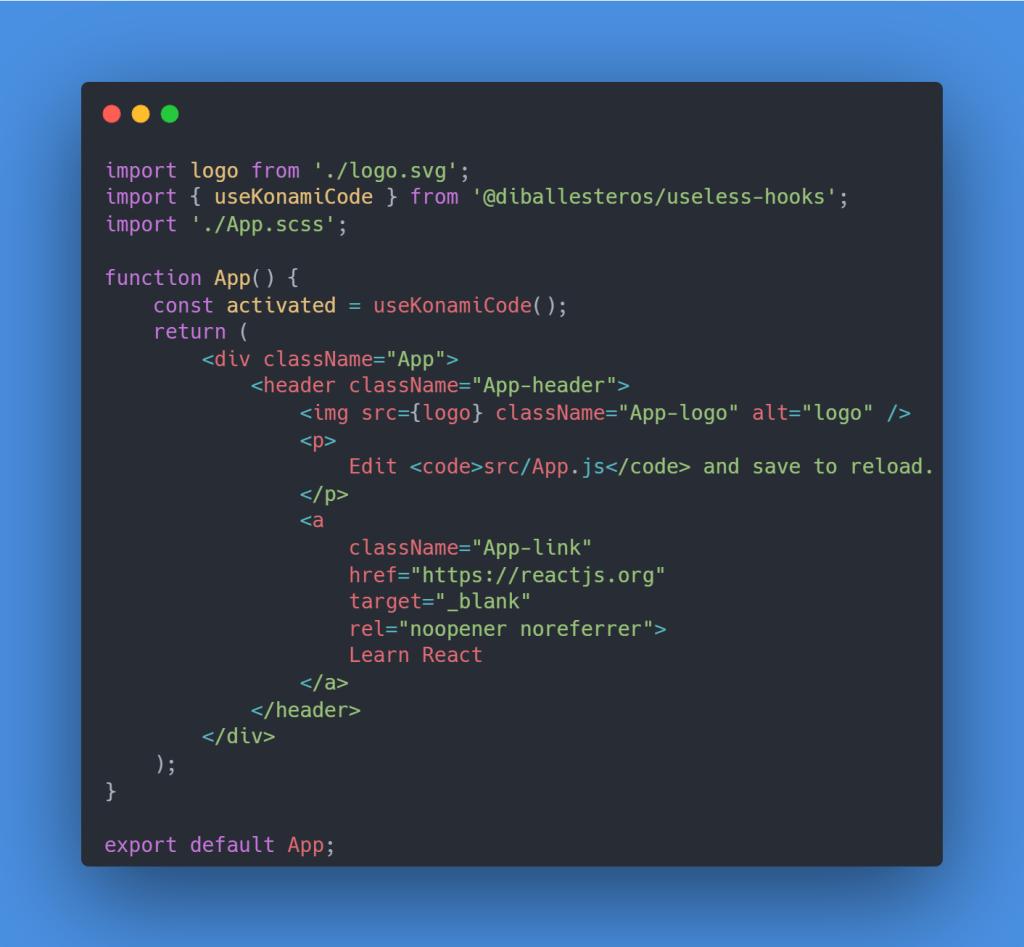
In our App.js we can import it like any other library:
You can find the repository here. There are more publishes than in this article because I ran into a few issues while authenticating.
If you liked this feel free to connect with me on LinkedIn or Twitter
Check out my free developer roadmap and weekly tech industry news in my newsletter.

