Eclipse distribution for education
This project provides an Eclipse Oomph setup to create a standalone/preconfigured Eclipse IDE with support for various programming languages. In particular, the resulting installation provides support for the following programming languages.
- Java
- C/C++
- Ruby
- Haskell
- Pascal
To achieve this, the following plugin versions are installed by the setup:
- CDT 8.5 - C/C++ plugin support for Eclipse
- DLTK 5.x Ruby - Ruby plugin support for Eclipse
- EclipseFP 0.10 - Haskell support for Eclipse
- Pascaline - Pascal support for Eclipse
- IDEConfigurator - Plugin to configure the IDE allowing standalone behavior. It unzips the required tools and connects each tool with its corresponding plugin.
And the following tool versions required by the plugins to work are shipped along with the setup:
###Installing Oomph Installer
- Download and install JRE >= 1.7 required for Oomph Eclipse Installer to run.
- Download the Oomph Eclipse Installer.
###Preparing the setup
-
Download each prepackaged tool from each one of these links and put them all inside the working directory (along with the .setup and .jar files).
- JRE: https://www.dropbox.com/s/ibz4zo96gyw6wae/jre.zip?dl=1
- MinGW: https://www.dropbox.com/s/6h5vt99v2lyxhyc/mingw.zip?dl=1
- Ruby: https://www.dropbox.com/s/d6g0fo318apl6pv/ruby.zip?dl=1
- GHC: https://www.dropbox.com/s/r0bpwvxw5b0ga9t/ghc.zip?dl=1
- FPC: https://www.dropbox.com/s/imzs6kc4b68ulqe/fpc.zip?dl=1
-
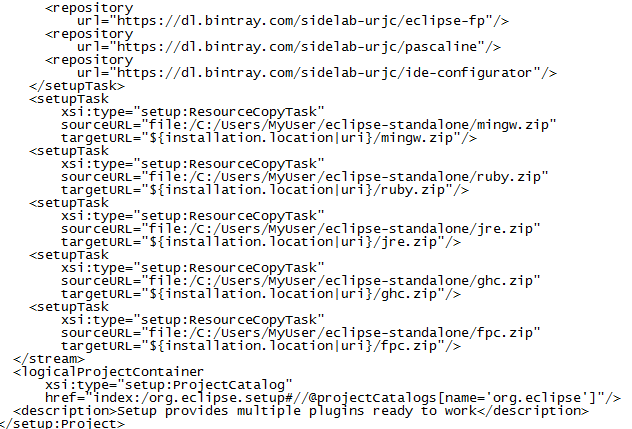
Run the prepare.jar file, this application adjusts the path where each tool is located on the OomphSetup.setup file, this way the Eclipse Installer can copy the tools on the installation path. You can check after the run that the paths were effectively changed inside the OomphSetup.setup file.
###Performing the installation
-
Run the Eclipse Installer executable and switch to advanced mode via the popup menu.
-
On the advanced installation window: choose the IDE for Java Developers product and the version.
-
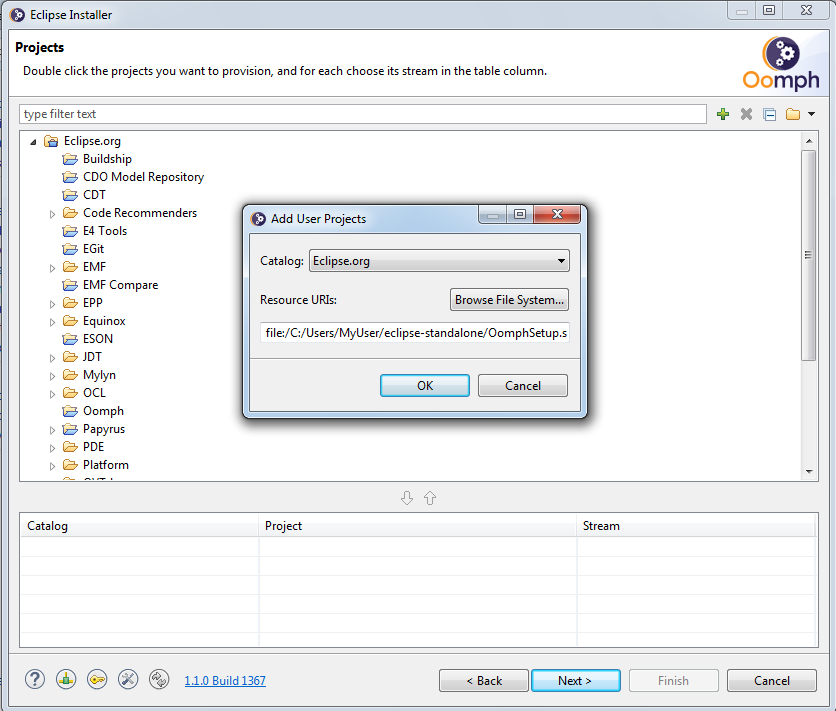
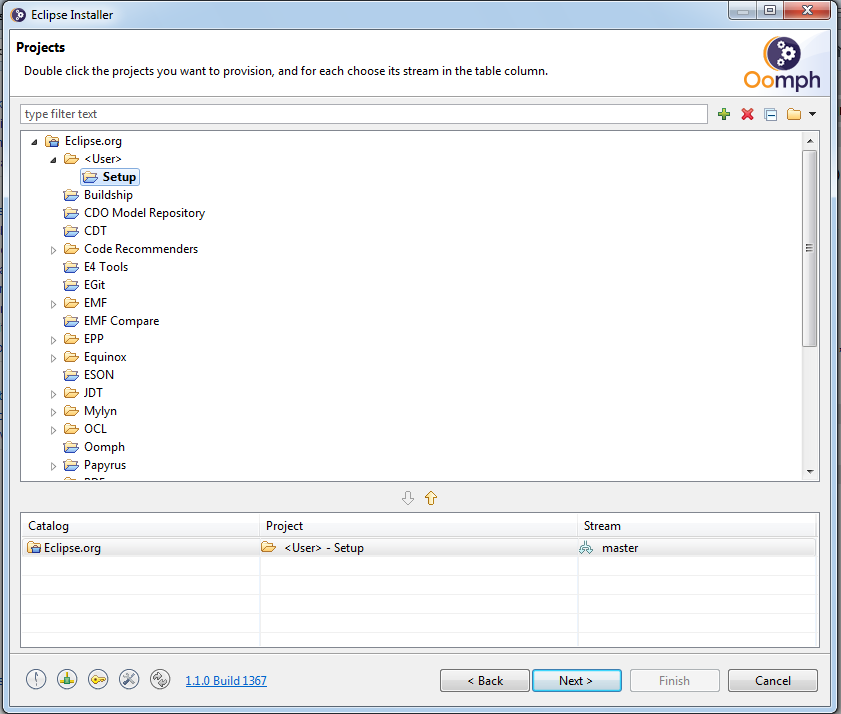
On the setup selection page: click the plus symbol on the upper left side to add our local custom setup selecting the file OomphSetup.setup.
-
On the installation variables page:
- Installation location rule: "Installed in a uniquely-named folder within the root install folder"
- Root install folder: choose your preferred path
- Installation folder name: eclipse
- Workspace location rule: "Located in the specified absolute folder location"
- Workspace location: choose your preferred path
- Target platform: None
-
On the confirmation page: finish the wizard, you may be prompted with some dialogs which you should accept during the installation process.
-
Close the finish dialog once everything is completed.
-
Once the installation is finished and Eclipse is opened for the first time, the IDEConfigurator plugin may take some time to do its work. You can inspect the .log file inside the .metadata directory of the workspace to check if everything is finished.
-
Now you are ready to use your IDE.


