fwd-edu-breakout=github:climate-action-kits/pxt-fwd-edu/fwd-breakout
sonar=github:climate-action-kits/pxt-fwd-edu
datalogger=datalogger
fwdSensors.touch.fwdOnTouch(jacdac.ButtonEvent.Down, function () {
for (let index = 0; index < 4; index++) {
fwdMotors.drive(fwdMotors.DrivingDirection.Forward, 25)
basic.pause(3000)
fwdMotors.stop()
fwdSensors.ledRing.fwdSetAllPixelsColour(0x00ff00)
fwdMotors.pump.fwdTimedRun(1500)
basic.pause(3000)
fwdSensors.ledRing.fwdSetAllPixelsColour(0xff0000)
}
})
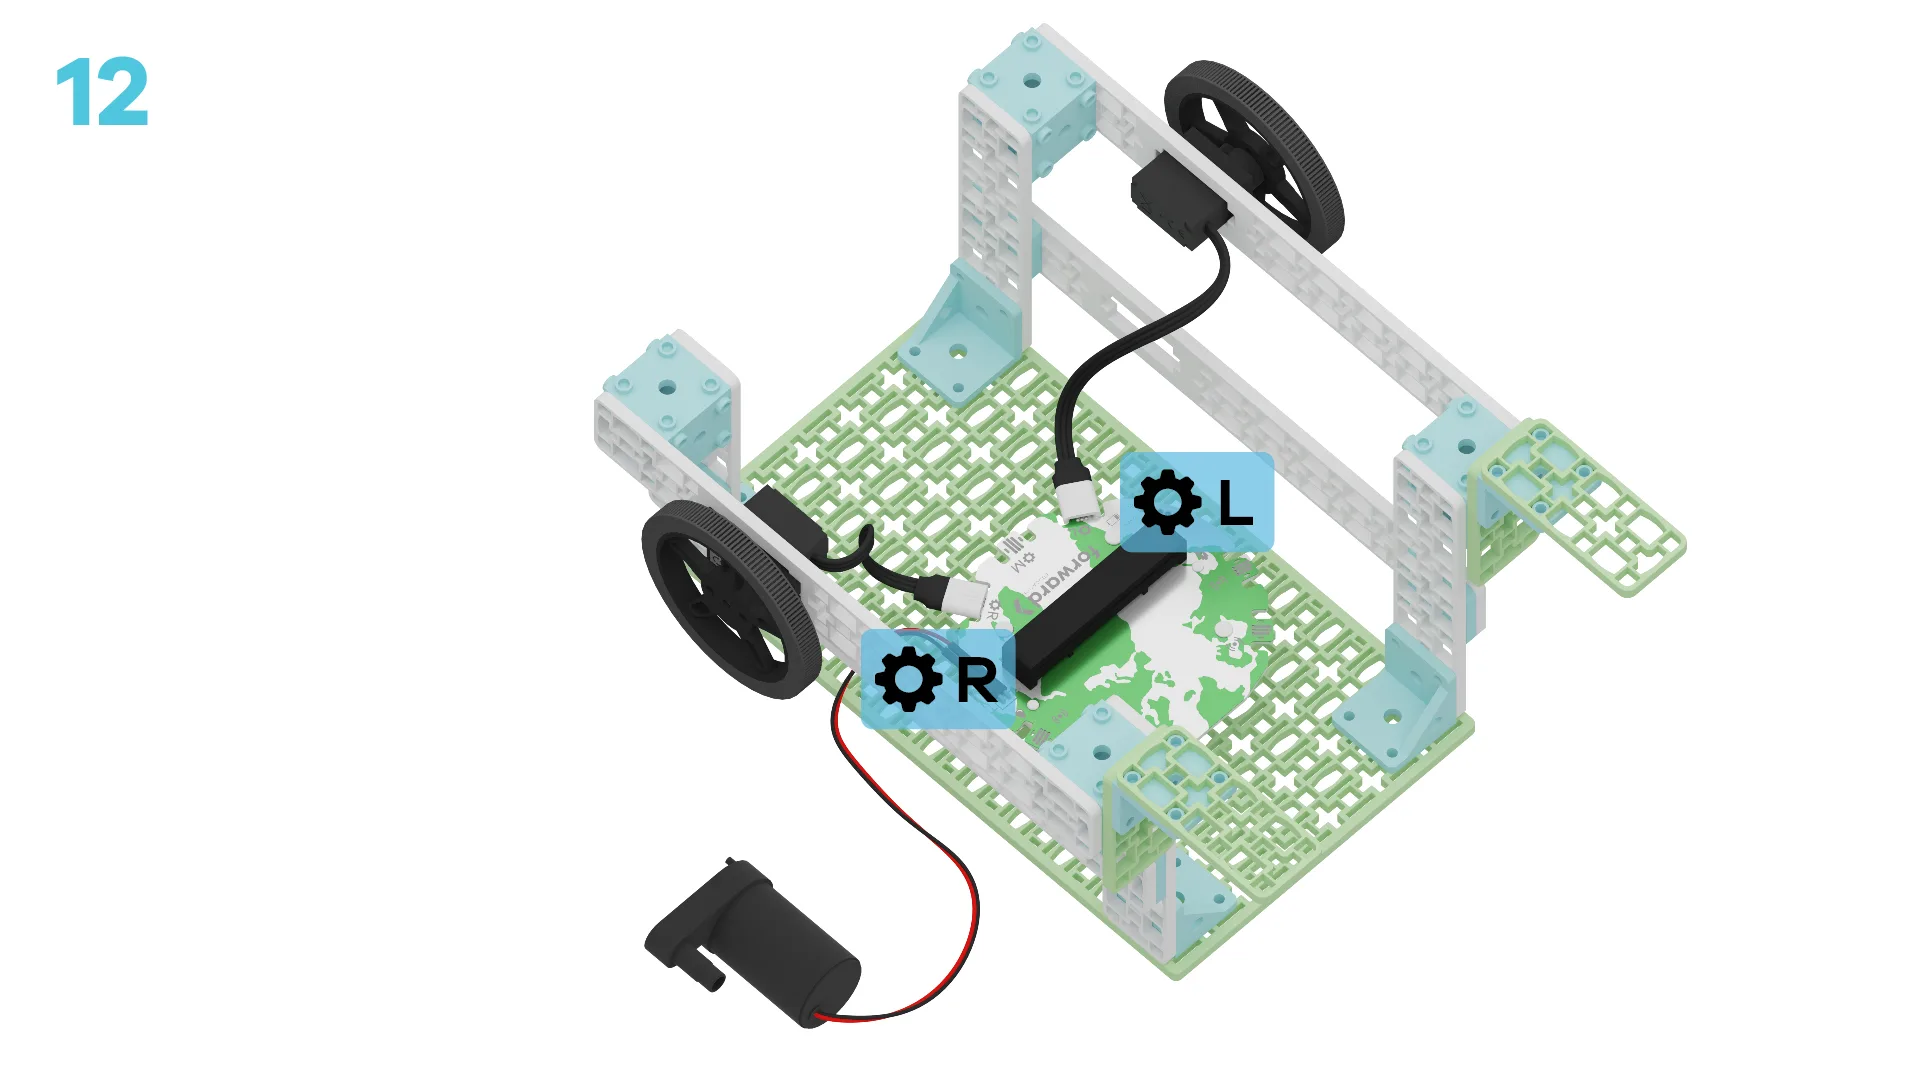
fwdMotors.setupDriving(
fwdMotors.rightServo,
fwdMotors.leftServo,
45
)
fwdSensors.ledRing.fwdSetAllPixelsColour(0xff0000)
Let's build a mobile irrigation system! We are going to do this in three parts:
- Build your vehicle
- Add code to your vehicle to bring it to life
- Use and study your vehicle to learn how it works
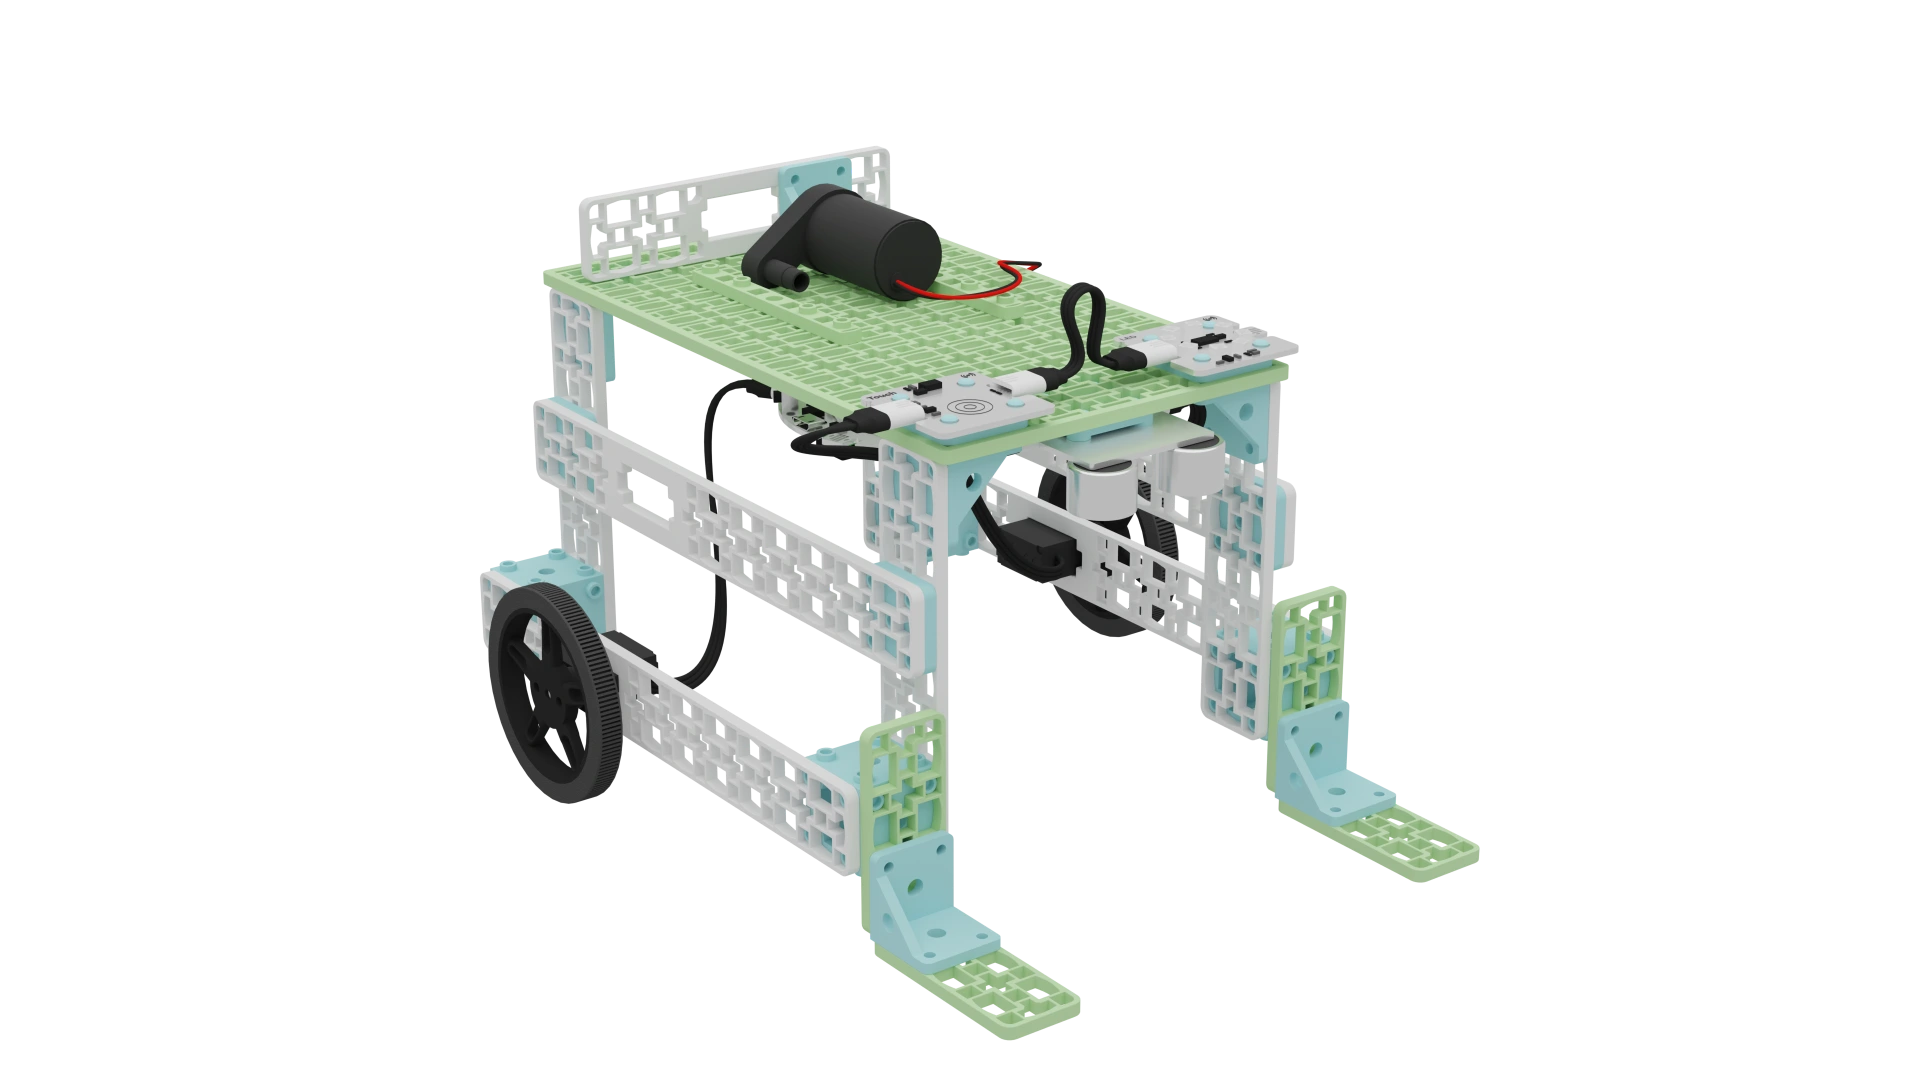


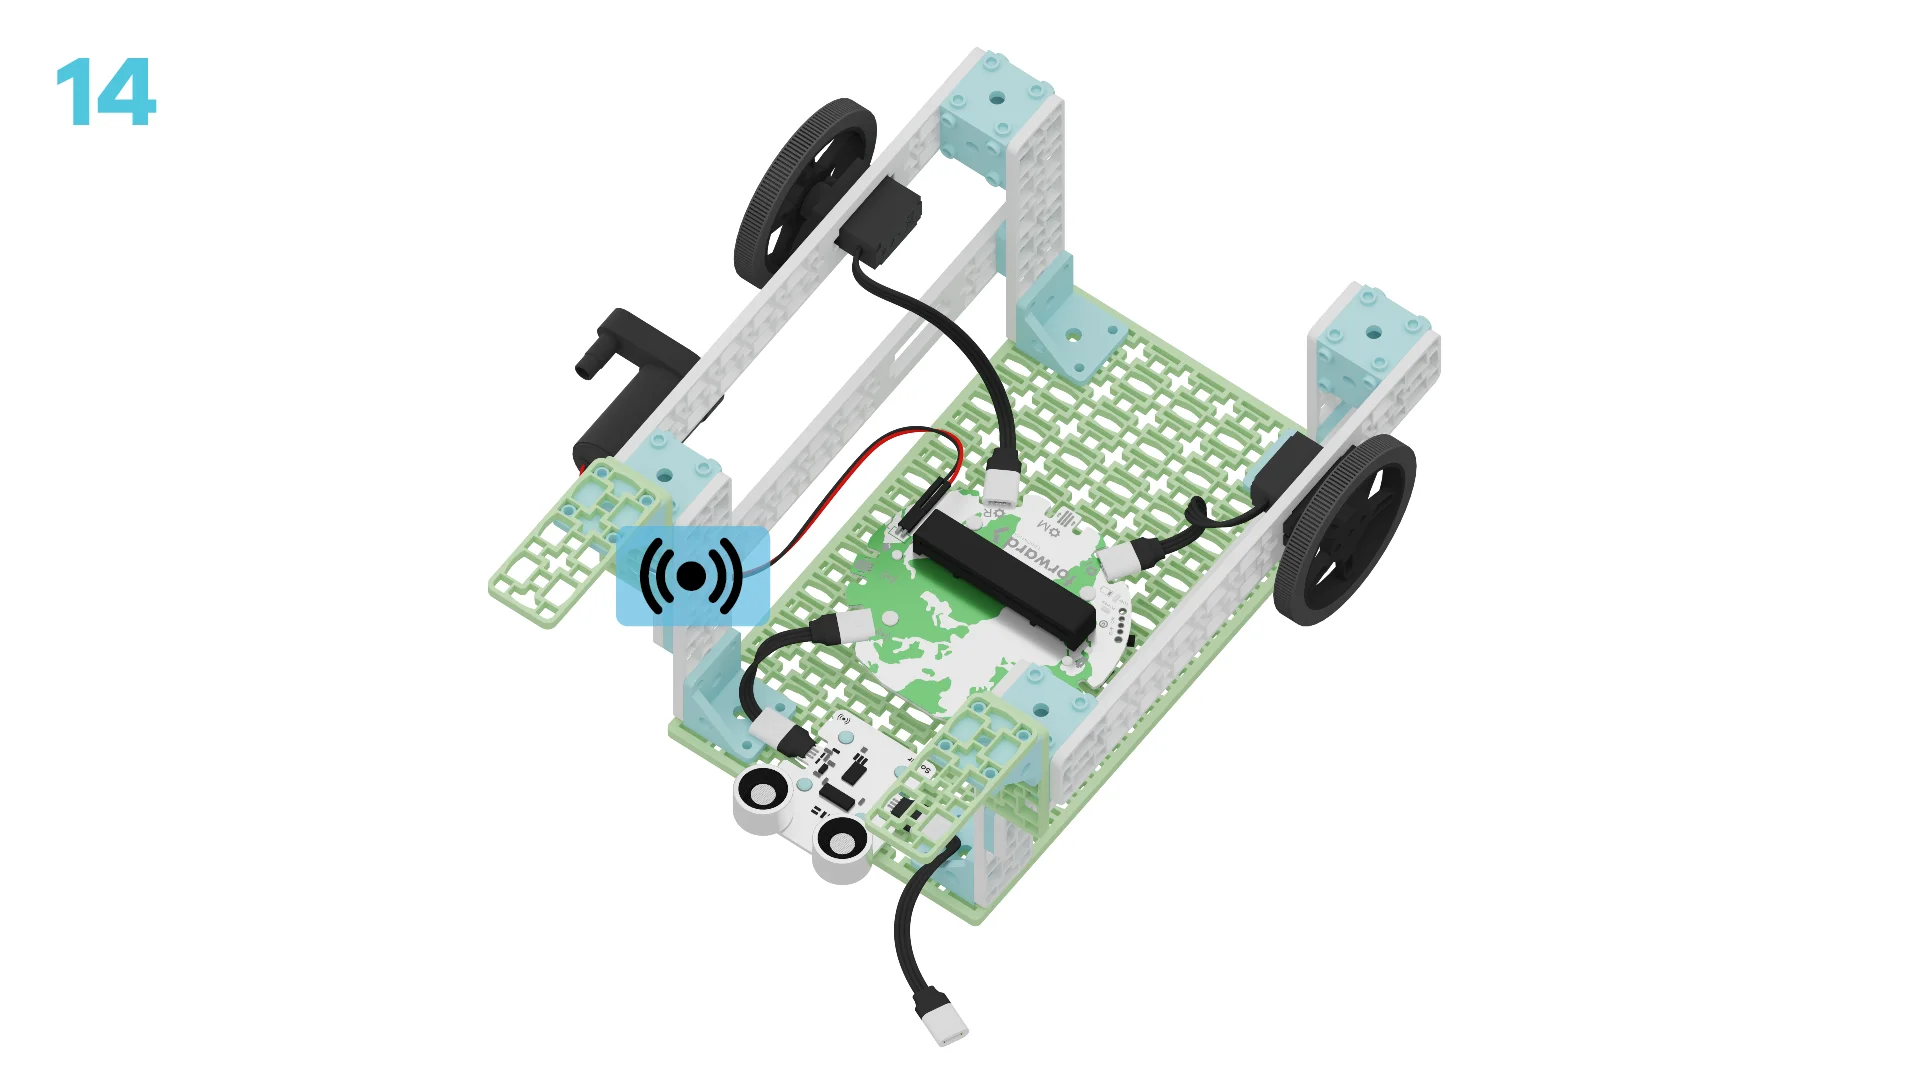
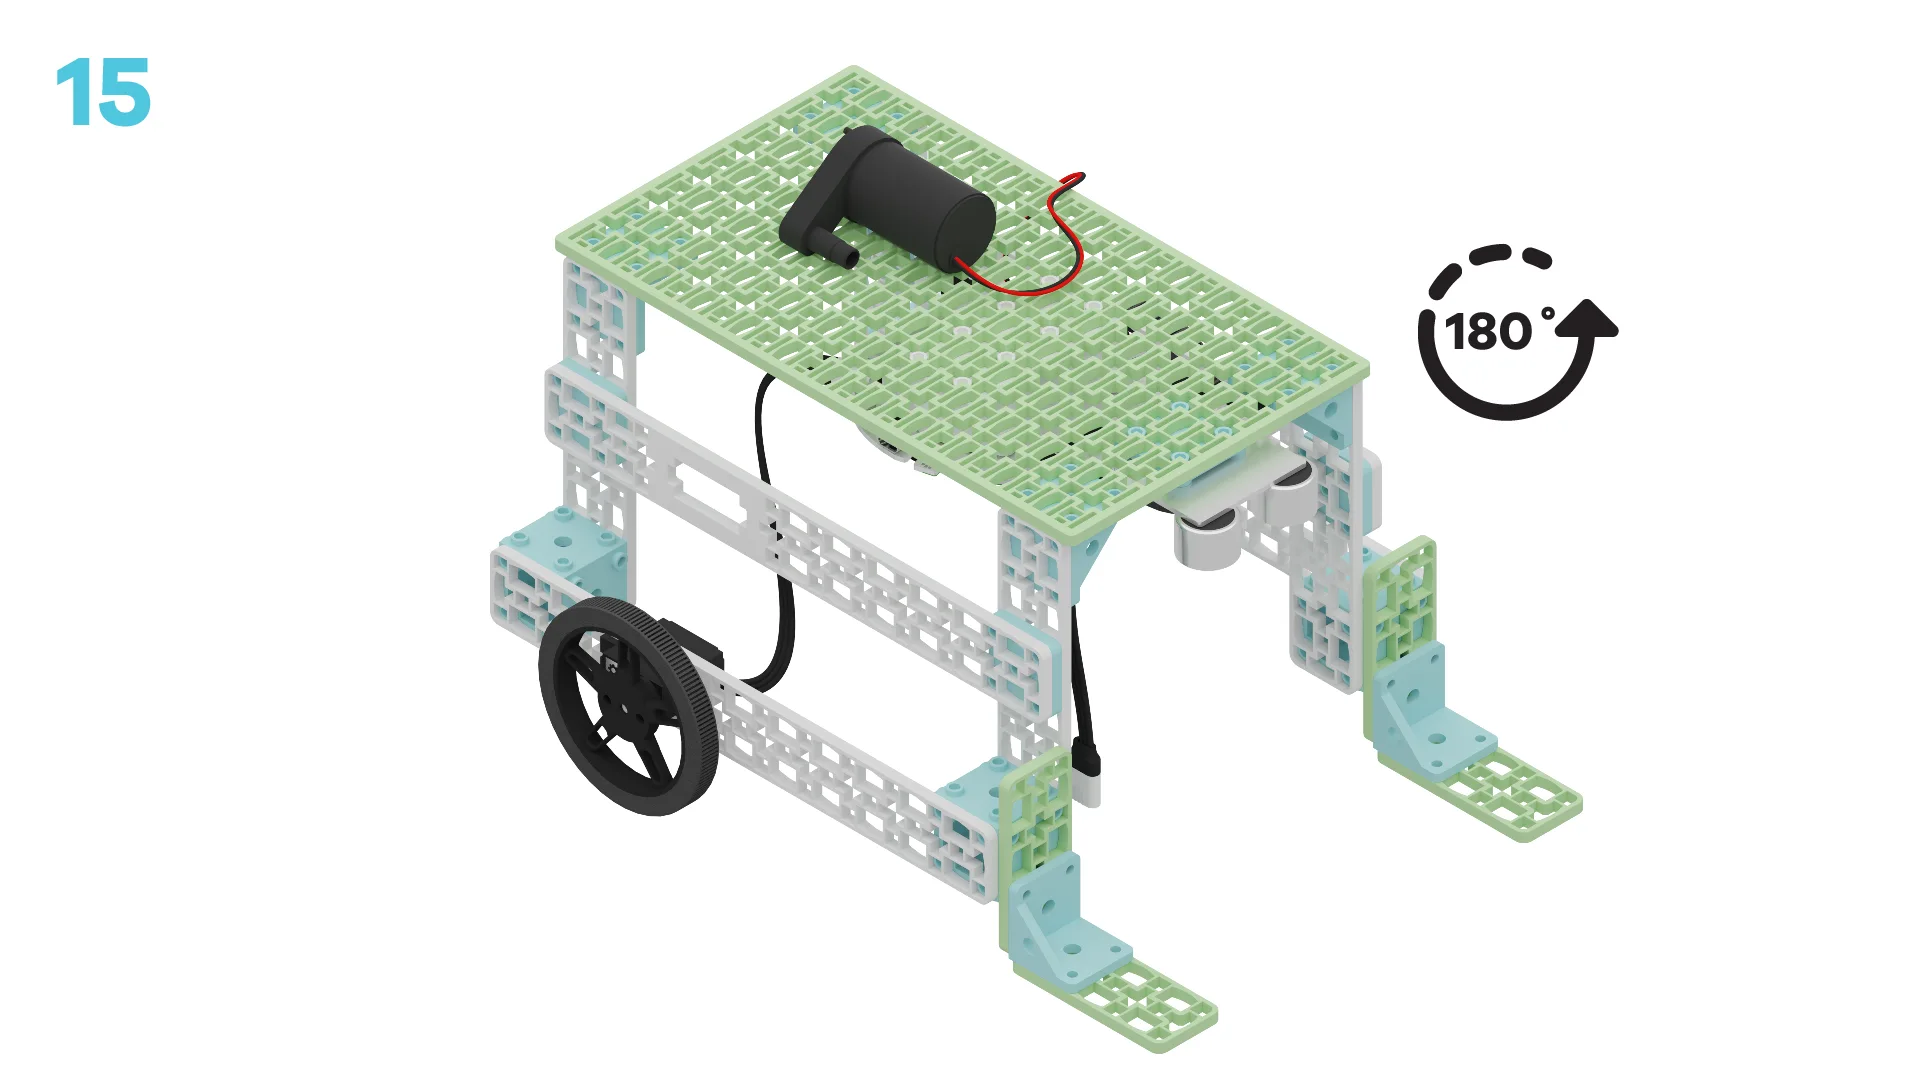
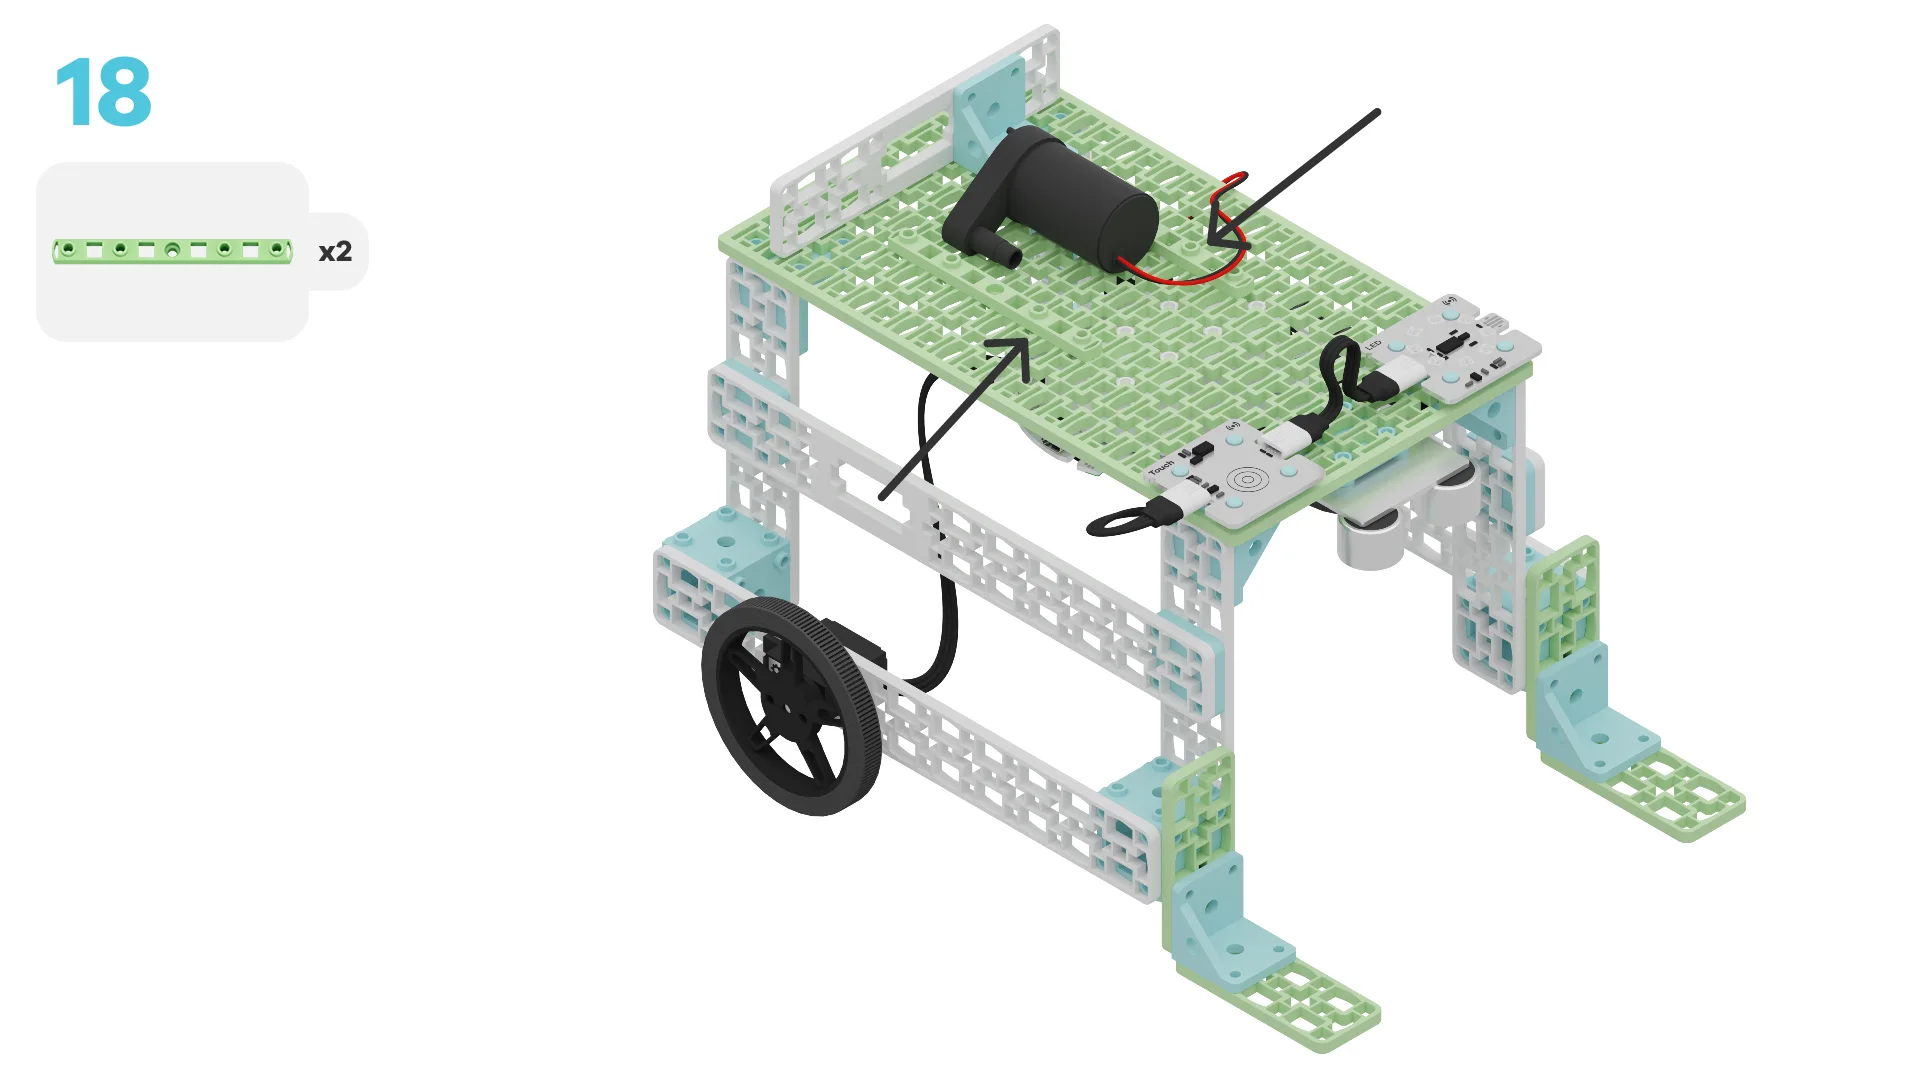
Note: Simply place the pump on top of the vehicle. We will not use water while testing the prototype.
Note: If you'd like to attach the plastic tubing to the pump, you may secure it around this medium frame and pass it through the servo hole. This will help ensure the water comes from the back of the vehicle.
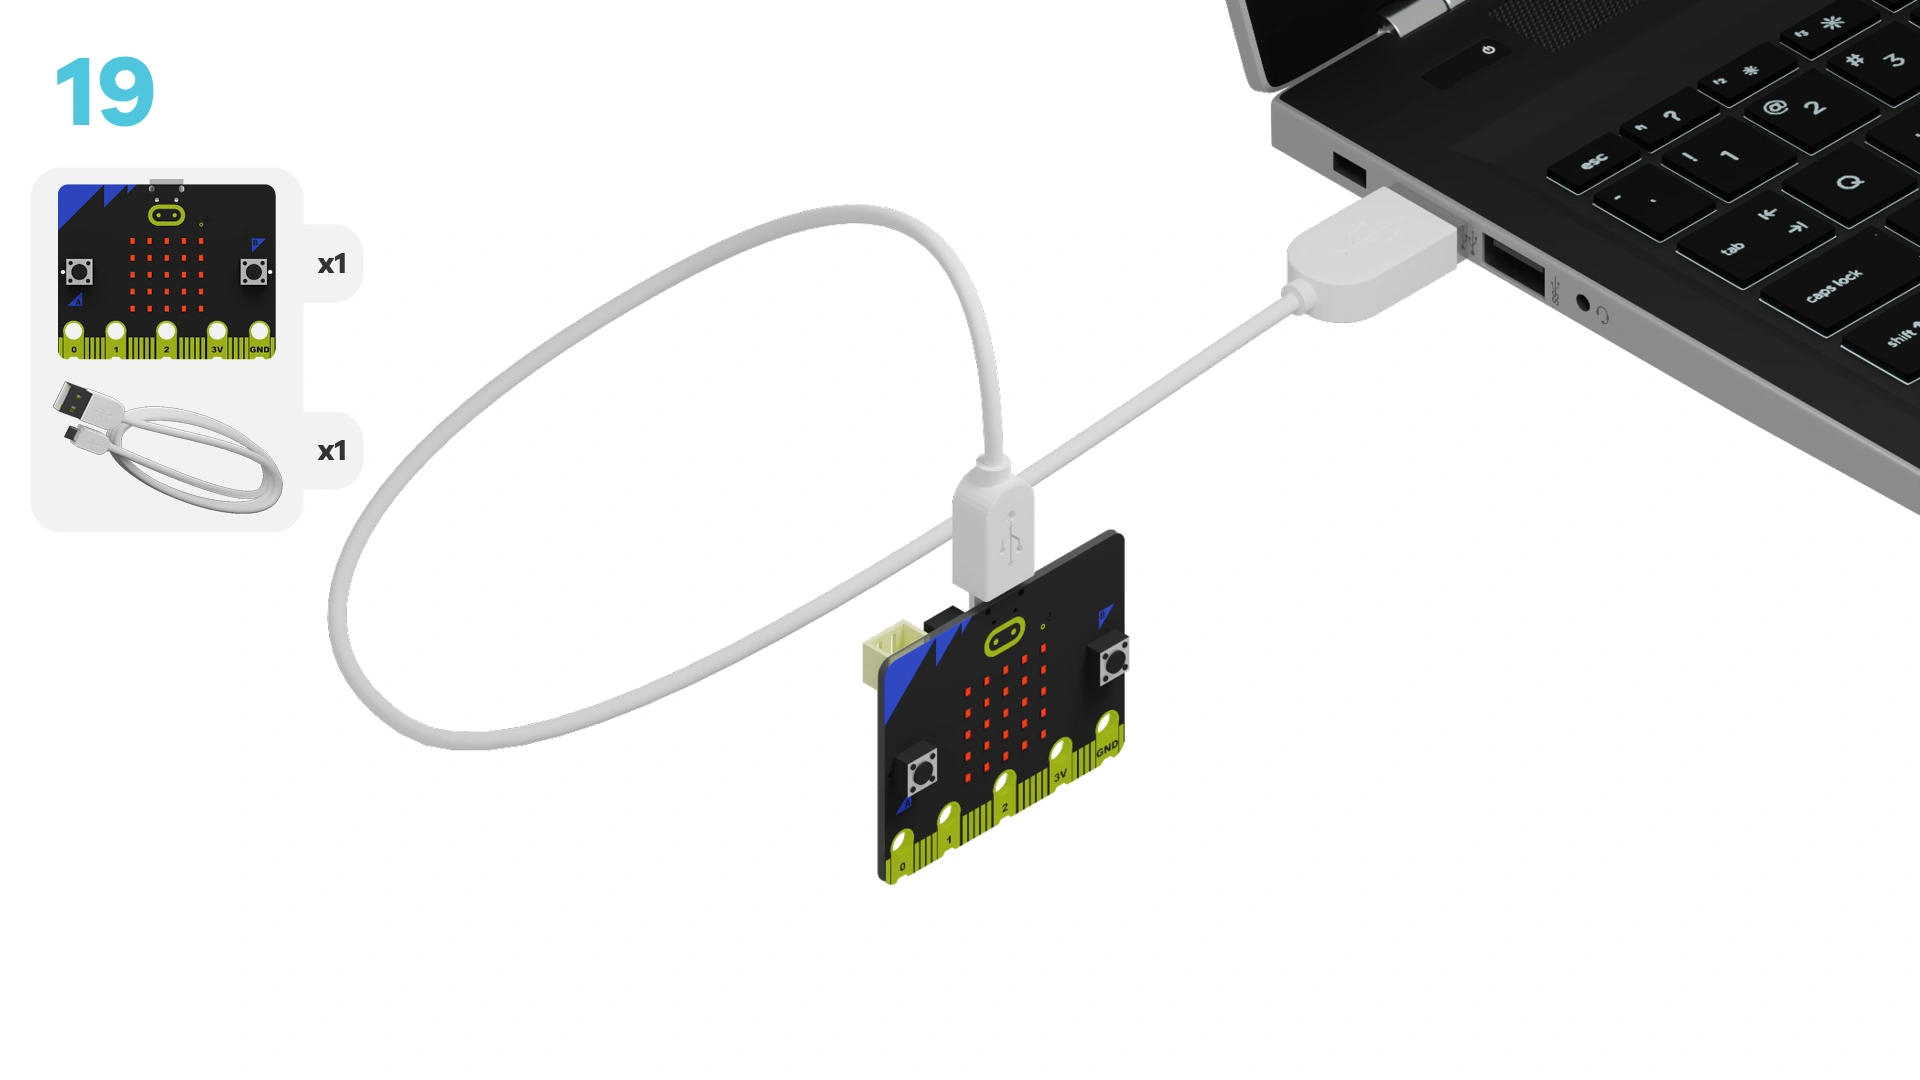
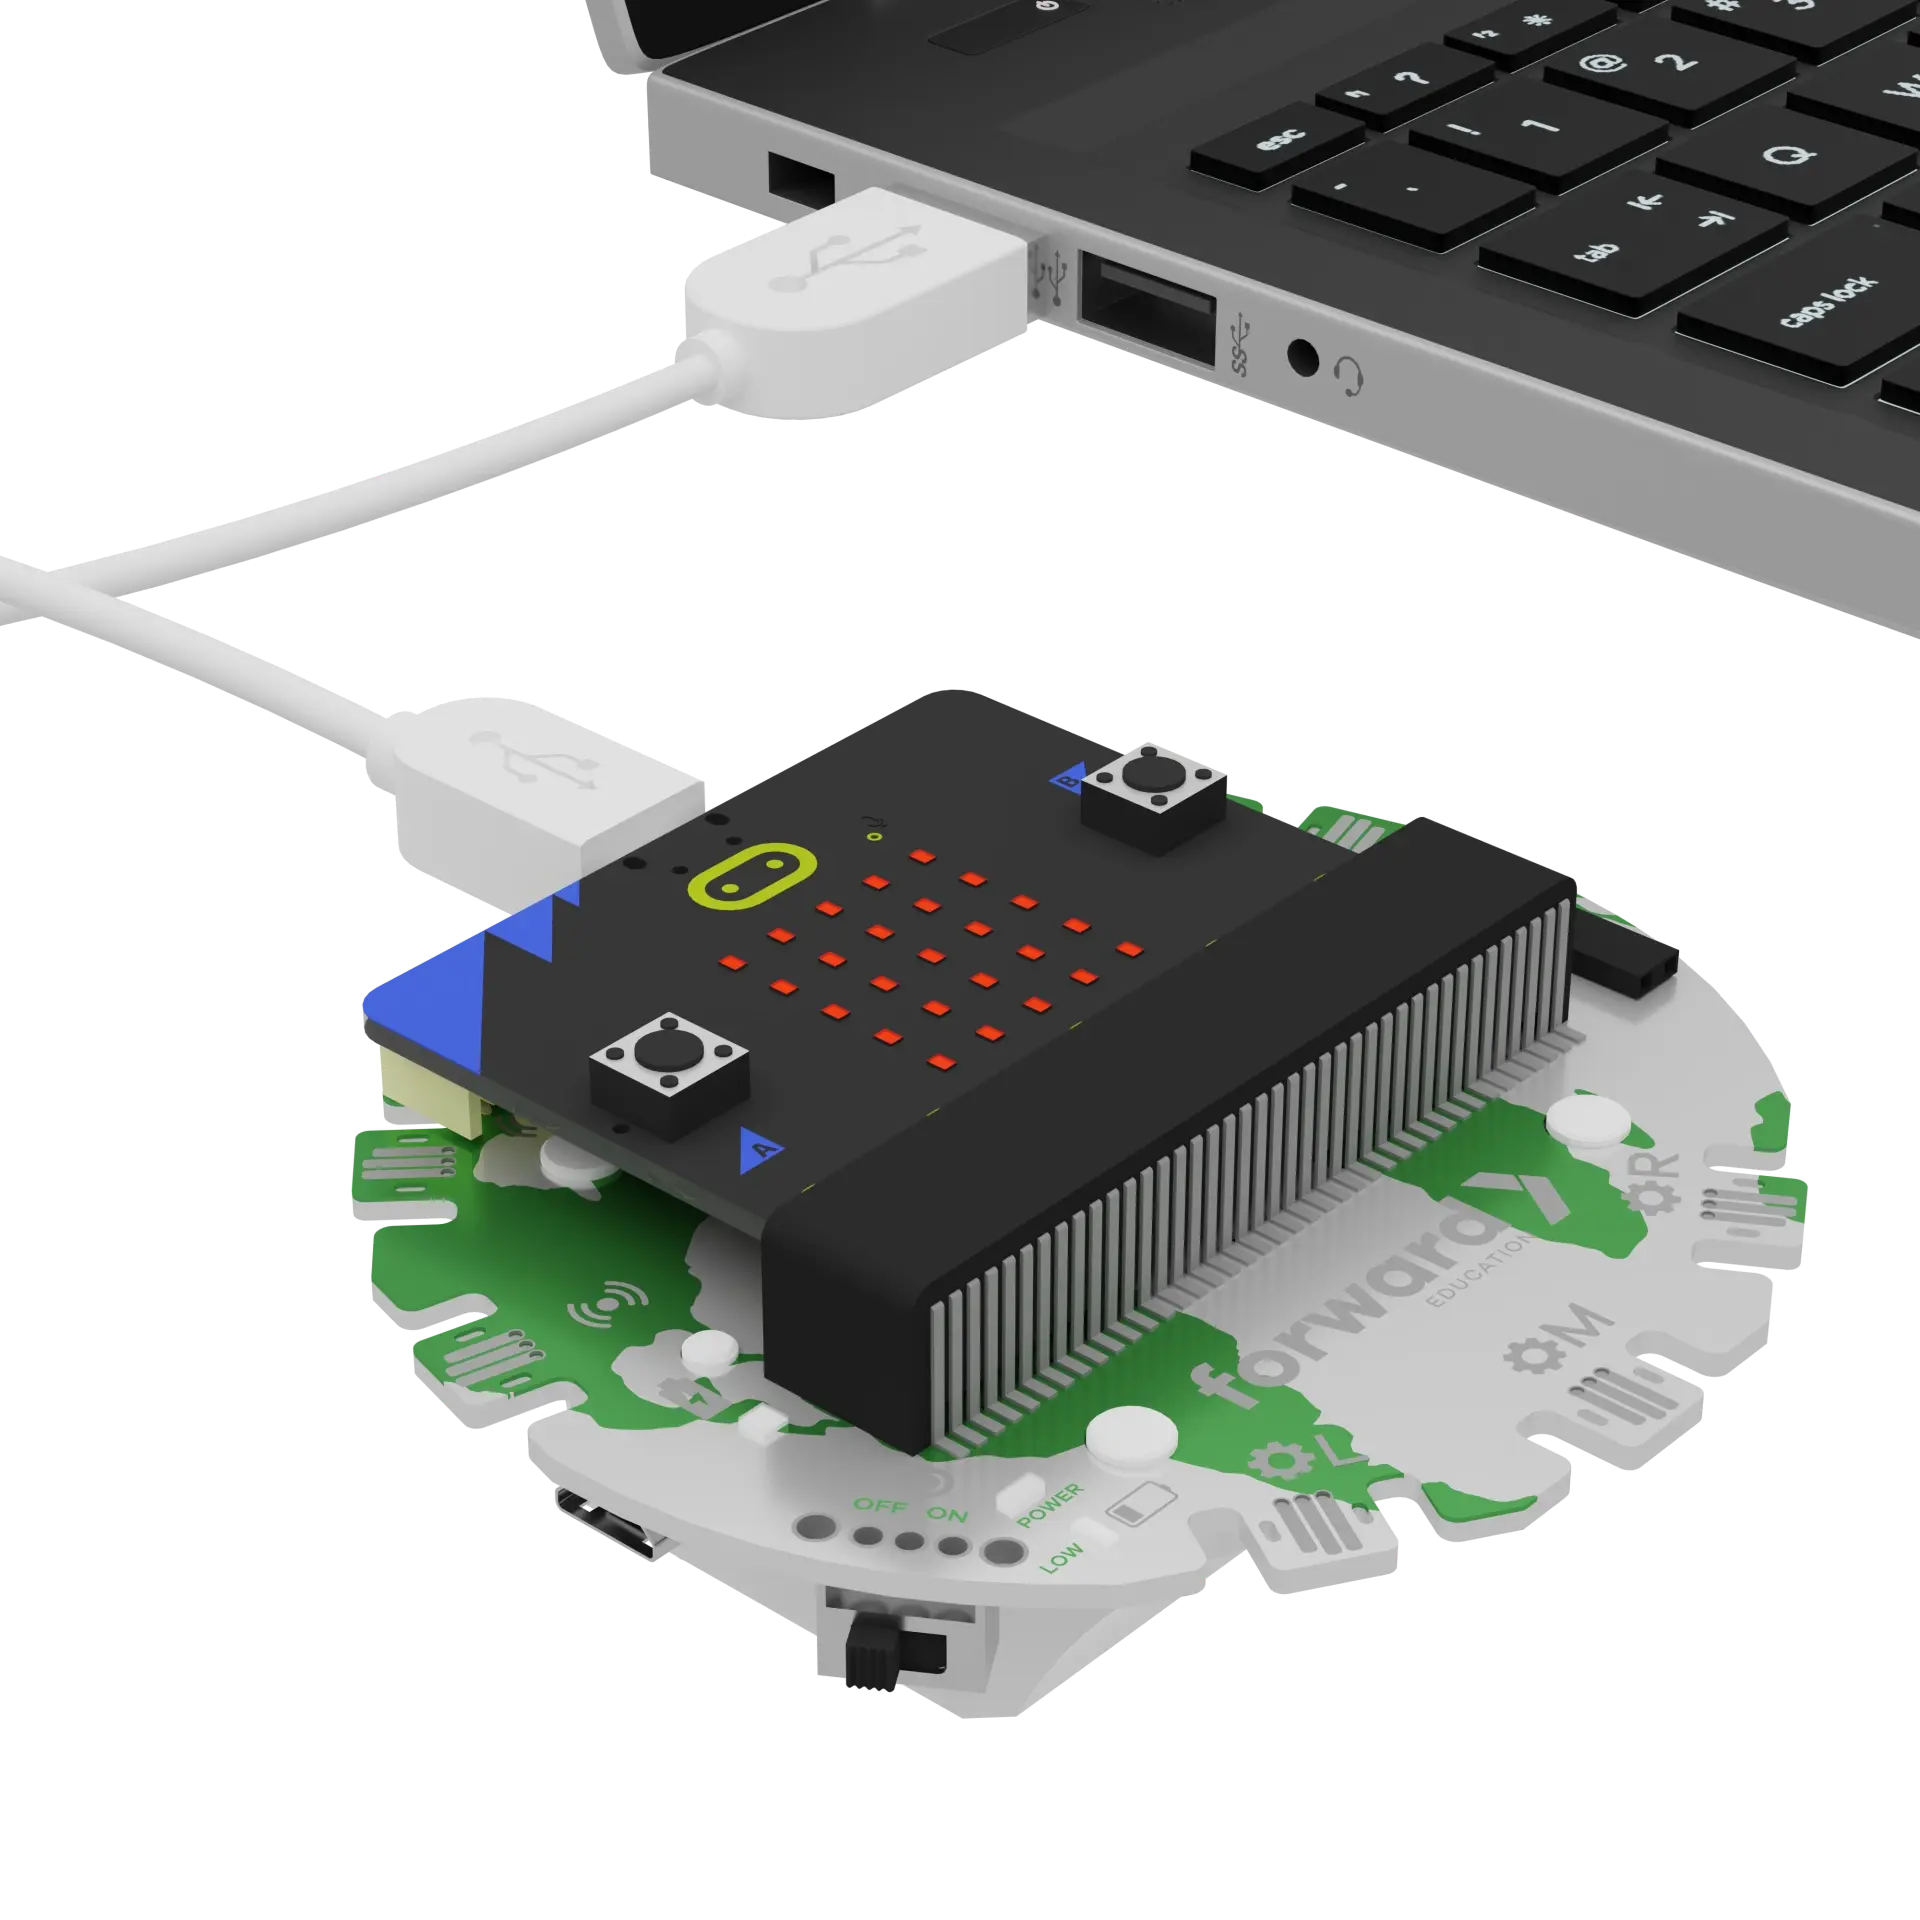
We need to connect our project to the computer to make it come to life with code!
The code will be the instructions that tell our micro:bit what to do.
IMPORTANT! Make sure your Climate Action Kit Breakout Board is turned on and your micro:bit is plugged into your computer.
Click the three dots beside the |Download| button, then click on Connect Device.
Next, follow the steps to pair your micro:bit.
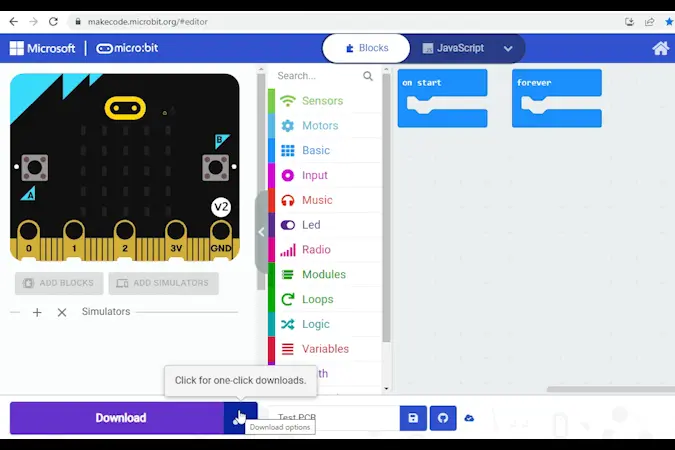
Next, click the |Download| button to download the code to your project.
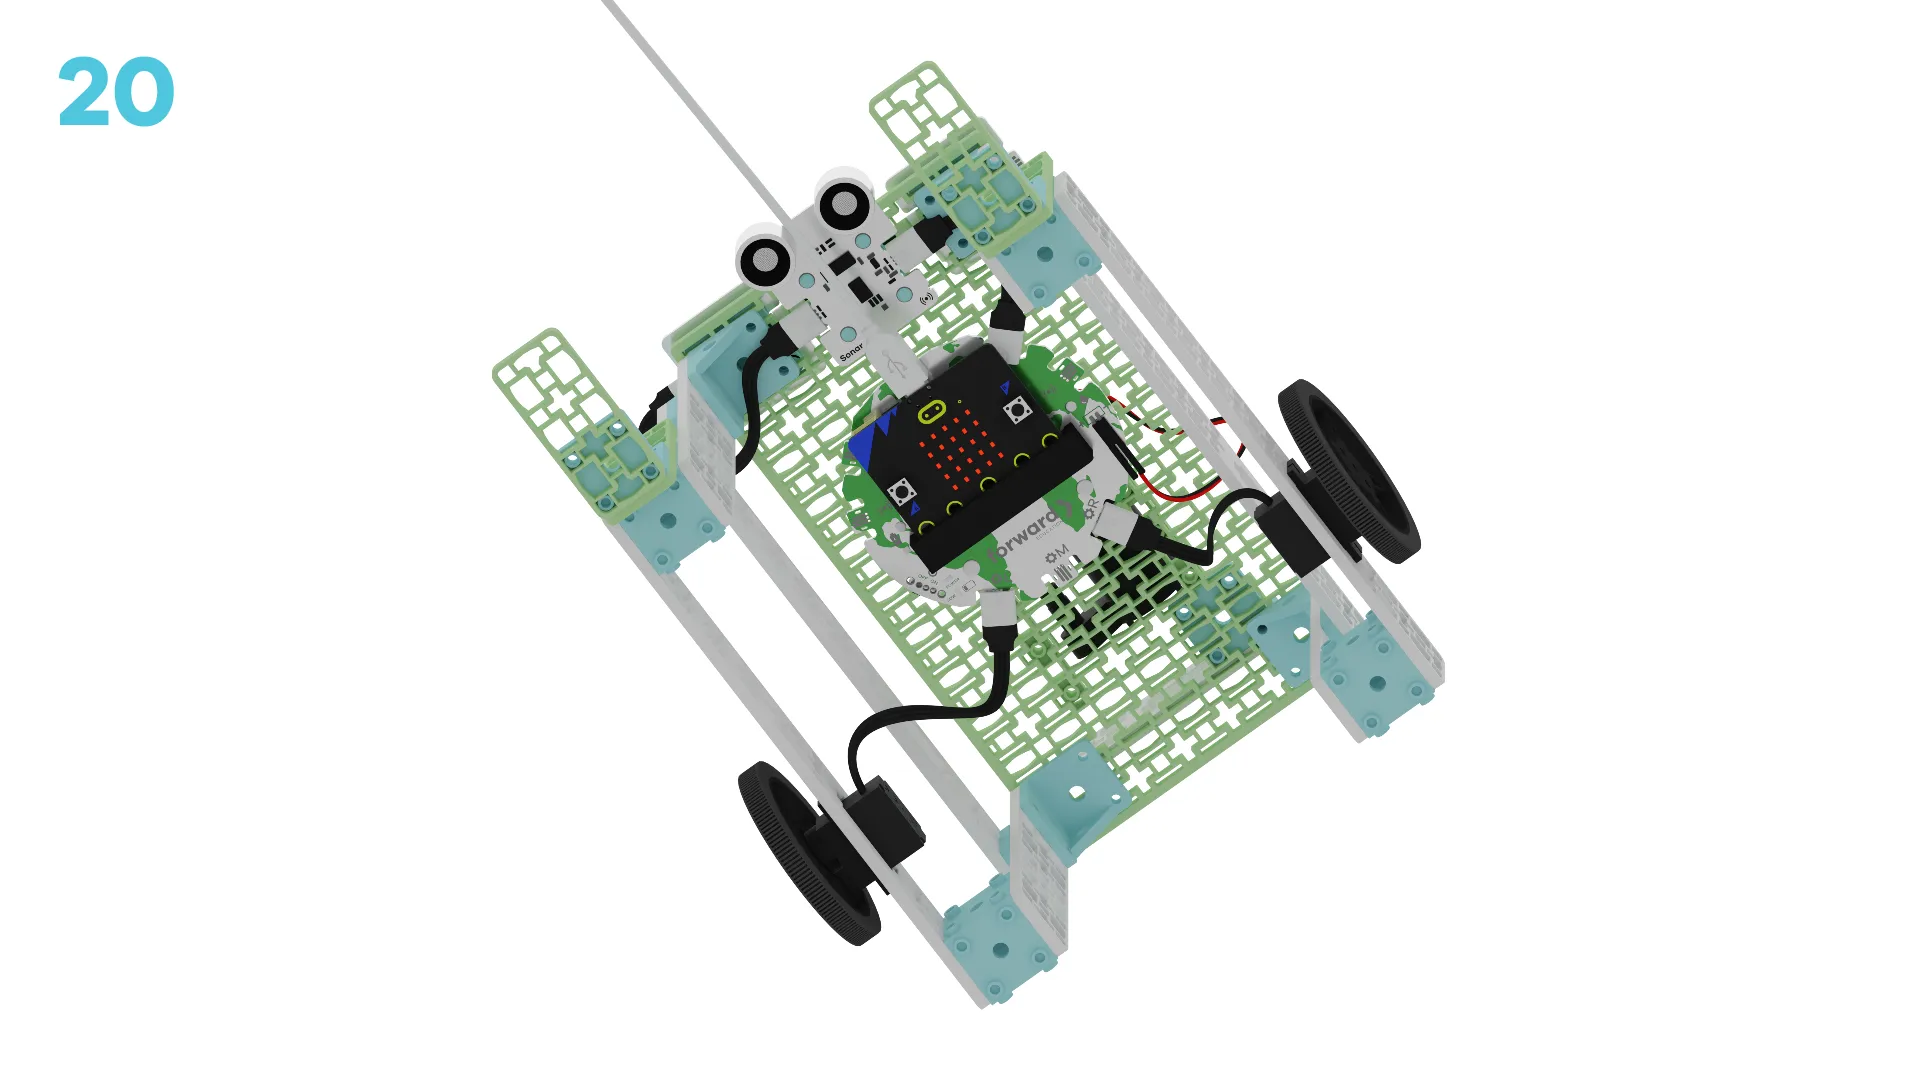
We are now ready to use our mobile irrigation system!
Tutorial Tips
- Follow the steps at the top of the screen.
- When you are ready for more detail, click 'Tell me more!'
- If you need help with the code, click the lightbulb!
Take a close look at the mobile irrigation system you just built. Can you identify and name each part you used?
~hint Tell me more! This system uses:
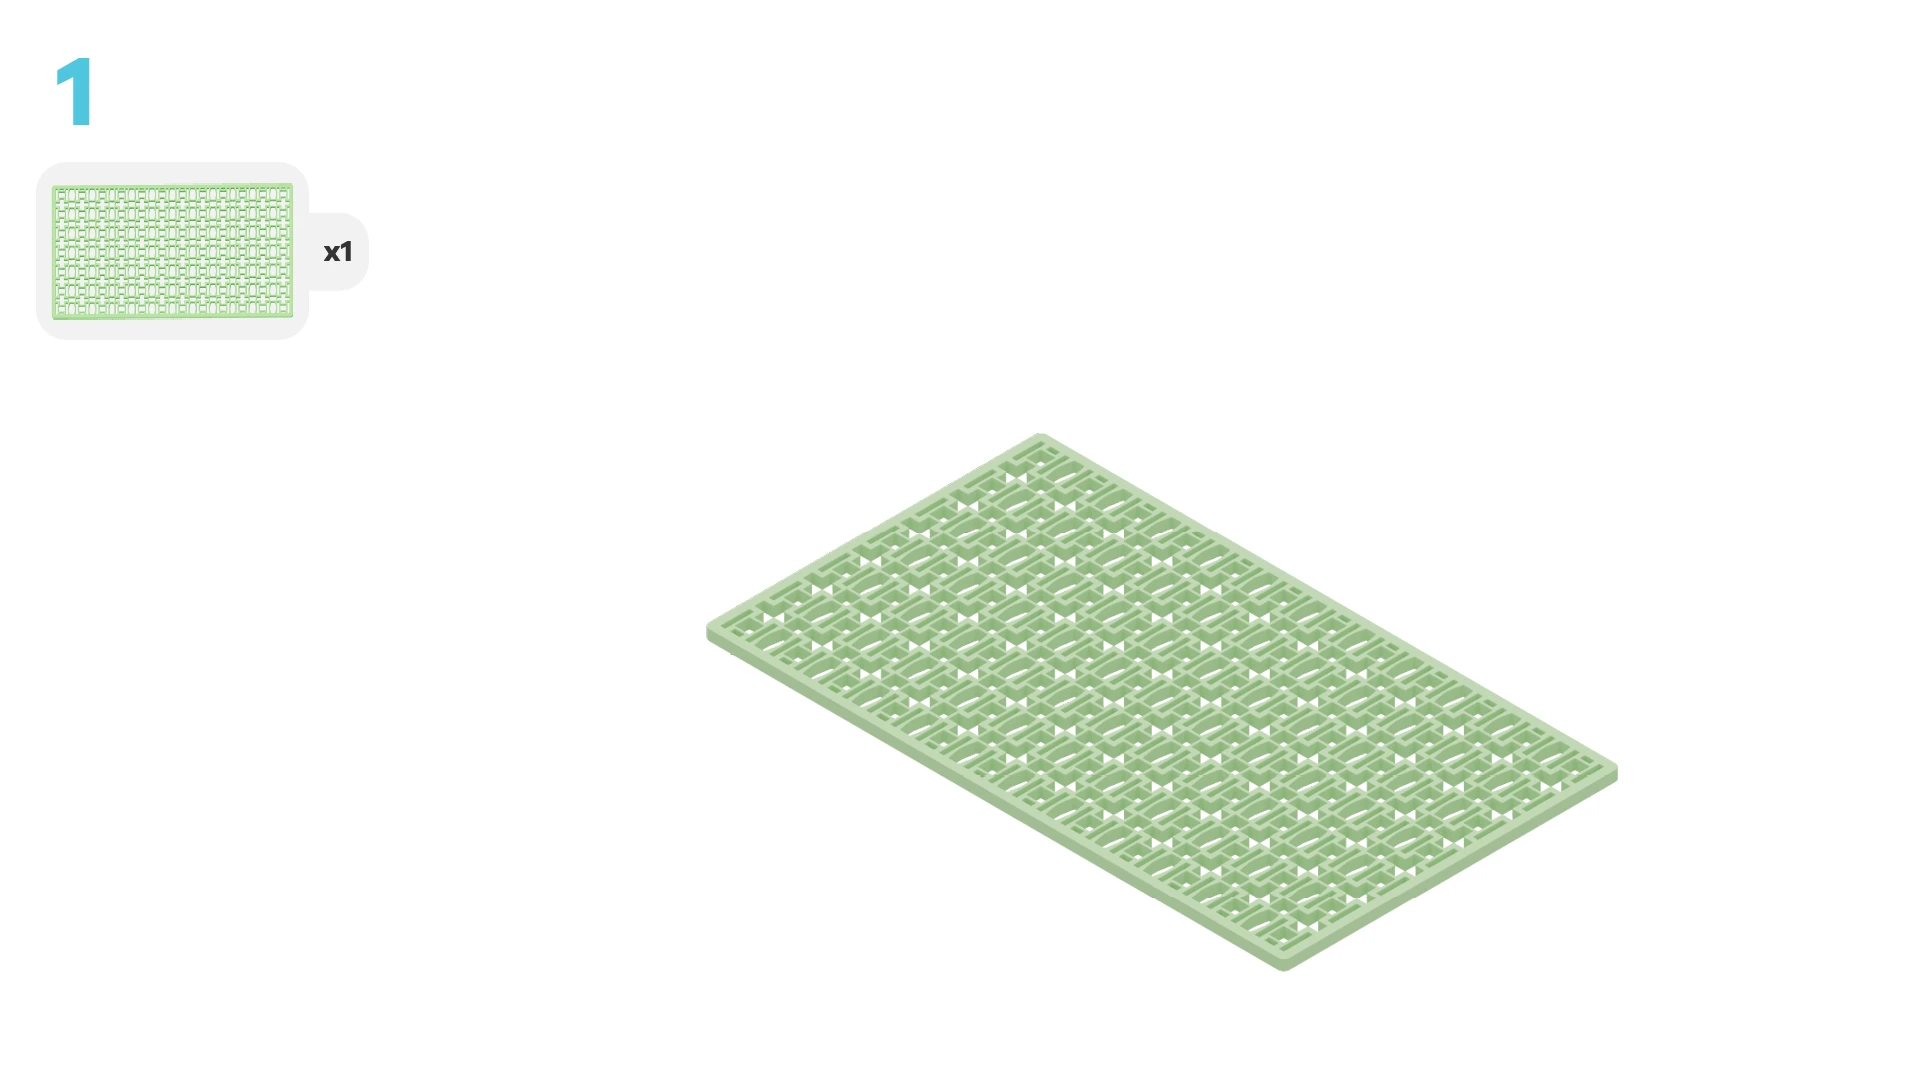
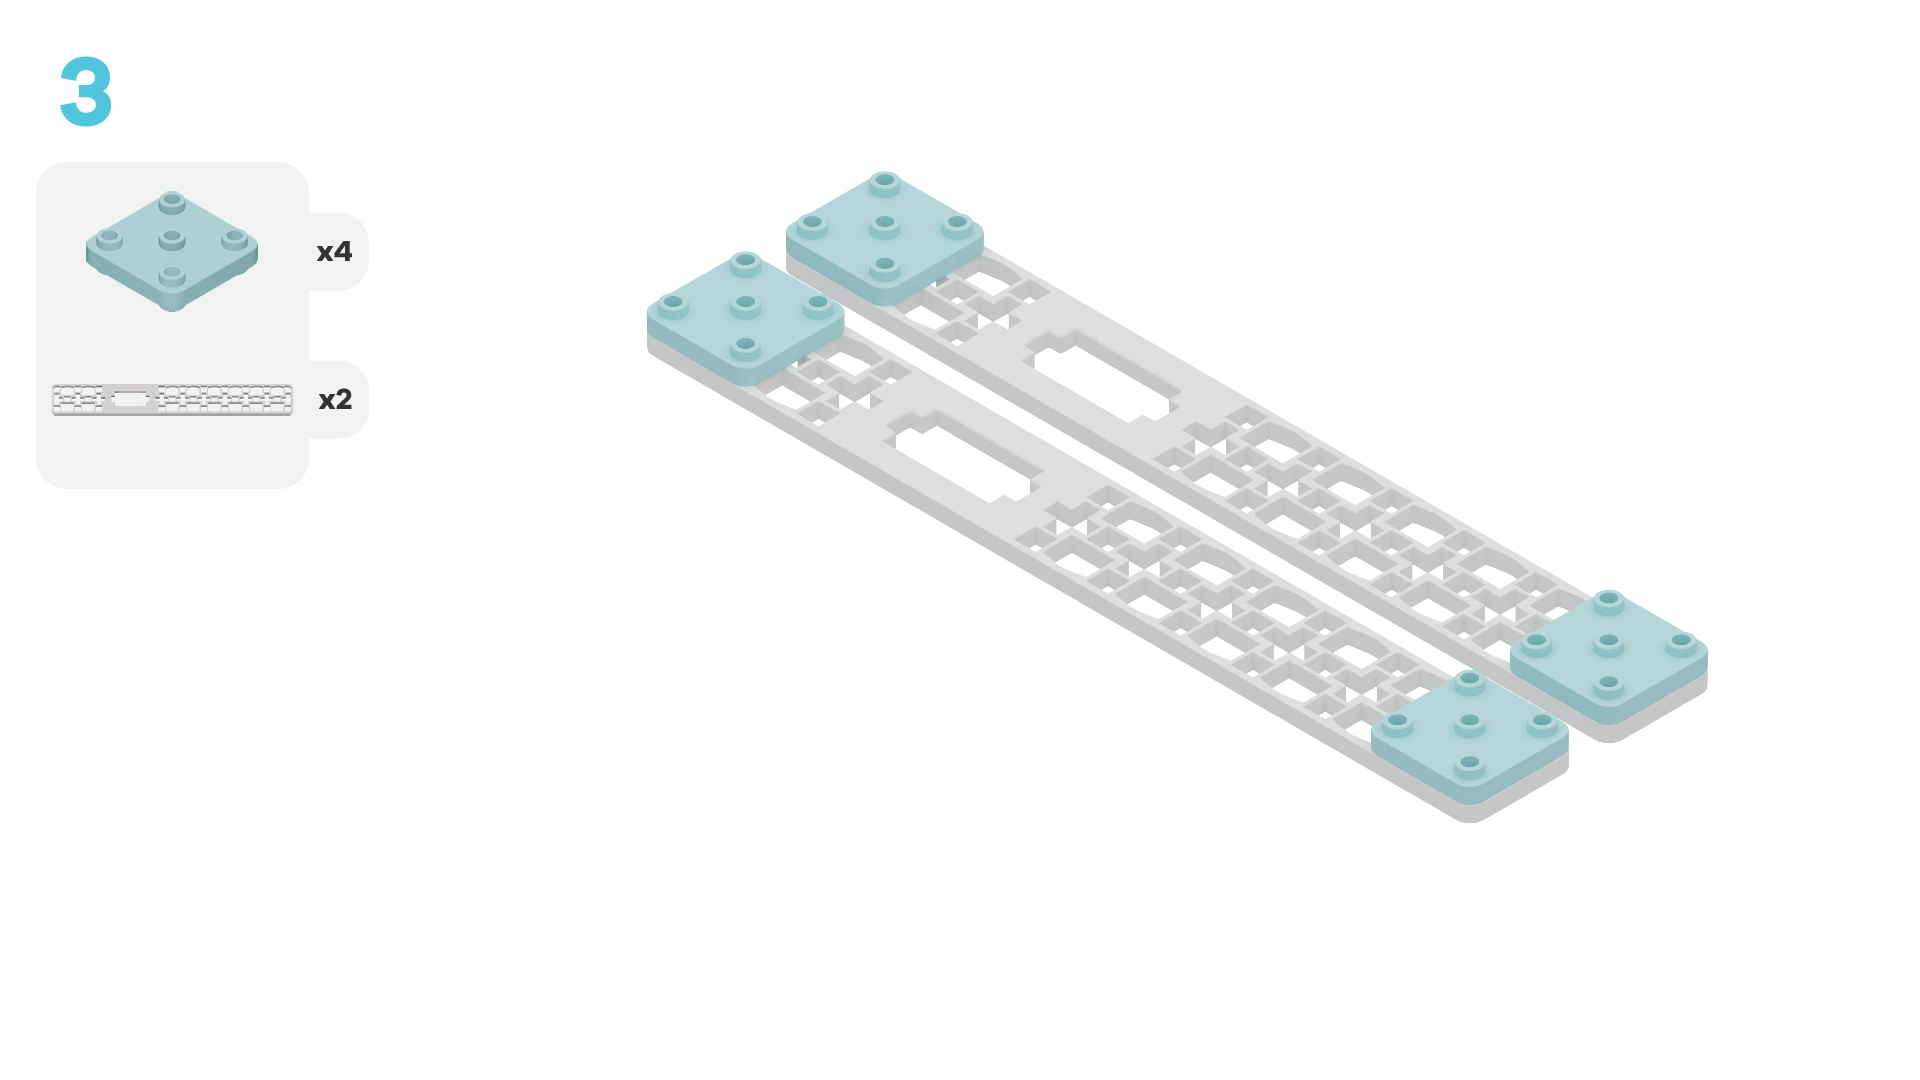
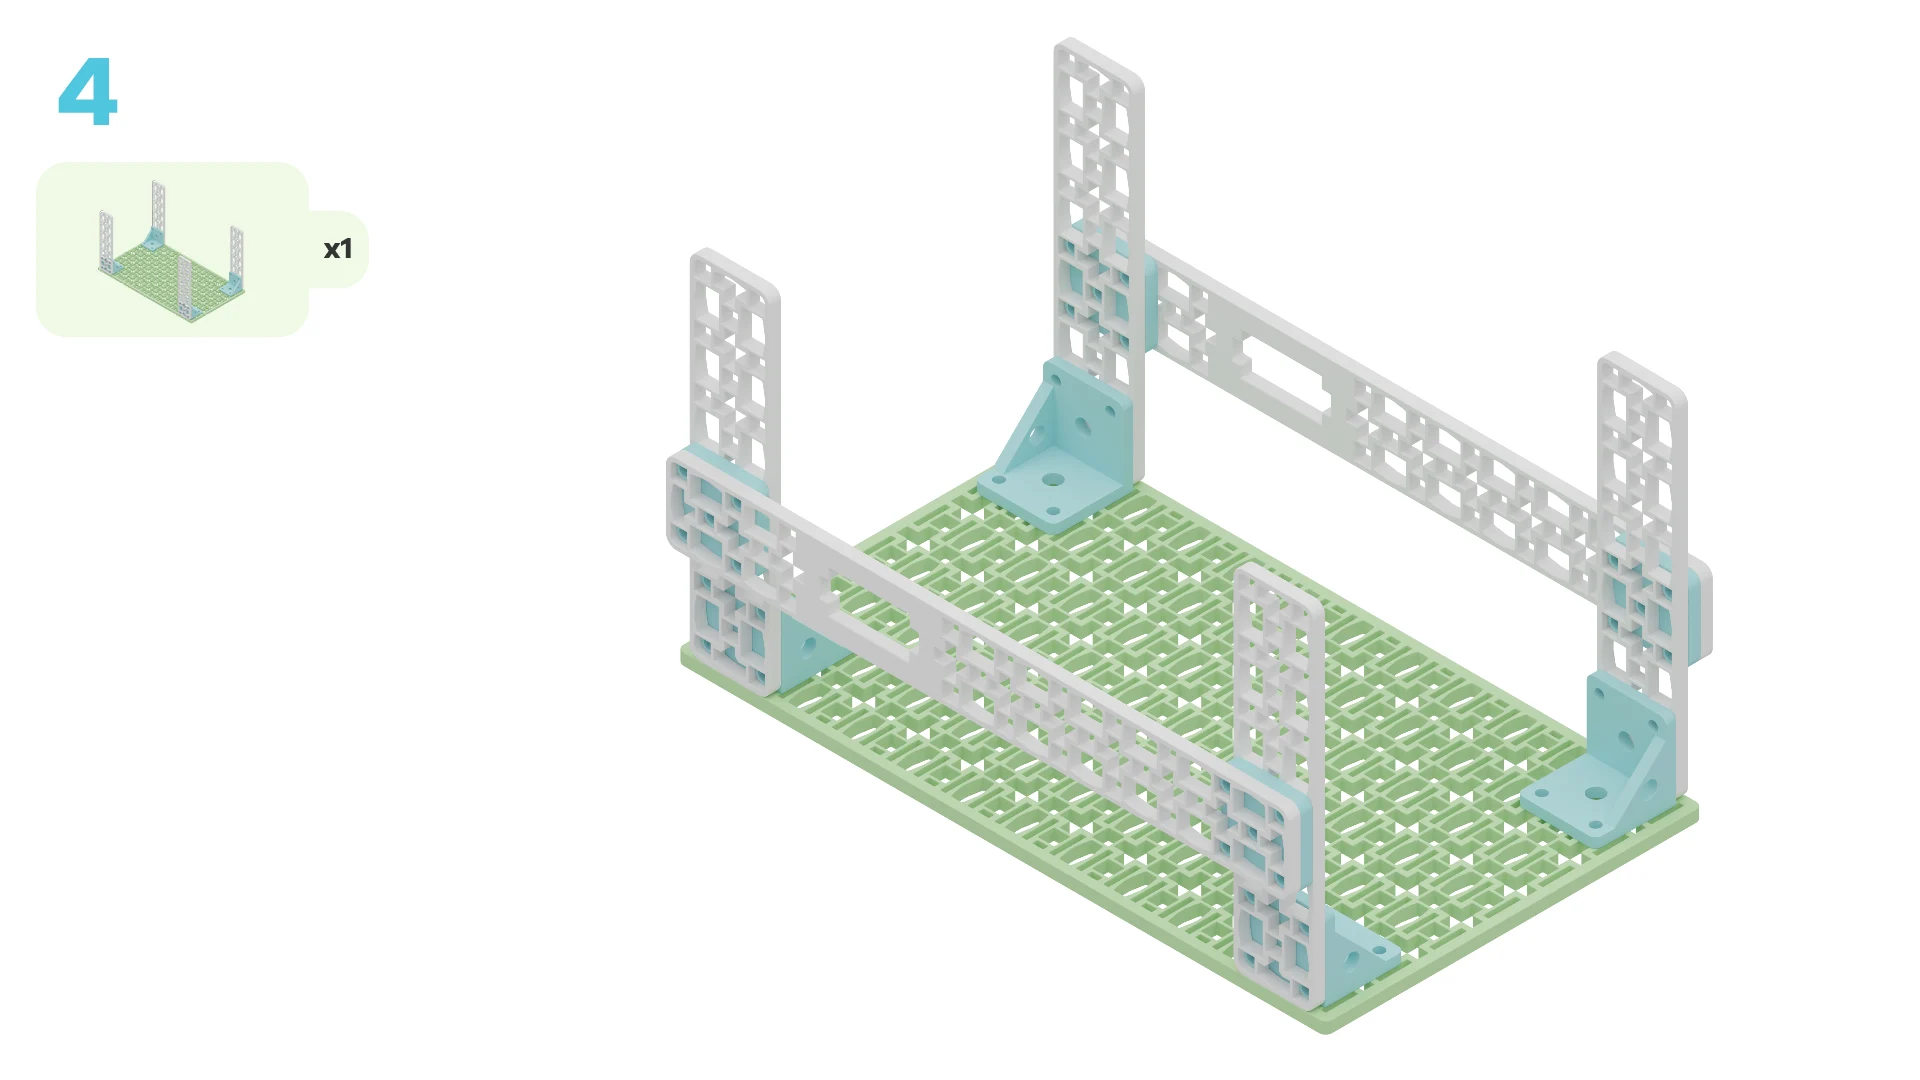
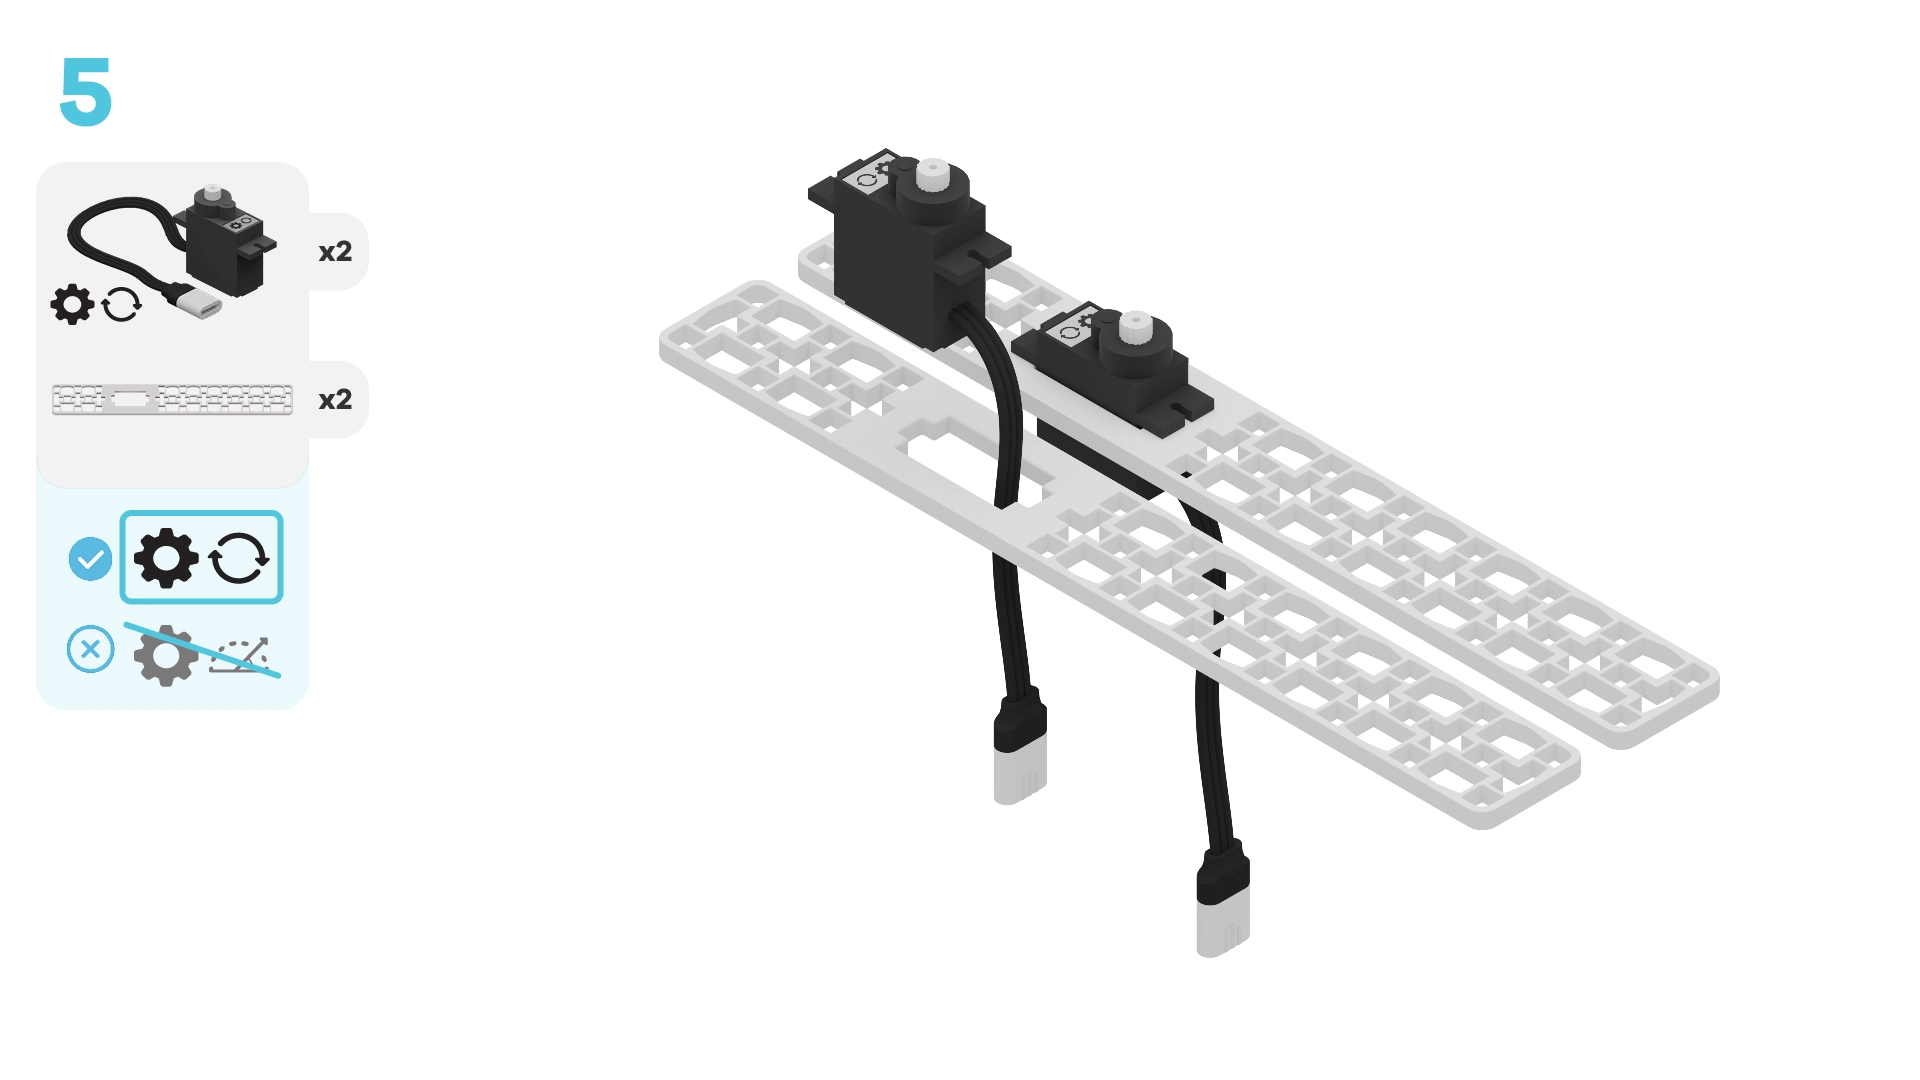
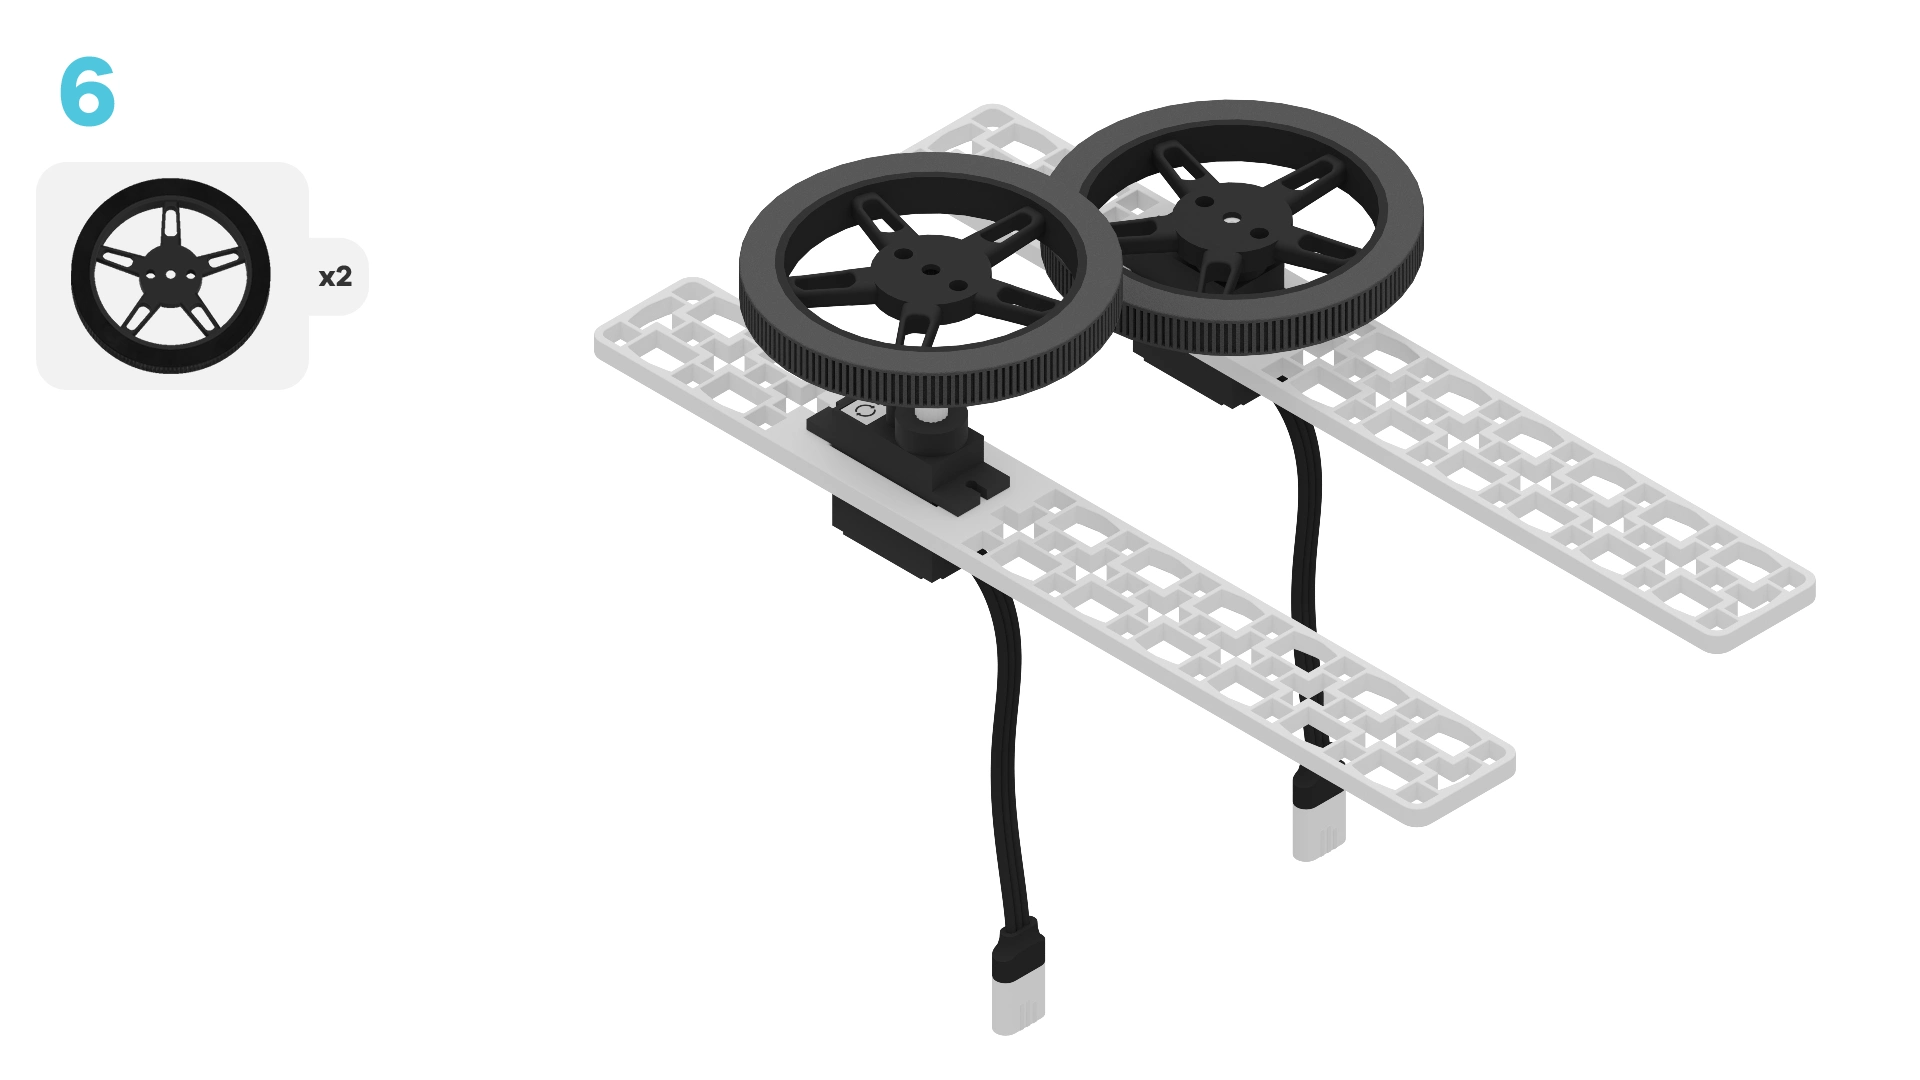
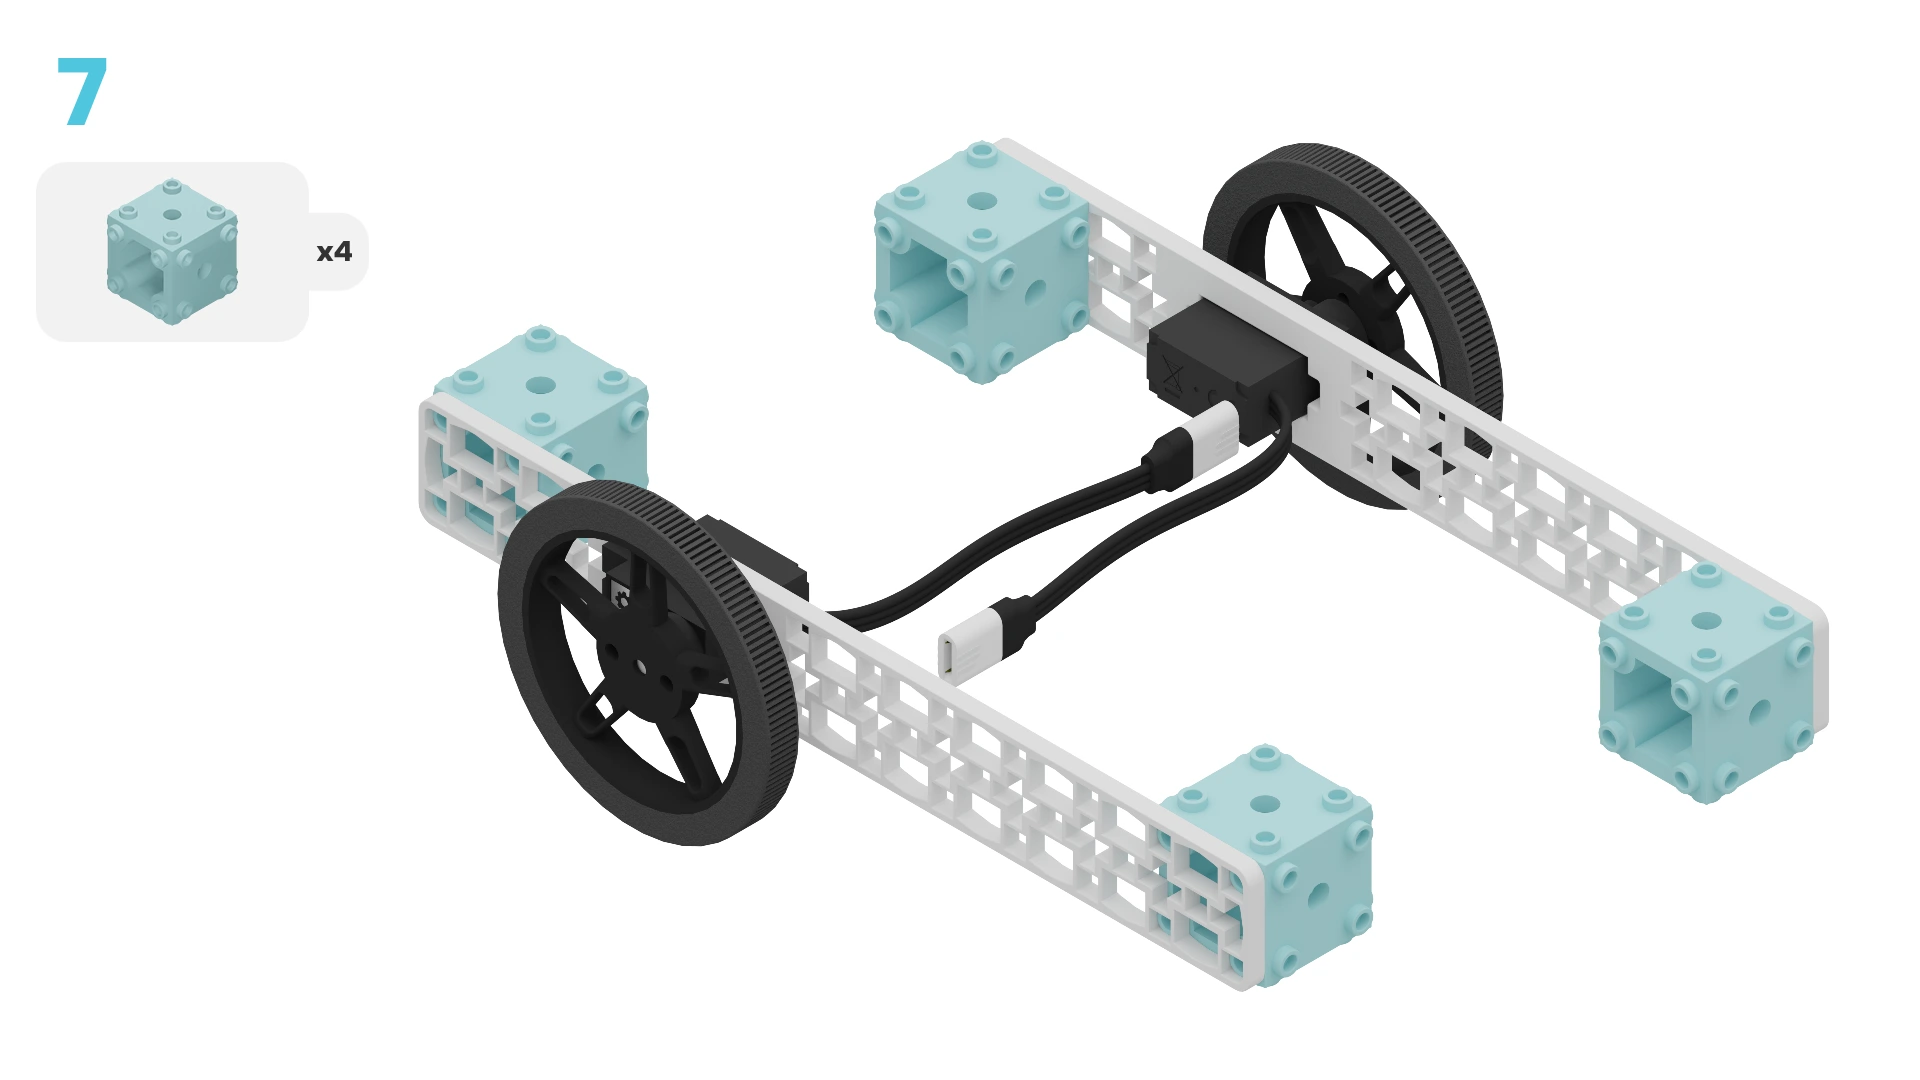
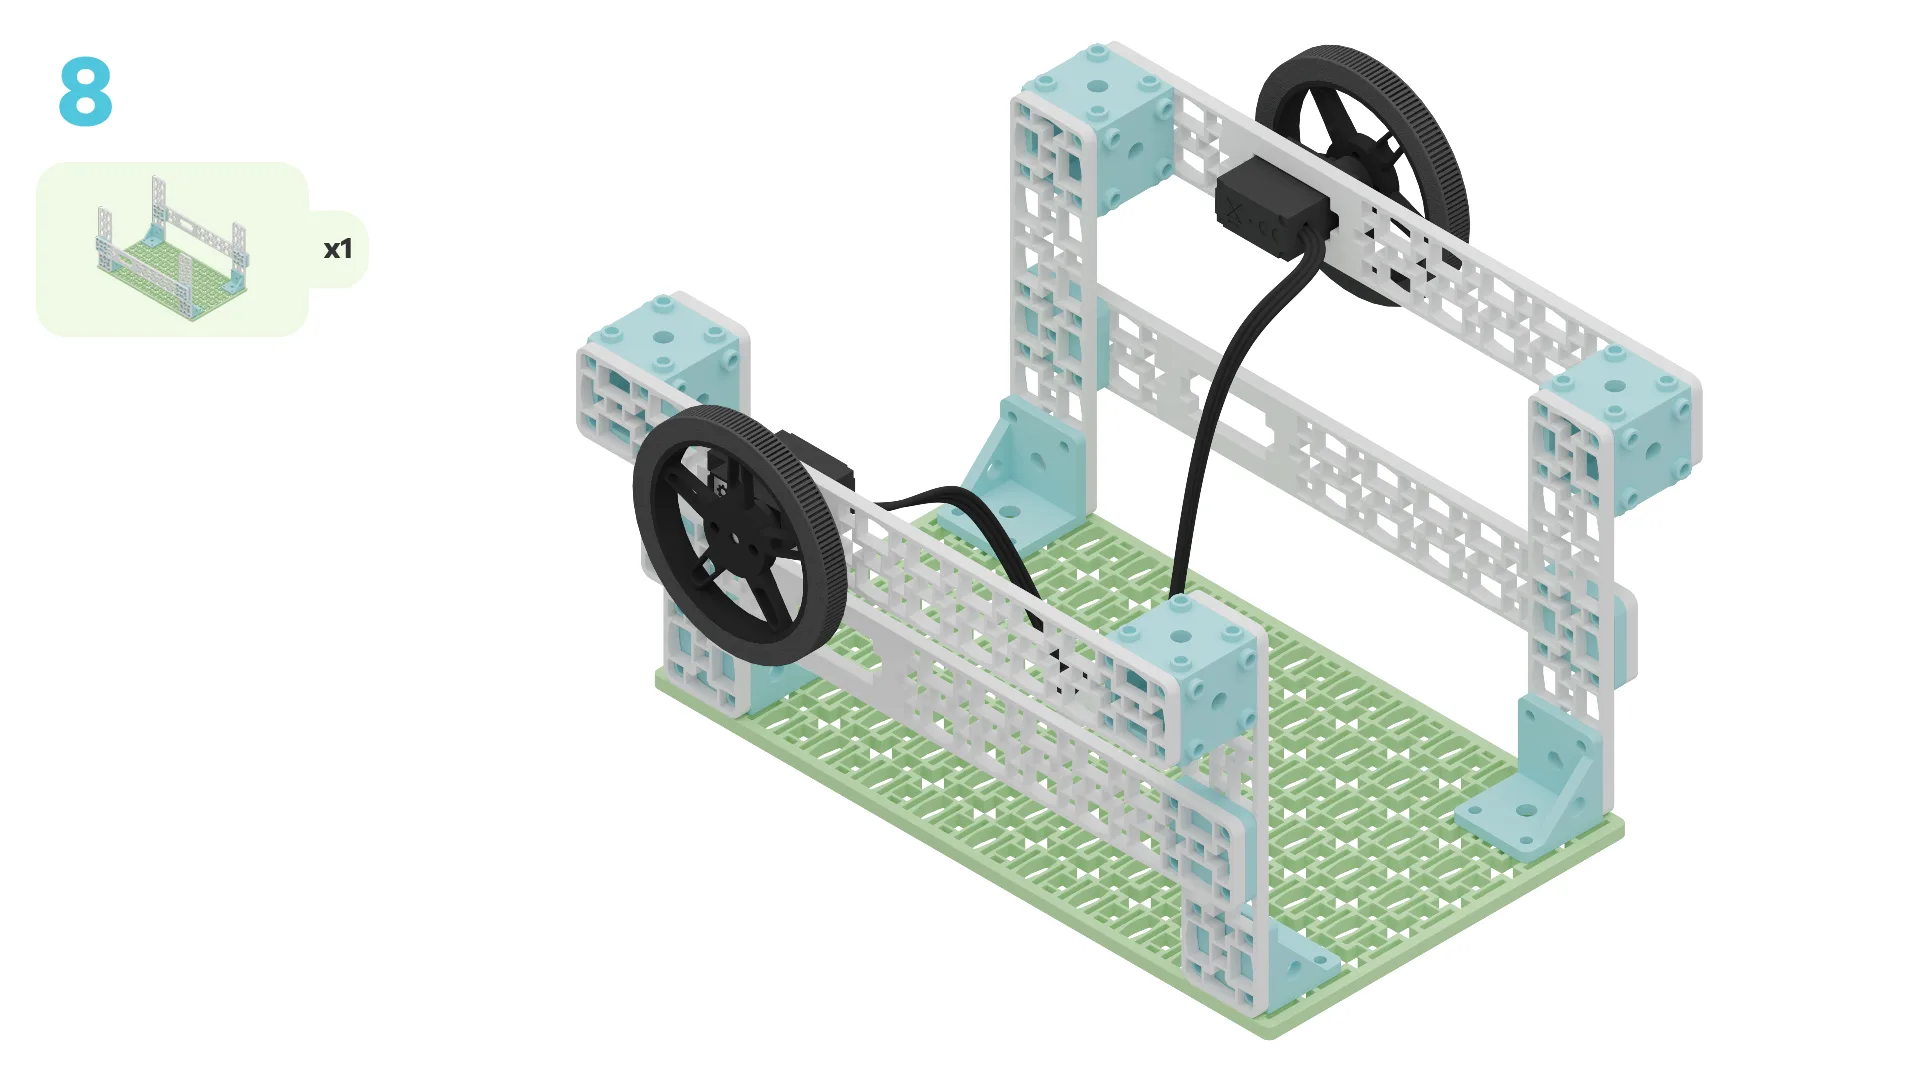
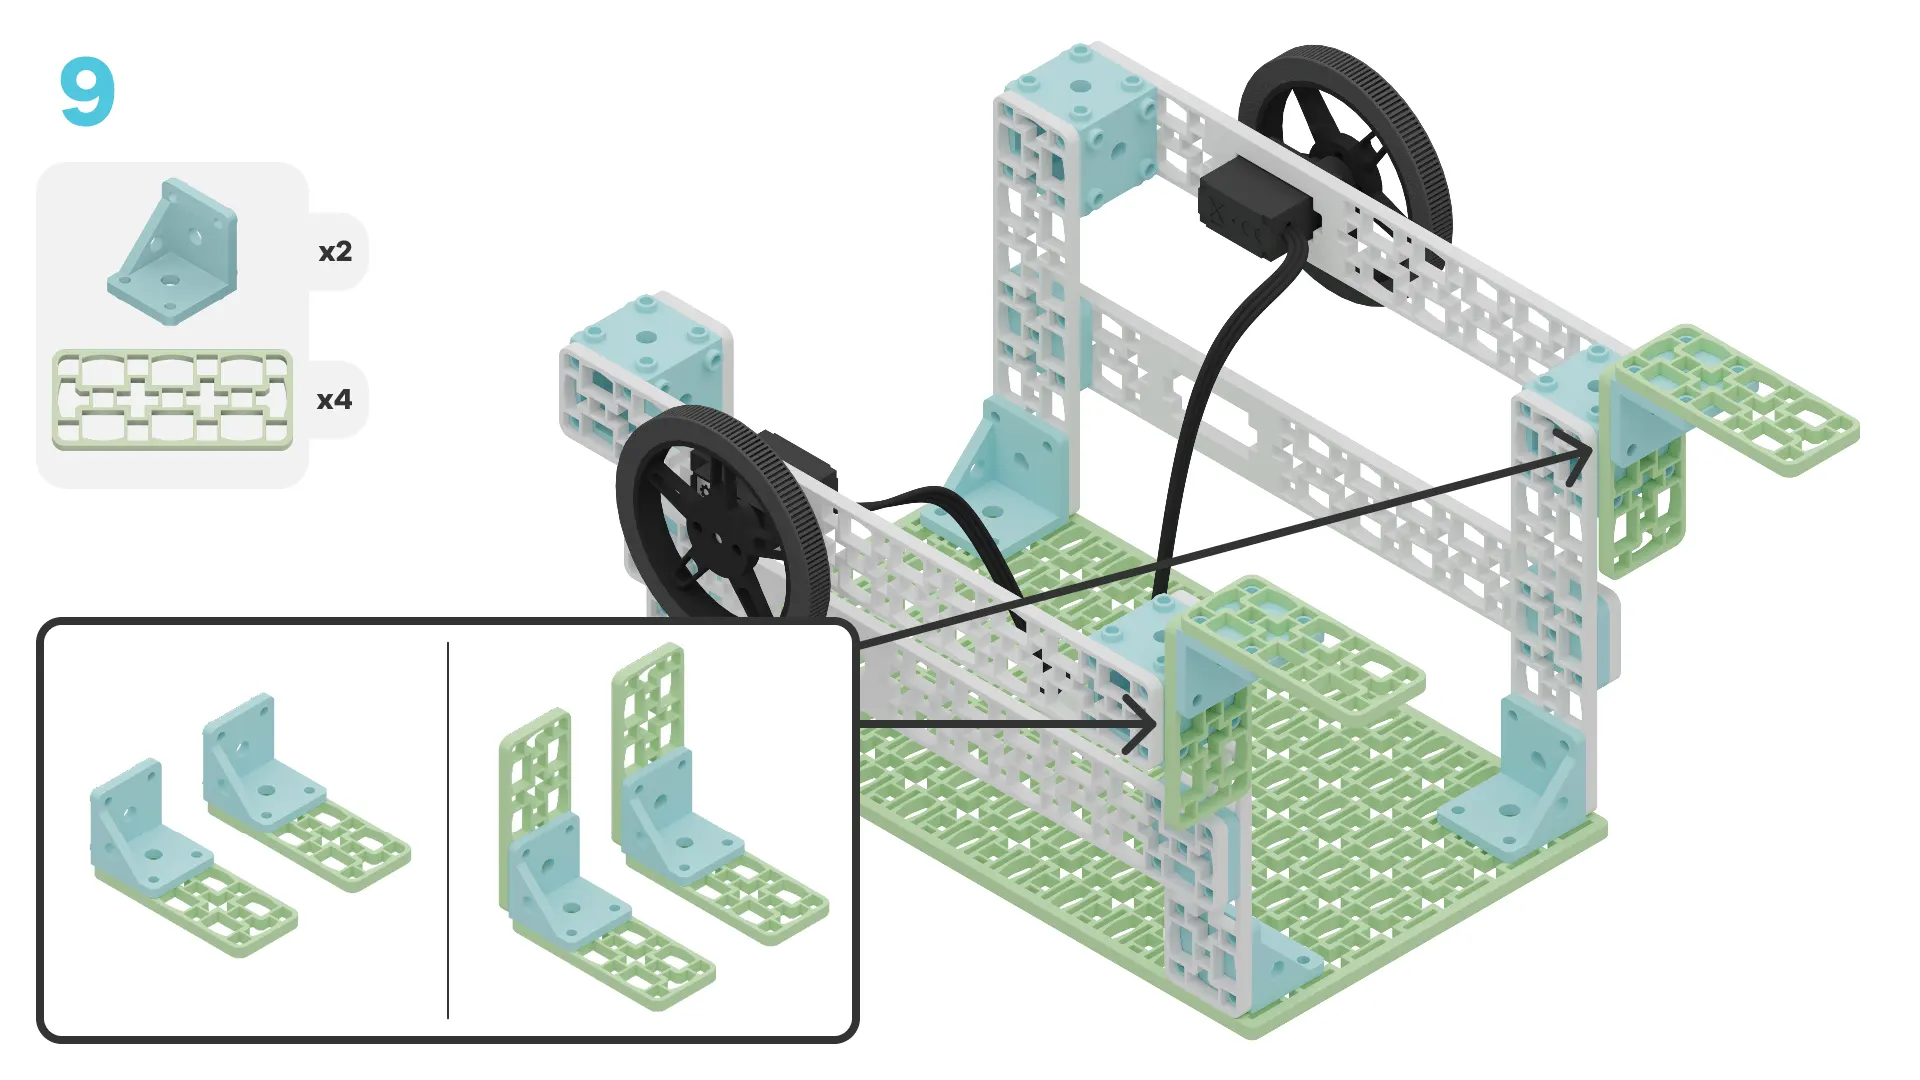
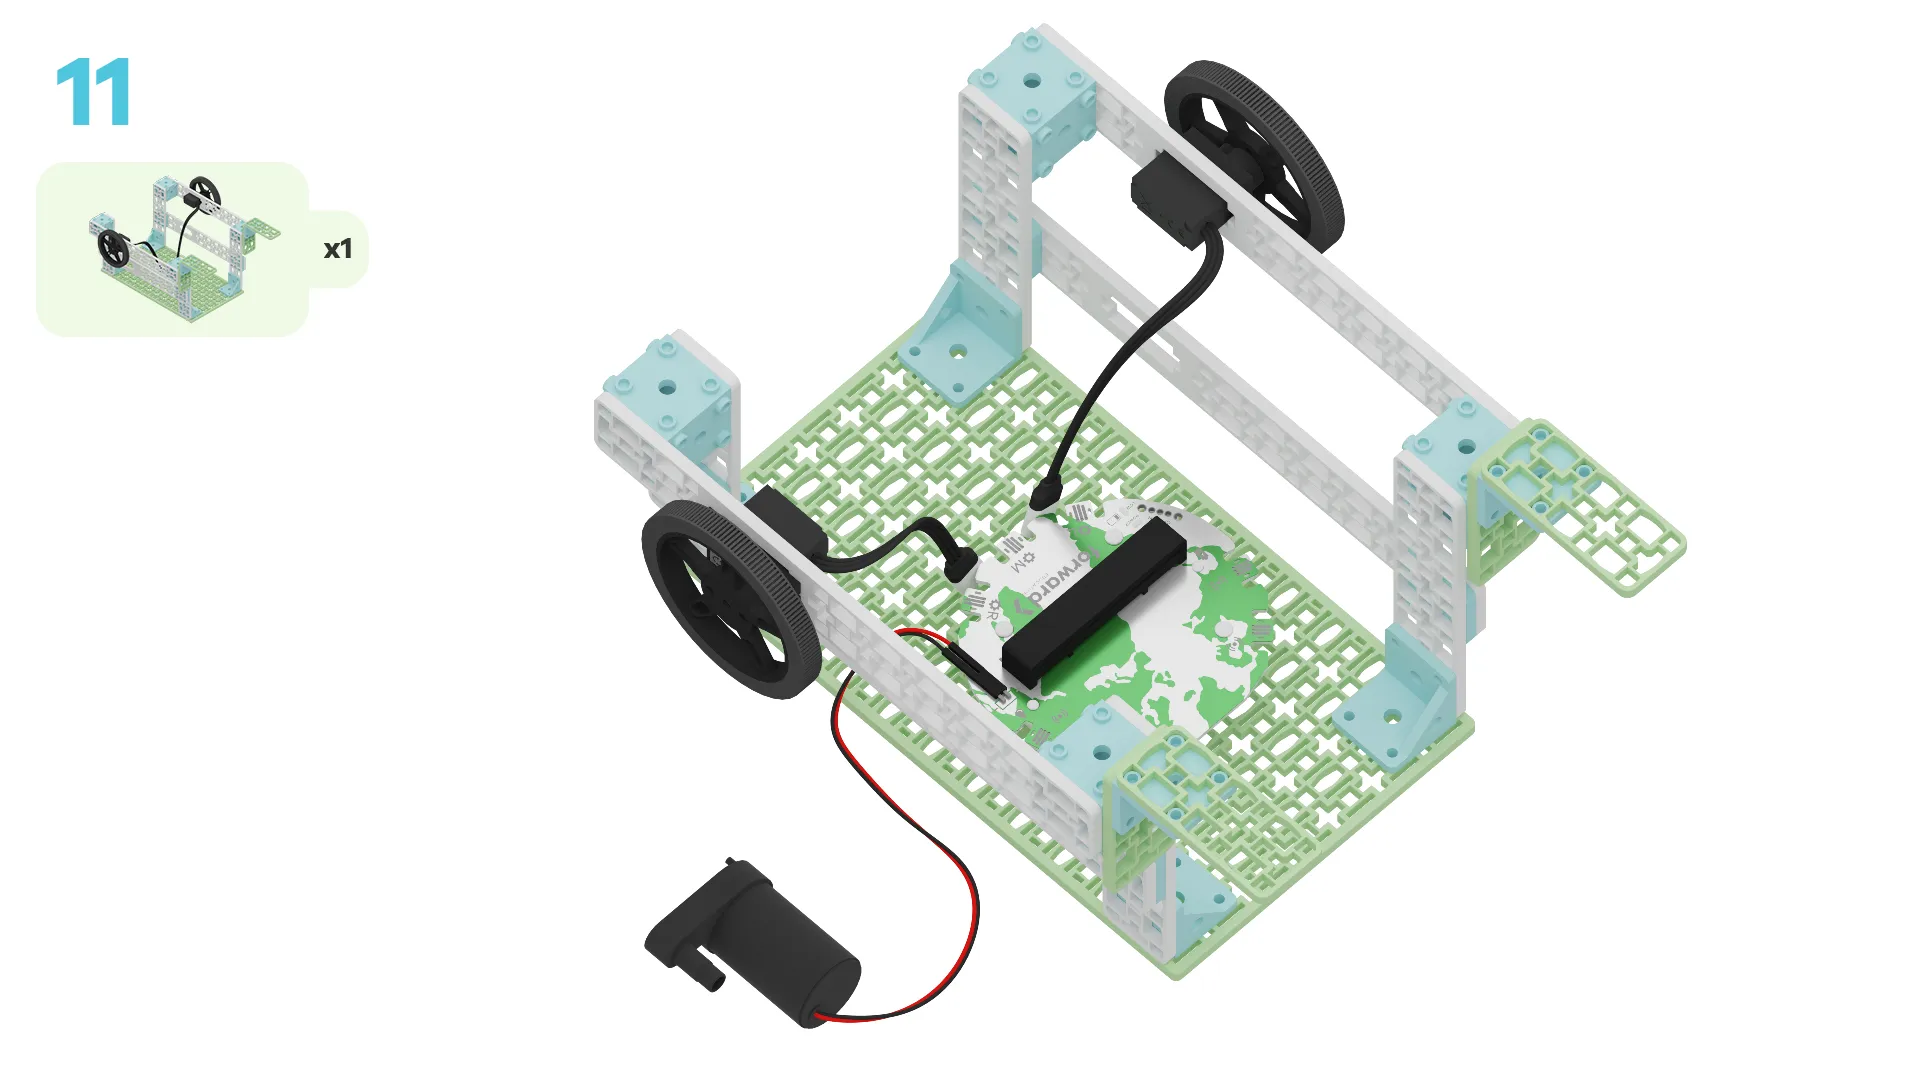
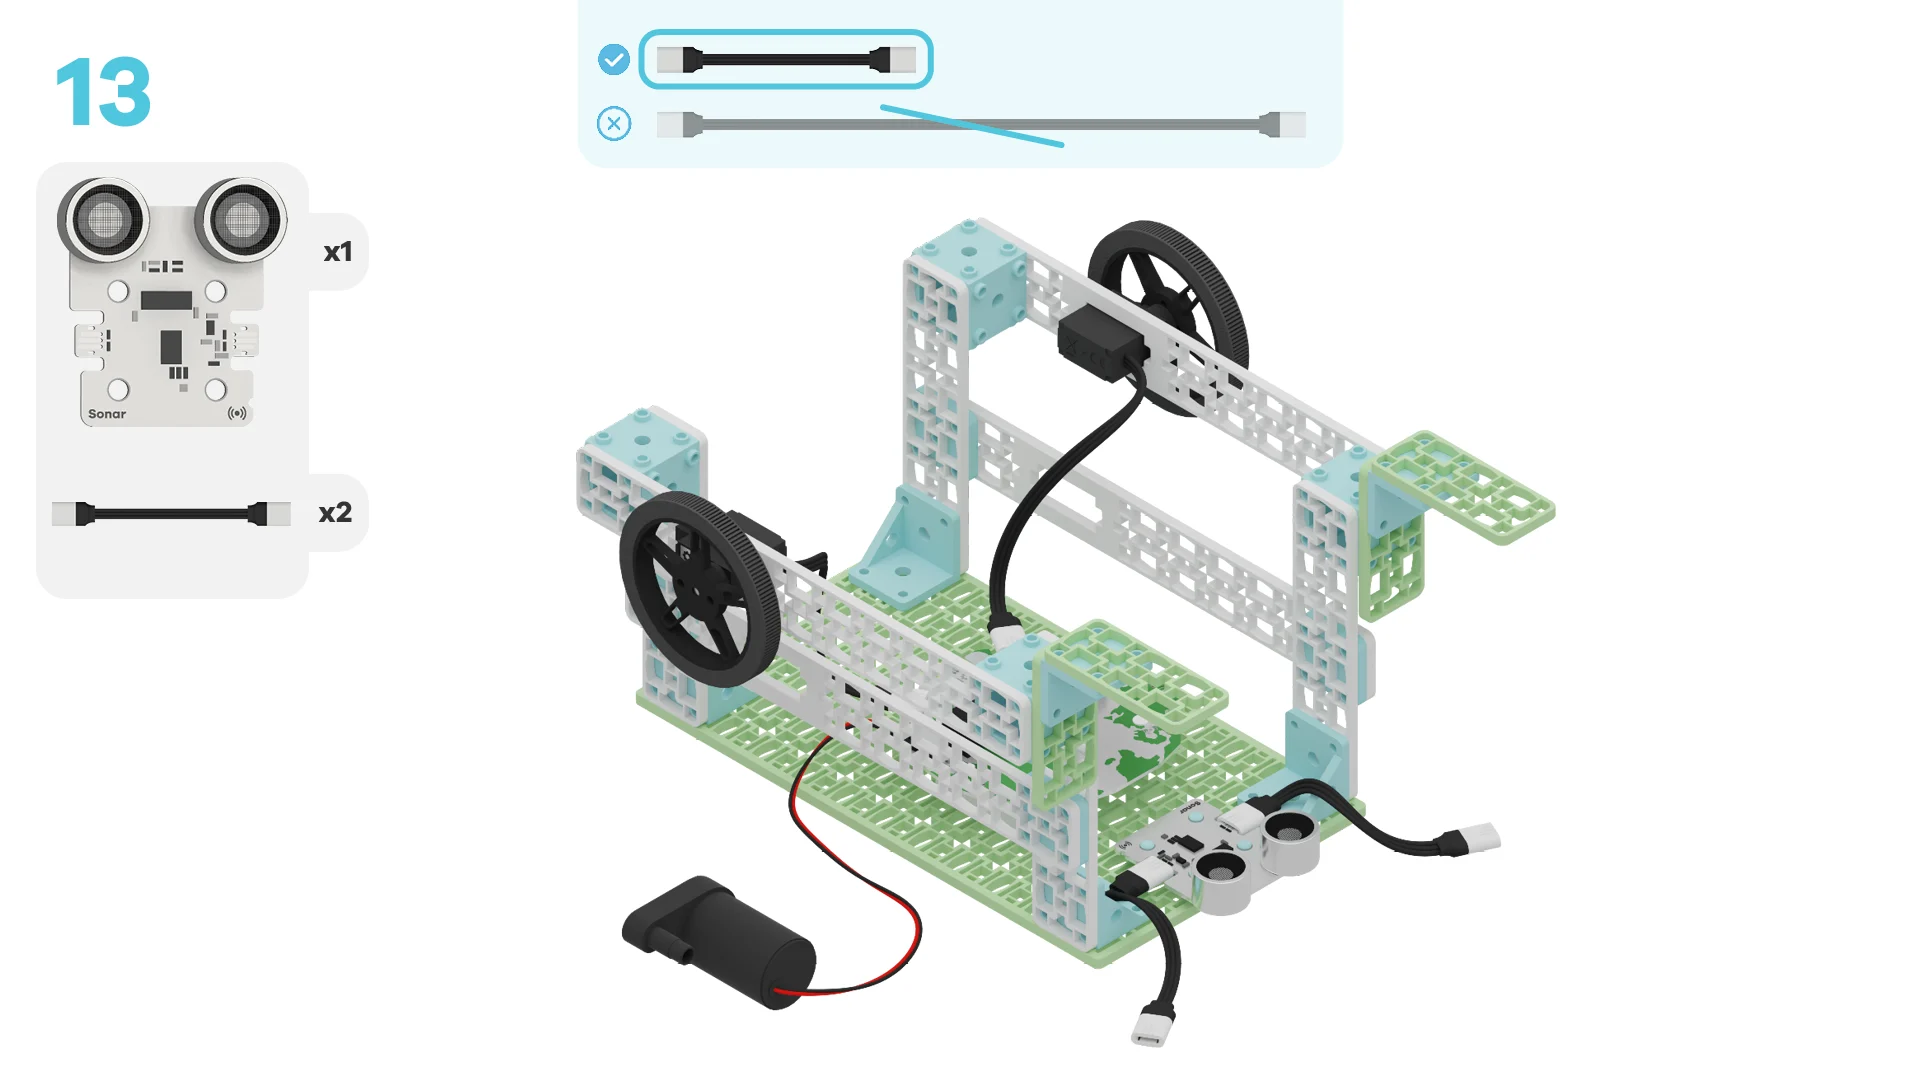
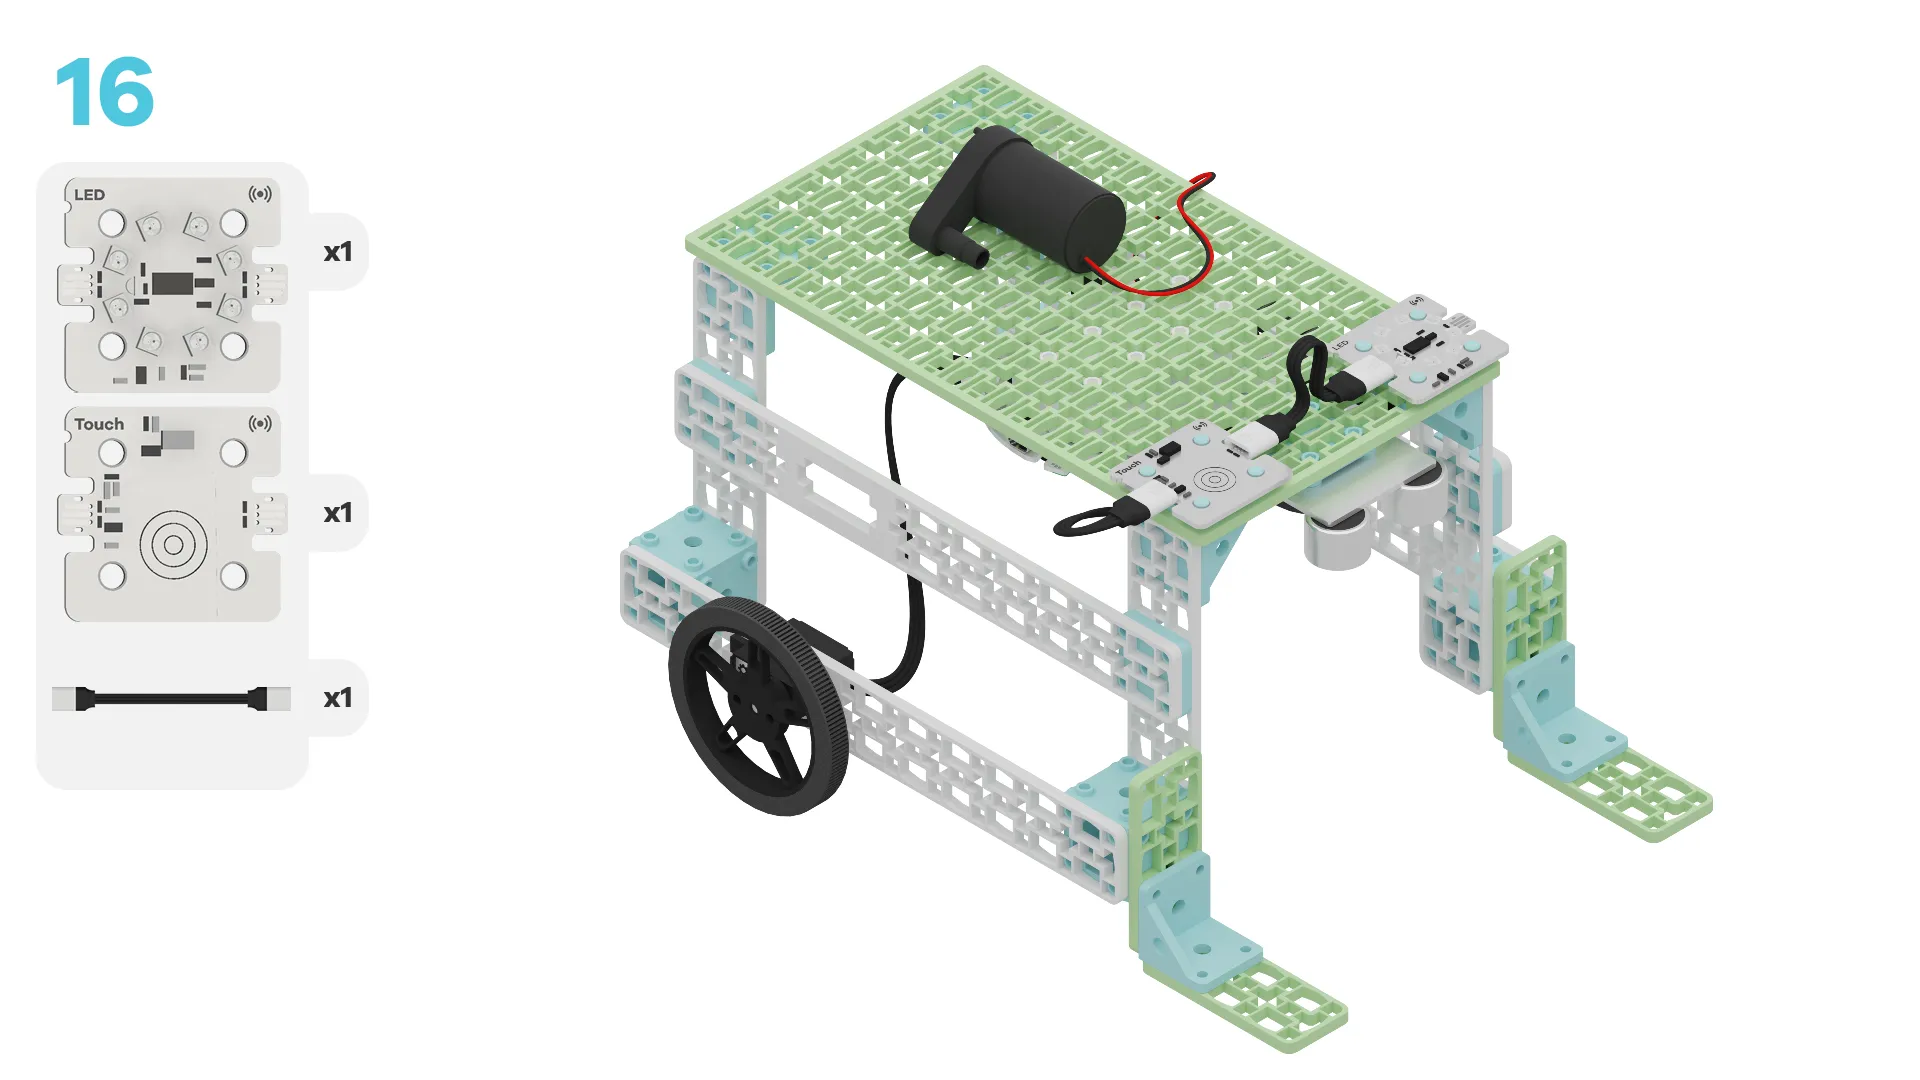
- Building Blocks: The base plate, four long frames with servo holes, four medium frames, one medium frame with servo holes, three thin frames, four small frames, four cube connectors, eight corner connectors, and two wheels
- Robotic Parts: A breakout board, micro:bit, two continuous servo motors, an LED ring, touch sensor and sonar sensor hint~
How do you think all these parts work together to make the vehicle operate?
~hint Tell me more!
- The building blocks create a structure that can withstand a variety of forces.
- The micro:bit collects user input from the touch sensor.
- The micro:bit communicates with the pump, motors, and LED ring, telling each when to activate. These components provide our output.
- All parts must be correctly connected through the breakout board and cables and programmed to ensure smooth operation. hint~
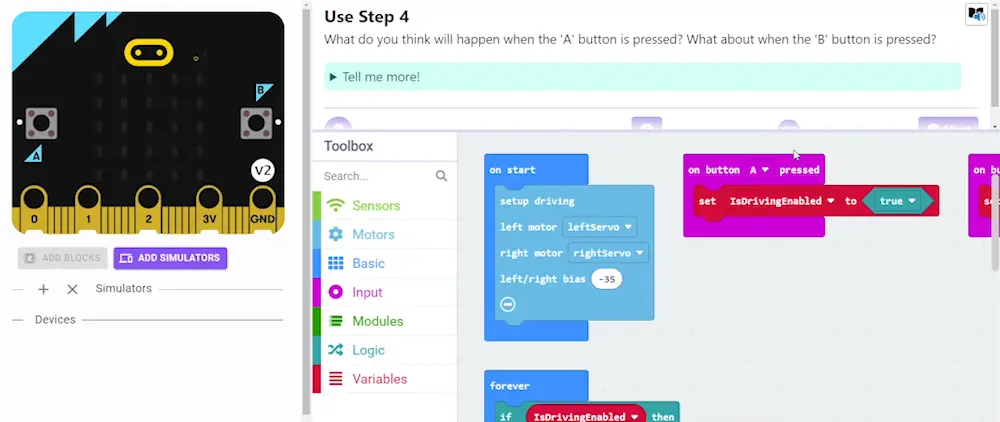
Look at code provided below.
What do you predict will happen when you run the program? What parts of the code have influenced your prediction?
Run the vehicle by pressing the touch sensor. Observe what happens.
Did the vehicle behave as you predicted? If not, what was different? Can you explain these differences?
~hint Tell me more! When the touch sensor is activated, the vehicle:
- Drives forward for 3 seconds.
- Stops.
- Turns on the green LEDs to indicate watering is about to happen.
- Runs the pump for 1.5 seconds to water the crops.
- Turns on the red LEDs to indicate watering is complete.
This process repeats 4 times. hint~
fwdSensors.touch.fwdOnTouch(jacdac.ButtonEvent.Down, function () {
    for (let index = 0; index < 4; index++) {
        fwdMotors.drive(fwdMotors.DrivingDirection.Forward, 25)
        basic.pause(3000)
        fwdMotors.stop()
        fwdSensors.ledRing.fwdSetAllPixelsColour(0x00ff00)
        fwdMotors.pump.fwdTimedRun(1500)
        basic.pause(3000)
        fwdSensors.ledRing.fwdSetAllPixelsColour(0xff0000)
    }
})
Run the vehicle again. This time, calculate the speed of your mobile irrigation vehicle.
Knowing the speed will help us understand how efficiently the vehicle operates.
~hint Tell me more!
- How to Do It: Try using this worksheet. Measure the distance your vehicle travels. Time how long it takes to cover that distance.
- Slope: As you graph multiple data points along your vehicle's journey, the slope of the line of best fit should represent the vehicle's speed. Use the formula: Speed = Distance / Time
- Analyze Your Findings: How fast does your vehicle travel? What factors affect its speed? hint~
Let's use the speed to start making some calculations about how much water this system is able to conserve.
First consider how much water would be used if the pump ran continuously on a 100cm drive?
Note: Assume the maximum flow rate of the pump is approximately 28mL/second.
~hint Tell me more! The equation to calculate water usage for a continuous system would be: 𝑊(d) = 𝑟 × (d/𝑣)
Where:
- 𝑊(d) is the total water usage in milliliters
- 𝑟 is the pump speed in milliliters per second (28mL/second)
- d is the total distance the vehicle travels in centimeters
- 𝑣 is the speed of the vehicle in centimeters per second hint~
Thankfully the prototype we've just built only runs the pump periodically. How much water would this prototype use on a 100cm drive? What equation would you use in this scenario?
Think about what variables you need to consider (e.g. time, distance, vehicle speed, pump speed/flow rate, pump time, etc.)? How do these variables relate to water usage in the current prototype?
~hint Tell me more! To calculate the water usage for the mobile irrigation system we've just built, we will use this equation: 𝑊(d) = 𝑟 × d × fd × tp
Where:
- 𝑊(d) is the water usage in milliliters
- 𝑟 is the pump speed in milliliters per second (28 mL/second)
- fd is the pumping frequency (e.g., number of activations per centimeter)
- d is the total distance traveled in cm
- tp is the pump time per activation (1.5 seconds) hint~
Finally, it's time to calculate how much water this prototype saves compared to the continuous system.
Subtract the water used in the prototype from the water used in the continuous system. What does this difference tell you about the efficiency of your design? How could the water savings from your design impact agricultural practices in areas facing water scarcity?
You've completed the activity!
List 2 new things you learned today.
What is one thing you want to learn more about?
In the next step, you can click the |Done| button to finish the tutorial.