Kedro-graphql is a kedro-plugin for serving kedro projects as a graphql api. It leverages Strawberry, FastAPI, and Celery to turn any Kedro project into a GraphqlQL api with features such as:
- a distributed task queue
- subscribe to pipline events and logs via GraphQL subscriptions
- storage
- persist and track all pipelines executed via the API
- additional features
flowchart  TB
  api[GraphQL API<br/><i>strawberry + FastAPI</i>]
  mongodb[(db: 'pipelines'<br/>collection: 'pipelines'<br/><i>mongoDB</i>)]
  redis[(task queue<br/><i>redis</i>)]
  worker[worker<br/><i>celery</i>]

  api<-->mongodb
  api<-->redis
  worker<-->mongodb
  worker<-->redis
Figure 1. Architecture
Install kedro-graphql into your kedro project environnment.
pip install kedro_graphql
Start the redis and mongo services using this docker-compose.yaml.
docker-compose up -d
Start the api server.
kedro gql
Start a worker (in another terminal).
kedro gql -w
Navigate to http://127.0.0.1:5000/graphql to access the graphql interface.
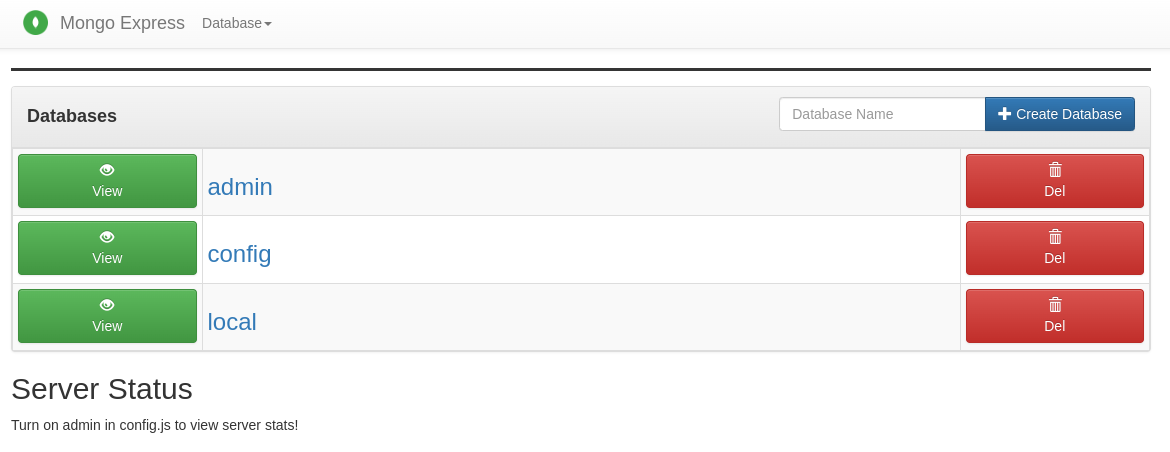
The docker-compose.yaml includes mongo-express and redis-commander services to provide easy acess to MongoDB and redis.
Navigate to http://127.0.0.1:8082 to access mongo-express interface.
Navigate to http://127.0.0.1:8081 to access the redis-commander interface. One can access the task queues created and managed by Celery.
The kedro-graphl package contains an very simple example pipeline called "example00".
Clone the kedro-graphql repository.
git clone https://github.com/cellsignal/kedro-graphql.git
Create a virtualenv and activate it.
cd kedro-graphql
python3.10 -m venv venv
source venv/bin/activate
Install dependencies.
pip install -r src/requirements.txt
Create a text file.
echo "Hello" > ./data/01_raw/text_in.txt
Start the redis and mongo services.
docker-compose up -d
Start the api server.
kedro gql
Start a worker (in another terminal).
kedro gql -w
Navigate to http://127.0.0.1:5000/graphql to access the graphql interface and execute the following mutation:
mutation MyMutation {
  createPipeline(
    pipeline: {
      name: "example00",
      parameters: [
        {name: "example", value: "hello"},
        {name: "duration", value: "10"}
      ],
      dataCatalog: [
        {name: "text_in", config: "{\"type\": \"text.TextDataset\",\"filepath\": \"./data/01_raw/text_in.txt\"}"},
        {name: "text_out", config: "{\"type\": \"text.TextDataset\",\"filepath\": \"./data/02_intermediate/text_out.txt\"}"}
      ],
      state: READY}
  ) {
    id
    name
  }
}
Expected response:
{
  "data": {
    "createPipeline": {
      "id": "67b795d44f0f5729b9b5730e",
      "name": "example00"
    }
  }
}
Now execute the following subscription to track the progress:
subscription MySubscription {
  pipeline(id: "67b795d44f0f5729b9b5730e") {
    id
    result
    status
    taskId
    timestamp
    traceback
  }
}
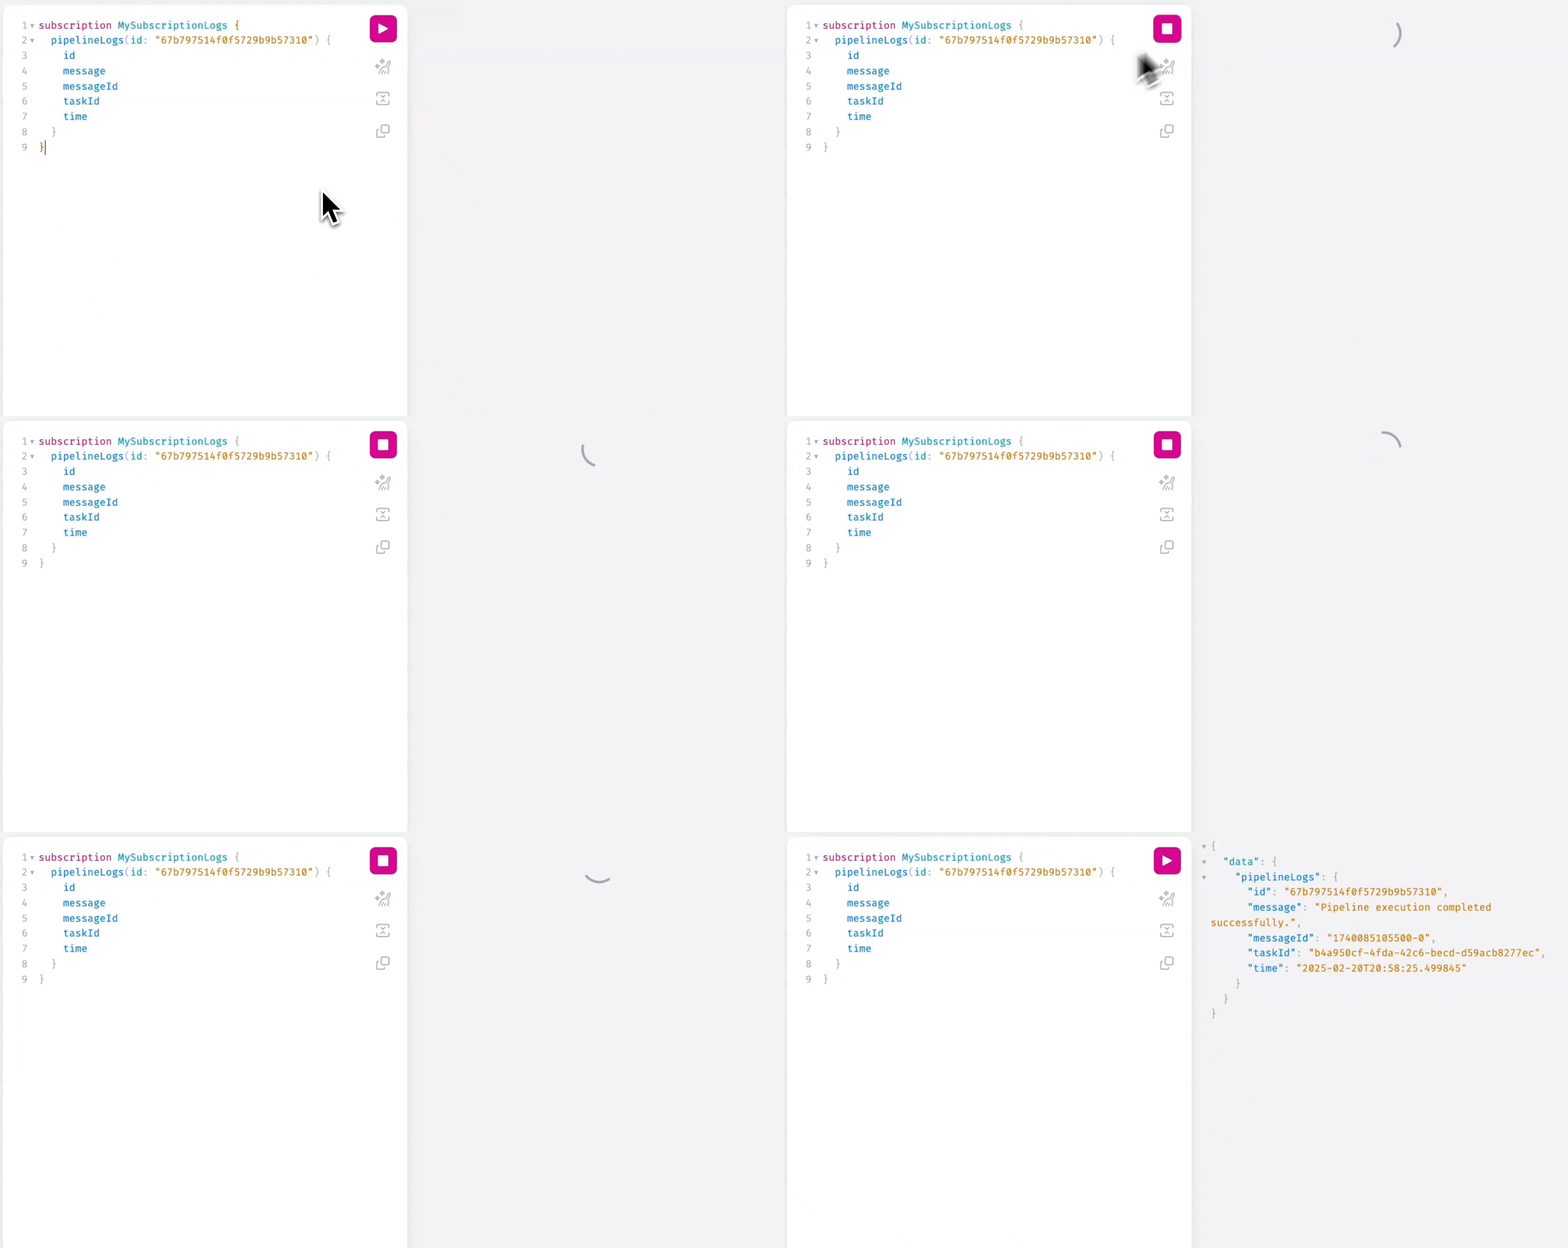
Execute the following subscription to recieve log messages:
subscription MySubscriptionLogs {
  pipelineLogs(id: "67b795d44f0f5729b9b5730e") {
    id
    message
    messageId
    taskId
    time
  }
}
Fetch the pipeline result with the following query:
query MyQuery {
  readPipeline(id: "67b795d44f0f5729b9b5730e") {
    describe
    id
    name
    parameters {
      name
      value
    }
    status {
      filteredNodes
      finishedAt
      runner
      session
      startedAt
      state
      taskArgs
      taskEinfo
      taskException
      taskTraceback
      taskResult
      taskRequest
      taskName
      taskKwargs
      taskId
    }
    dataCatalog {
      config
      name
    }
  }
}
Expected result:
{
  "data": {
    "readPipeline": {
      "describe": "#### Pipeline execution order ####\nInputs: parameters, params:example, text_in\n\necho_node\n\nOutputs: text_out\n##################################",
      "id": "67b795d44f0f5729b9b5730e",
      "name": "example00",
      "parameters": [
        {
          "name": "example",
          "value": "hello"
        },
        {
          "name": "duration",
          "value": "10"
        }
      ],
      "status": [
        {
          "filteredNodes": [
            "echo_node"
          ],
          "finishedAt": "2025-02-20T15:51:51.045044",
          "runner": "kedro.runner.SequentialRunner",
          "session": "2025-02-20T20.51.47.821Z",
          "startedAt": "2025-02-20T15:51:32.916990",
          "state": "SUCCESS",
          "taskArgs": "[]",
          "taskEinfo": null,
          "taskException": null,
          "taskTraceback": null,
          "taskResult": "success",
          "taskRequest": null,
          "taskName": "<@task: kedro_graphql.tasks.run_pipeline of __main__ at 0x107eaff50>",
          "taskKwargs": "{\"id\": \"67b795d44f0f5729b9b5730e\", \"name\": \"example00\", \"parameters\": {\"example\": \"hello\", \"duration\": \"3\"}, \"data_catalog\": {\"text_in\": {\"type\": \"text.TextDataset\", \"filepath\": \"./data/01_raw/text_in.txt\"}, \"text_out\": {\"type\": \"text.TextDataset\", \"filepath\": \"./data/02_intermediate/text_out.txt\"}}, \"runner\": \"kedro.runner.SequentialRunner\", \"slices\": null, \"only_missing\": false}",
          "taskId": "febc1c7d-d4ac-43f5-9ce4-8806d3d4773a"
        }
      ],
      "dataCatalog": [
        {
          "config": "{\"type\": \"text.TextDataset\",\"filepath\": \"./data/01_raw/text_in.txt\"}",
          "name": "text_in"
        },
        {
          "config": "{\"type\": \"text.TextDataset\",\"filepath\": \"./data/02_intermediate/text_out.txt\"}",
          "name": "text_out"
        }
      ]
    }
  }
}
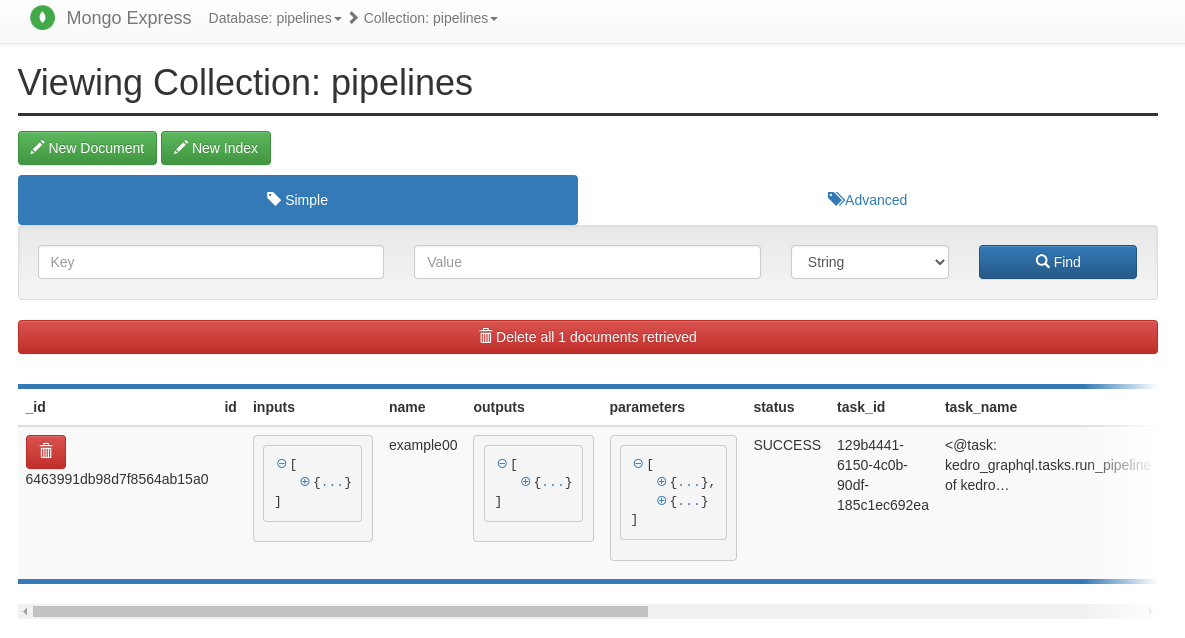
One can explore how the pipeline is persisted using the mongo-express interface located here http://127.0.0.1:8082. Pipelines are persisted in the "pipelines" collection of the "pipelines" database.
Execute the following mutation to stage a pipeline:
mutation MyMutation {
  createPipeline(
    pipeline: {name: "example00", state: STAGED}
  ) {
    id
    name
  }
}
Execute the following mutation to update the staged pipeline with a data catalog, tags, and a READY state which will run the pipeline:
mutation MyMutation {
  updatePipeline(
    id: "67b8b41535ac10b558916cba"
    pipeline: {
      name: "example00",
      parameters: [
        {name: "example", value: "hello"},
        {name: "duration", value: "10"}
      ],
      tags: [{key: "owner", value: "harinlee83"}],
      dataCatalog: [
        {name: "text_in", config: "{\"type\": \"text.TextDataset\",\"filepath\": \"./data/01_raw/text_in.txt\"}"},
        {name: "text_out", config: "{\"type\": \"text.TextDataset\",\"filepath\": \"./data/02_intermediate/text_out.txt\"}"}
      ],
      state: READY}
  ) {
    id
    name
  }
}
You can slice a pipeline by providing inputs/outputs, specifying start/final/tagged nodes or node namespaces, following Kedro's pipeline slicing pattern. For example, executing the following mutation will only run "uppercase_node" and "reversed_node" in the "example01" pipeline, skipping the "timestamp_node":
mutation MyMutation {
  createPipeline(
    pipeline: {
      name: "example01",
      parameters: [
        {name: "example", value: "hello"},
        {name: "duration", value: "10"}
      ],
      tags: [{key: "owner", value: "harinlee83"}],
      dataCatalog: [
        {name: "text_in", config: "{\"type\": \"text.TextDataset\", \"filepath\": \"./data/01_raw/text_in.txt\"}"},
        {name: "uppercased", config: "{\"type\": \"text.TextDataset\", \"filepath\": \"./data/02_intermediate/uppercased.txt\"}"},
        {name: "reversed", config: "{\"type\": \"text.TextDataset\", \"filepath\": \"./data/02_intermediate/reversed.txt\"}"},
        {name: "timestamped", config: "{\"type\": \"text.TextDataset\", \"filepath\": \"./data/02_intermediate/timestamped.txt\"}"}
      ],
      slices: {slice: NODE_NAMES, args: ["uppercase_node", "reverse_node"]},
      state: READY}
  ) {
    id
    name
  }
}
Search for a pipeline using the MongoDB document query filter, MongoDB cursor sort sytnax, and the MongoDB cursor limit in the readPipelines query. Executing the following query below will return up to 10 pipelines that have a tag key of "owner" with a tag value of "harinlee83", sorted chronologically in descending order.
query QueryForOwner {
  readPipelines(
    filter: "{\"tags.key\":\"owner\",\"tags.value\":\"harinlee83\"}"
    sort: "[(\"created_at\", -1)]"
    limit: 10
  ) {
    pipelines {
      tags {
        key
        value
      }
      name
      id
      createdAt
    }
  }
}
The api generated by this tool can be extended using decorators.
This example adds a query, mutation, and subscription types.
## kedro_graphql.plugins.plugins
import asyncio
from kedro_graphql.decorators import gql_query, gql_mutation, gql_subscription
import strawberry
from typing import AsyncGenerator

@gql_query()
@strawberry.type
class ExampleQueryTypePlugin():
    @strawberry.field
    def hello_world(self) -> str:
        return "Hello World"

@gql_mutation()
@strawberry.type
class ExampleMutationTypePlugin():
    @strawberry.mutation
    def hello_world(self, message: str = "World") -> str:
        return "Hello " + message

@gql_subscription()
@strawberry.type
class ExampleSubscriptionTypePlugin():
    @strawberry.subscription
    async def hello_world(self, message: str = "World", target: int = 11) -> AsyncGenerator[str, None]:
        for i in range(target):
            yield str(i) + " Hello " + message
            await asyncio.sleep(0.5)
When starting the api server specify the import path using the
--imports flag.
kedro gql --imports "kedro_graphql.plugins.plugins"
Multiple import paths can be specified using comma seperated values.
kedro gql --imports "kedro_graphql.plugins.plugins,example_pkg.example.my_types"
Alternatively, use a .env file as described in the General Configuration section.
The base application is strawberry + FastAPI instance. One can leverage the additional features FastAPI offers by defining a custom application class.
This example adds a CORSMiddleware.
## src/kedro_graphql/example/app.py
from fastapi.middleware.cors import CORSMiddleware
from kedro_graphql.asgi import KedroGraphQL


class MyApp(KedroGraphQL):

    def __init__(self):
        super(MyApp, self).__init__()

        origins = [
            "http://localhost",
            "http://localhost:8080",
        ]

        self.add_middleware(
            CORSMiddleware,
            allow_origins=origins,
            allow_credentials=True,
            allow_methods=["*"],
            allow_headers=["*"],
        )
        print("added CORSMiddleware")
When starting the api server specify the import path using the
--app flag.
kedro gql --app "my_kedro_project.app.MyApp"
## example output
added CORSMiddleware
INFO:     Started server process [7032]
INFO:     Waiting for application startup.
Connected to the MongoDB database!
INFO:     Application startup complete.
INFO:     Uvicorn running on http://127.0.0.1:5000 (Press CTRL+C to quit)
Alternatively, use a .env file as described in the General Configuration section.
The cli interface supports "auto-reloading" in order to make development easier.
When starting the api server and worker specify the -r or --reload option
to turn on auto-reloading. Any changes to the "src" directory of your kedro
project will trigger a reload.
Start the api server with auto-reload enabled.
kedro gql --reload
Start a worker (in another terminal) with auto-reload enabled.
kedro gql -w --reload
The path to watch can be further refined using the --reload-path option.
In the following examples a reload will be triggered when changes are
made to files in the src/kedro_graphql/src/runners directory.
Start the api server with auto-reload enabled.
kedro gql --reload --reload-path ./src/kedro_graphql/runners
Start a worker (in another terminal) with auto-reload enabled.
kedro gql -w --reload --reload-path ./src/kedro_graphql/runners
Configuration can be supplied via environment variables or a .env file.
## example .env file
MONGO_URI=mongodb://root:example@localhost:27017/
MONGO_DB_NAME=pipelines
KEDRO_GRAPHQL_IMPORTS=kedro_graphql.plugins.plugins
KEDRO_GRAPHQL_APP=kedro_graphql.asgi.KedroGraphQL
KEDRO_GRAPHQL_BACKEND=kedro_graphql.backends.mongodb.MongoBackend
KEDRO_GRAPHQL_BROKER=redis://localhost
KEDRO_GRAPHQL_CELERY_RESULT_BACKEND=redis://localhost
KEDRO_GRAPHQL_RUNNER=kedro.runner.SequentialRunner
KEDRO_GRAPHQL_ENV=local
KEDRO_GRAPHQL_CONF_SOURCE=None
KEDRO_GRAPHQL_LOG_TMP_DIR=my_tmp_dir/
KEDRO_GRAPHQL_LOG_PATH_PREFIX=s3://my-bucket/
The configuration can also be provided at startup through the cli interface. Configuration values can be mapped to the the appropriate cli option by removing the "KEDRO_GRAPHQL" prefix and using a lower case, hyphen format for the remaining string. For example:
| configuration variable | cli option | example |
|---|---|---|
| MONGO_URI | --mongo-uri | mongodb://root:example@localhost:27017/ |
| MONGO_DB_NAME | --mongo-db-name | pipelines |
| KEDRO_GRAPHQL_IMPORTS | --imports | kedro_graphql.plugins.plugins |
| KEDRO_GRAPHQL_APP | --app | kedro_graphql.asgi.KedroGraphQL |
| KEDRO_GRAPHQL_BACKEND | --backend | kedro_graphql.backends.mongodb.MongoBackend |
| KEDRO_GRAPHQL_BROKER | --broker | redis://localhost |
| KEDRO_GRAPHQL_CELERY_RESULT_BACKEND | --celery-result-backend | redis://localhost |
| KEDRO_GRAPHQL_RUNNER | --runner | kedro.runner.SequentialRunner |
| KEDRO_GRAPHQL_ENV | --env | local |
| KEDRO_GRAPHQL_CONF_SOURCE | --conf-source | $HOME/myproject/conf |
| KEDRO_GRAPHQL_LOG_TMP_DIR | --log-tmp-dir | my_tmp_dir/ |
| KEDRO_GRAPHQL_LOG_PATH_PREFIX | --log-path-prefix | s3://my-bucket/ |
To install them, run:
pip install -r src/requirements.txt
pytest src/tests
To configure the coverage threshold, go to the .coveragerc file.
To generate or update the dependency requirements for your project:
kedro build-reqs
This will pip-compile the contents of src/requirements.txt into a new file src/requirements.lock. You can see the output of the resolution by opening src/requirements.lock.
After this, if you'd like to update your project requirements, please update src/requirements.txt and re-run kedro build-reqs.
Further information about project dependencies
- support custom runners e.g. Argo Workflows, AWS Batch, etc...
- support passing credentials via api


