![]()
![]()
![]()


Stripe is a leading online payment processing platform that simplifies the handling of financial transactions over the Internet. Stripe is renowned for its ease of integration, comprehensive documentation, and robust API that supports a wide range of payment operations including credit card transactions, subscription management, and direct payouts to user bank accounts.
The Ballerina Stripe Connector allows developers to interact with the Stripe REST API V1, enabling seamless integration of Stripe’s extensive payment processing capabilities into Ballerina applications. This connector facilitates the automation of various payment-related operations such as charge creation, customer management, billing, and direct payouts. By leveraging the Ballerina Stripe Connector, developers can build secure and scalable payment solutions that enhance the e-commerce capabilities of their applications.
To use the Ballerina Stripe connector, you must have a Stripe account and an API token for authentication. Follow the steps below to set up the connector with your Stripe account. If you don't have an account, you can create one by visiting Stripe Sign Up page and completing the registration process.
- Sign in to your Stripe dashboard.
-
Click on the Developers button in the top-right corner.

-
Go to API keys section in the nav-bar.
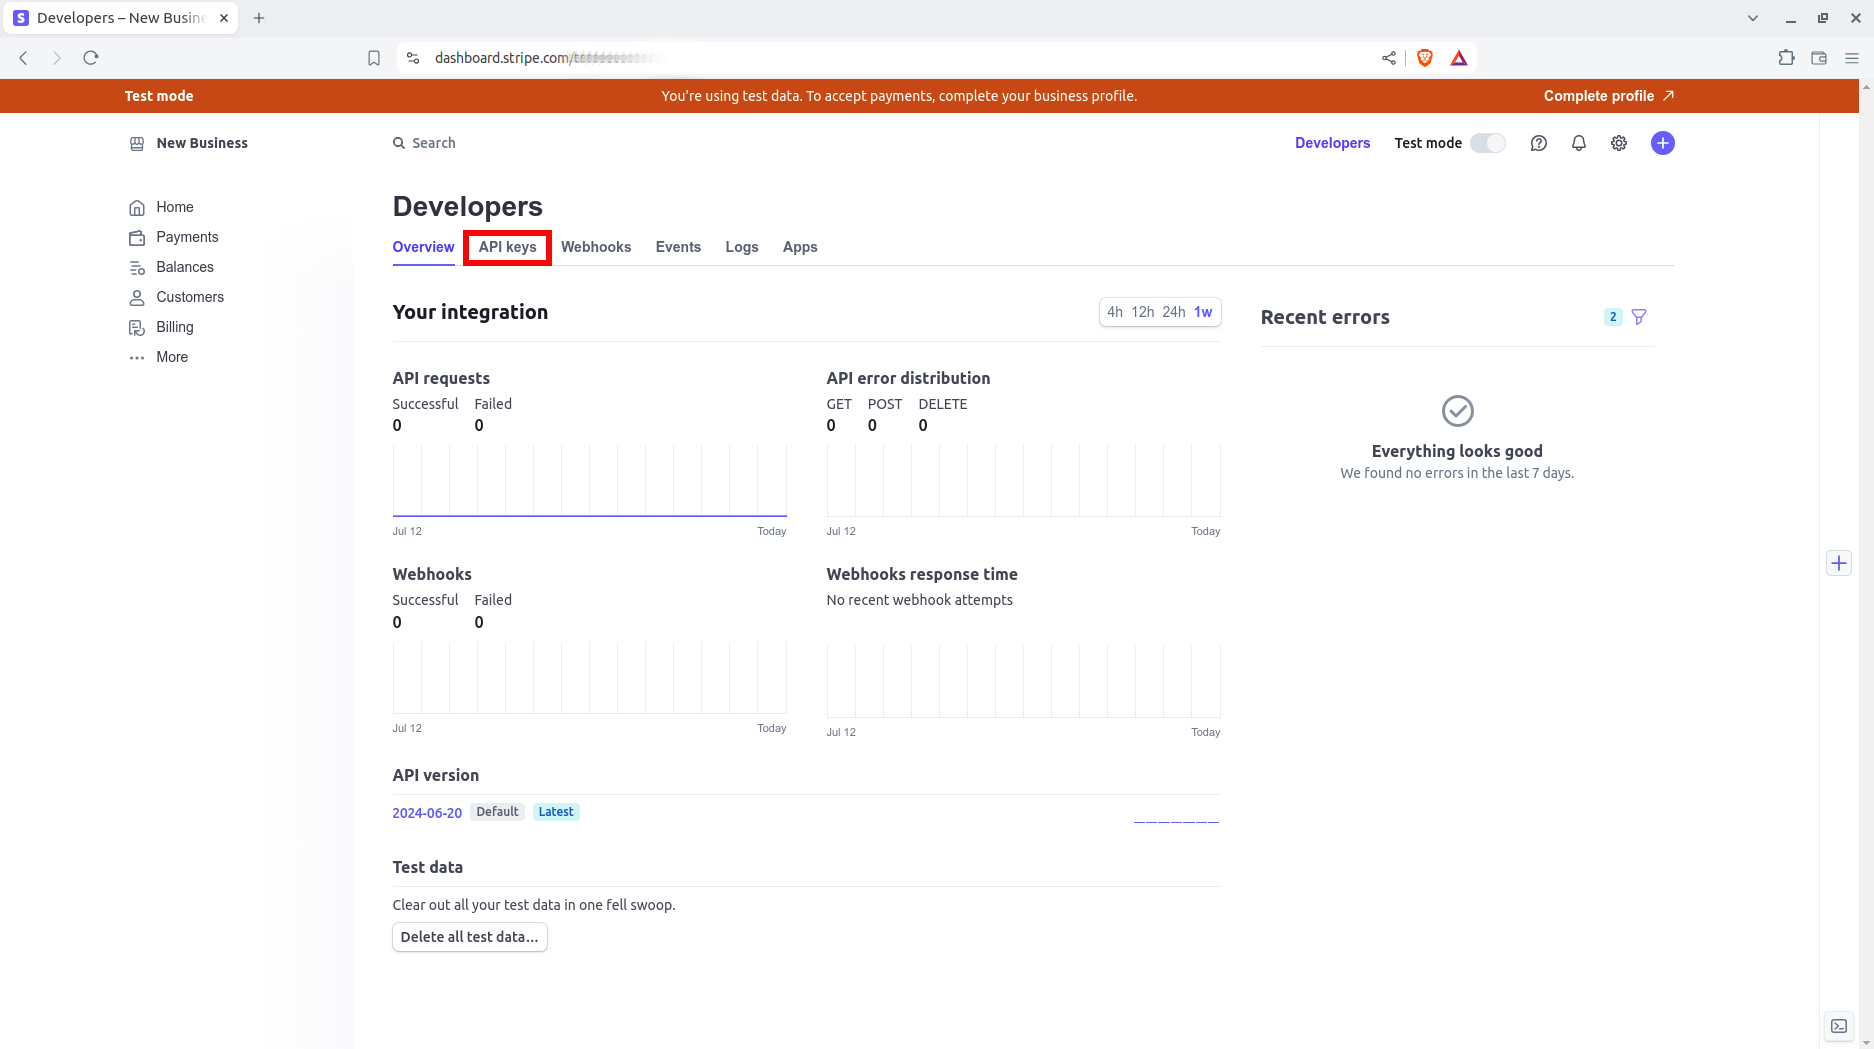
-
Retrieve the Secret key.
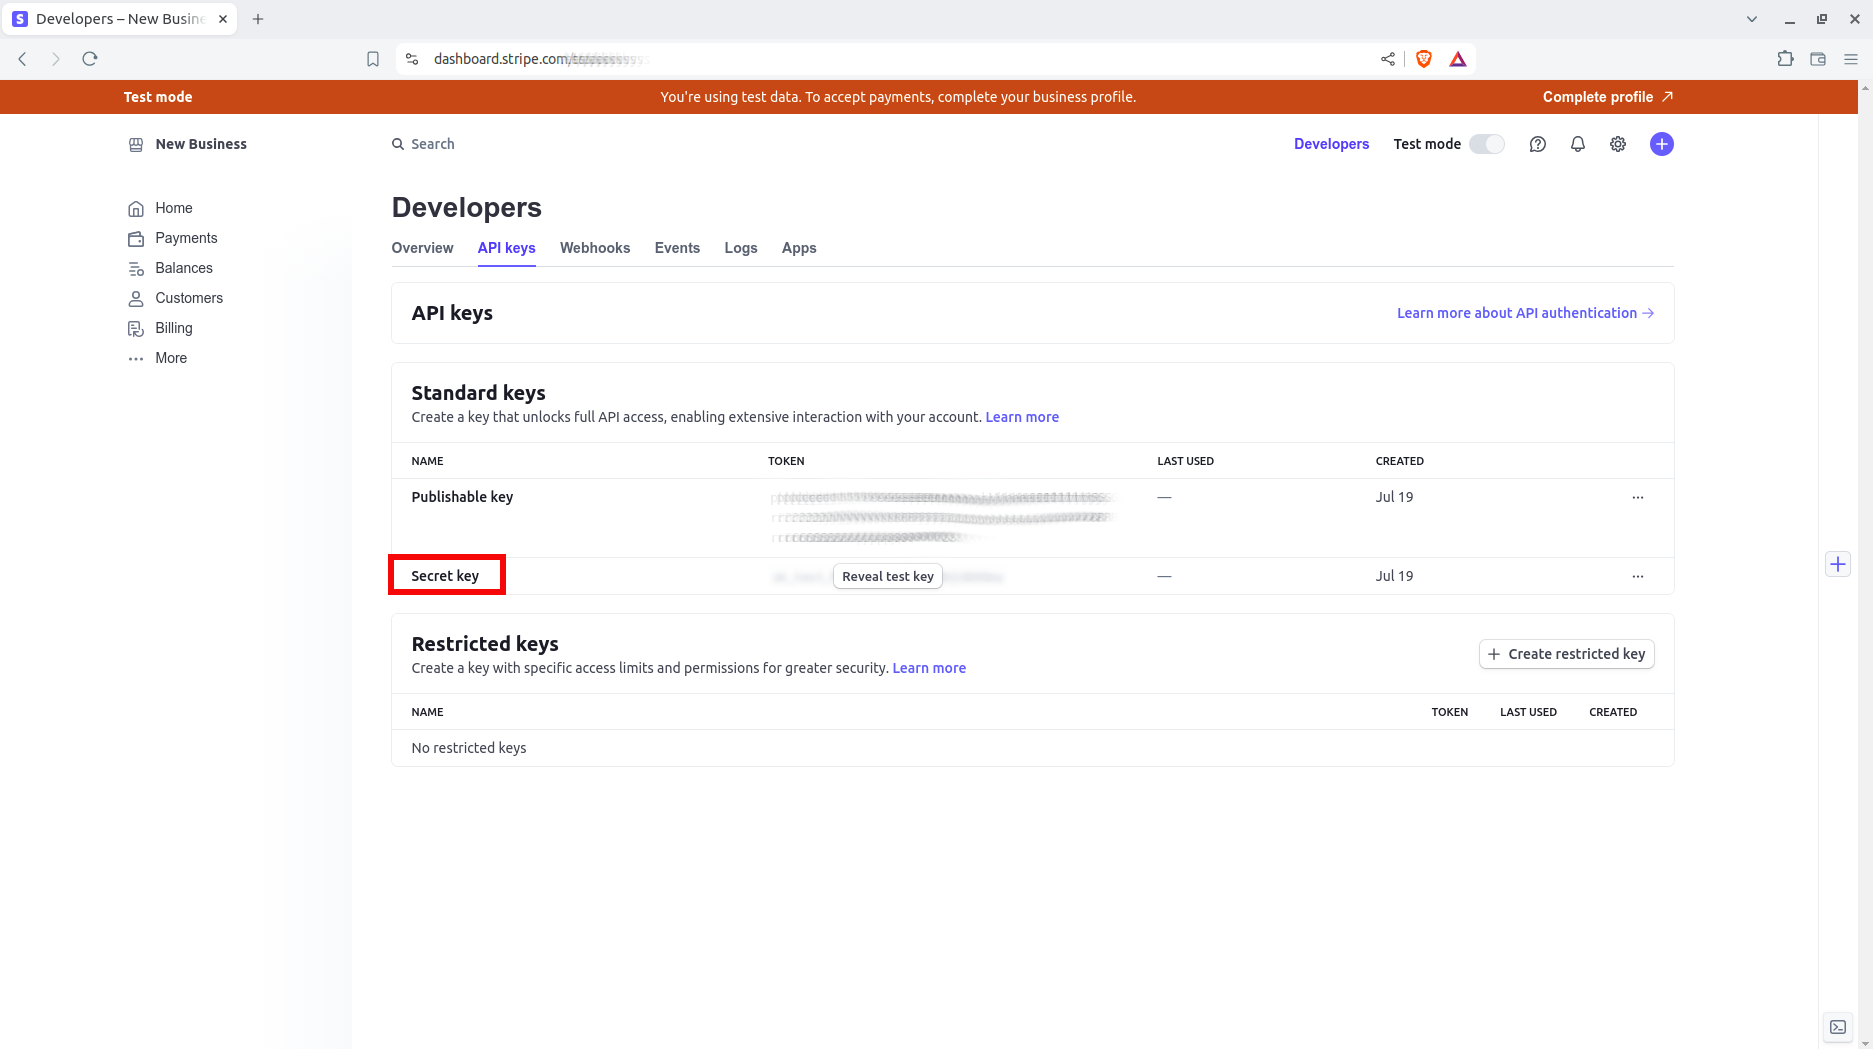
Note: If you need to have more granular permissions for the keys, you could setup and use
Restricted keys.
To begin using the Stripe connector in your Ballerina application, you'll need to follow these steps:
First, import the ballerinax/stripe package into your Ballerina project.
import ballerinax/stripe;Create a stripe:ConnectionConfig object with API token, and initialize the connector.
configurable string secretKey = ?;

stripe:ConnectionConfig configuration = {
    auth: {
        token: secretKey
    }
};

stripe:Client stripe = check new (configuration);Now, utilize the available connector operations.
stripe:customers_body newCustomer = {
    name: "John Doe",
    email: "john.doe@sample.com",
    address: {
        city: "Colombo",
        country: "Sri Lanka"
    }
};

stripe:Customer customerDetails = check stripe->/customers.post(newCustomer);stripe:CustomerResourceCustomerList availableCustomers = check stripe->/customers;The ballerinax/stripe connector provides practical examples illustrating usage in various scenarios. Explore these examples, covering various Stripe functionalities.
-
Manage Stripe payments - Manage business payments with Stripe.
-
Manage one-time charges - Manage one-time charges with Stripe.
-
Download and install Java SE Development Kit (JDK) version 17. You can download it from either of the following sources:
Note: After installation, remember to set the
JAVA_HOMEenvironment variable to the directory where JDK was installed. -
Download and install Ballerina Swan Lake.
-
Download and install Docker.
Note: Ensure that the Docker daemon is running before executing any tests.
-
Export Github Personal access token with read package permissions as follows,
export packageUser=<Username>
export packagePAT=<Personal access token>
Execute the commands below to build from the source.
-
To build the package:
./gradlew clean build
-
To run the tests:
./gradlew clean test -
To build the without the tests:
./gradlew clean build -x test -
To run tests against different environments:
./gradlew clean test -Pgroups=<Comma separated groups/test cases>
-
To debug the package with a remote debugger:
./gradlew clean build -Pdebug=<port>
-
To debug with the Ballerina language:
./gradlew clean build -PbalJavaDebug=<port>
-
Publish the generated artifacts to the local Ballerina Central repository:
./gradlew clean build -PpublishToLocalCentral=true
-
Publish the generated artifacts to the Ballerina Central repository:
./gradlew clean build -PpublishToCentral=true
As an open-source project, Ballerina welcomes contributions from the community.
For more information, go to the contribution guidelines.
All the contributors are encouraged to read the Ballerina Code of Conduct.
- For more information go to the
stripepackage. - For example demonstrations of the usage, go to Ballerina By Examples.
- Chat live with us via our Discord server.
- Post all technical questions on Stack Overflow with the #ballerina tag.