hardware
This chapter describes how to open your Jura coffee maker and insert a cable for connecting to a microcontroller board. If you have never opened your Jura before, you will receive an extra challenge. Jura has secured the machine for opening with special screws. However, there are special screwdrivers for sale on the internet (for example on Alieexpress).
Of course, first make sure that the device is no longer powered and then remove the water reservoir and tray. It is also necessary to remove all the beans for step 3.
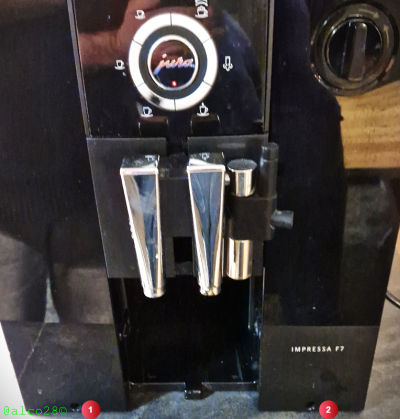
Start by removing the 2 most difficult screws, namely the ones at the front. These are hidden quite deeply.
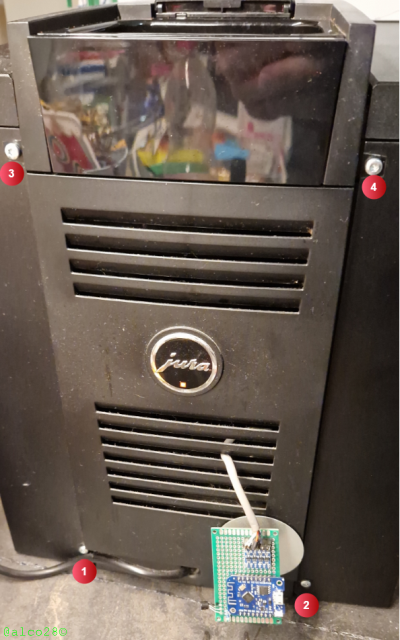
Aan de achterzijde zitten ook 4 schroeven, gelukkig zijn deze makkelijk te bereiken.
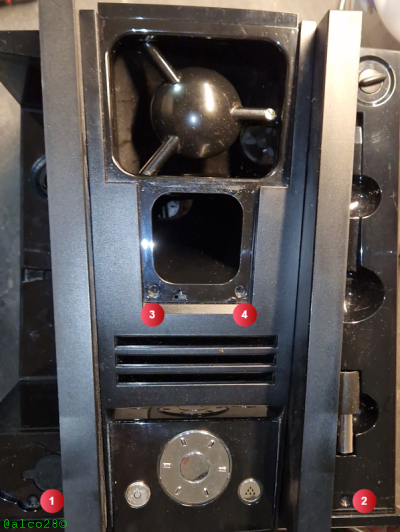
Finally, remove the top. To do this, you must first empty the bean container and remove the funnel. Now first remove screws (1) and (2) located under the covers. Next comes screws (3) and (4), unscrew them very slowly and make sure that they absolutely do not fall into the funnel.
[!] Did it happen? then you have to open the entire brew unit and take them out. Then definitely don't turn on your device! It will completely destroy your brew unit.
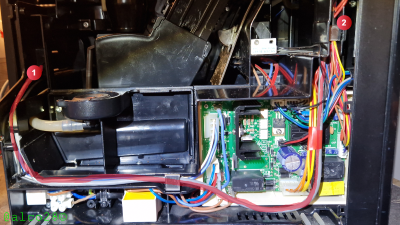
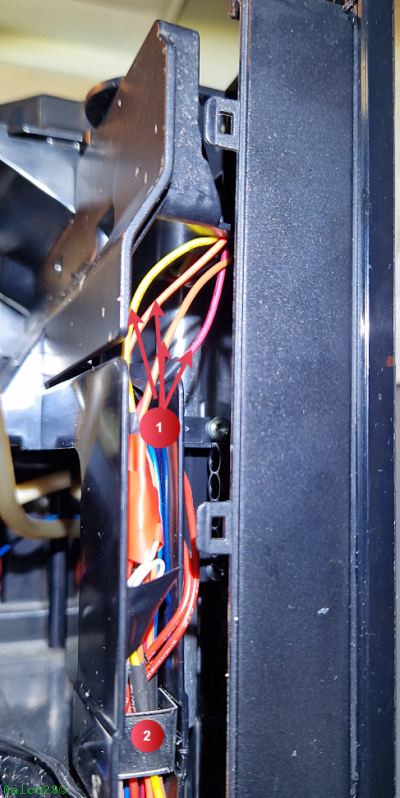
To make the Uart cable I used a piece of 4-wire cable, you could also use a piece of network cable for it. A small hole has been drilled at the rear at (1) to guide the cable outside through the air grille.

The first pin is on the right and number 8 is on the left You need:
| pin-out | function |
|---|---|
| (2) | TX |
| (3) | Ground |
| (4) | RX |
| (6) | 5 Volt |