In this hands-on lab your will create your first GitHub Action Workflow and learn how you can use Actions to automate tasks in your software development lifecycle. If you like more background information, please refer to the GitHub Actions pages on GitHub Docs. Good luck! 👍
Before you start with this lab, please remove the branch rule, so you can commit to the main branch without a pull request to speed up the process 😏.
This hands on lab consists of the following steps:
- 3.1 Creating the workflow
- 3.2 Viewing your workflow results
- If time permits: Only trigger workflow when a change is made to the website
- If time permits: Only trigger workflow on new issue created
- If time permits: Create a Matrix build for release and debug
- Work inside your current repository
Microsoft-Bootcamp/attendee-<your-github-handle> - Create a
.github/workflowsdirectory in your repository on GitHub if this directory does not already exist. - In the
.github/workflowsdirectory, create a file namedgithub-actions-demo.yml. - Copy the following YAML contents into the
github-actions-demo.ymlfile:
name: GitHub Actions Demo
on: [push]
jobs:
  Explore-GitHub-Actions:
    runs-on: ubuntu-latest
    steps:
      - run: echo "🎉 The job was automatically triggered by a ${{ github.event_name }} event."
      - run: echo "🐧 This job is now running on a ${{ runner.os }} server hosted by GitHub!"
      - run: echo "🔎 The name of your branch is ${{ github.ref }} and your repository is ${{ github.repository }}."
      - name: Check out repository code
        uses: actions/checkout@v2
      - run: echo "💡 The ${{ github.repository }} repository has been cloned to the runner."
      - run: echo "🖥️ The workflow is now ready to test your code on the runner."
      - name: List files in the repository
        run: |
          ls ${{ github.workspace }}
- run: echo "🍏 This job's status is ${{ job.status }}."- Scroll to the bottom of the page and select
Createa new branch for this commit and start a pull request. Then, to create a pull request, clickPropose new file.
Committing the workflow file to a branch in your repository triggers the push event and runs your workflow.
-
On GitHub, navigate to the main page of the repository.
-
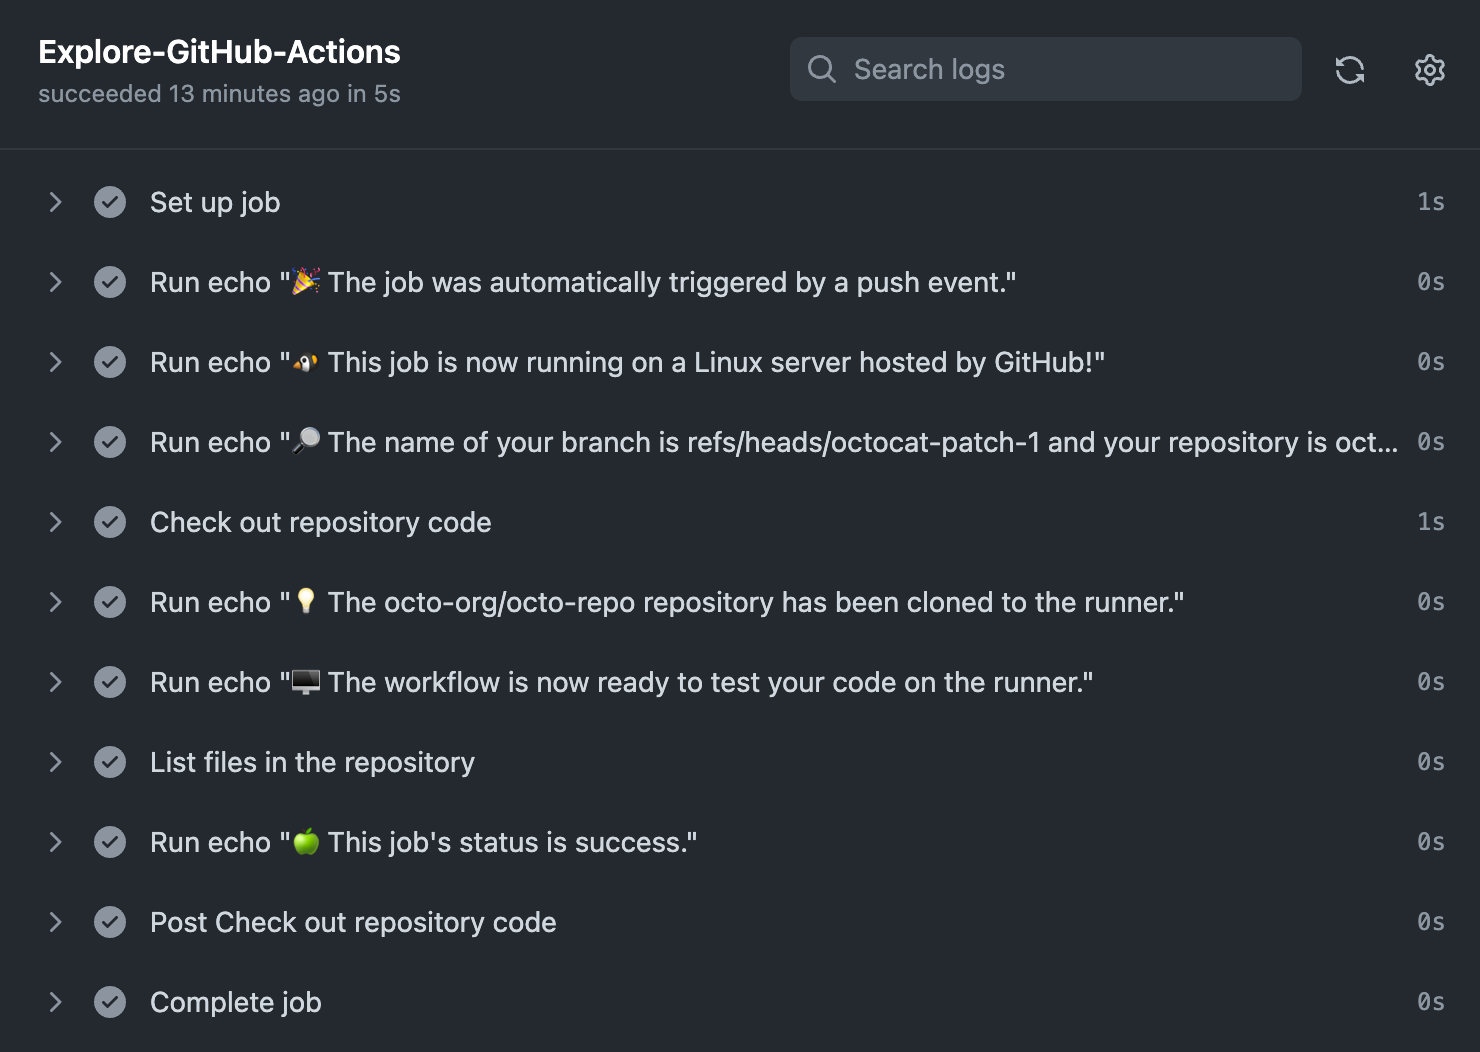
From the list of workflow runs, click the name of the run you want to see.
-
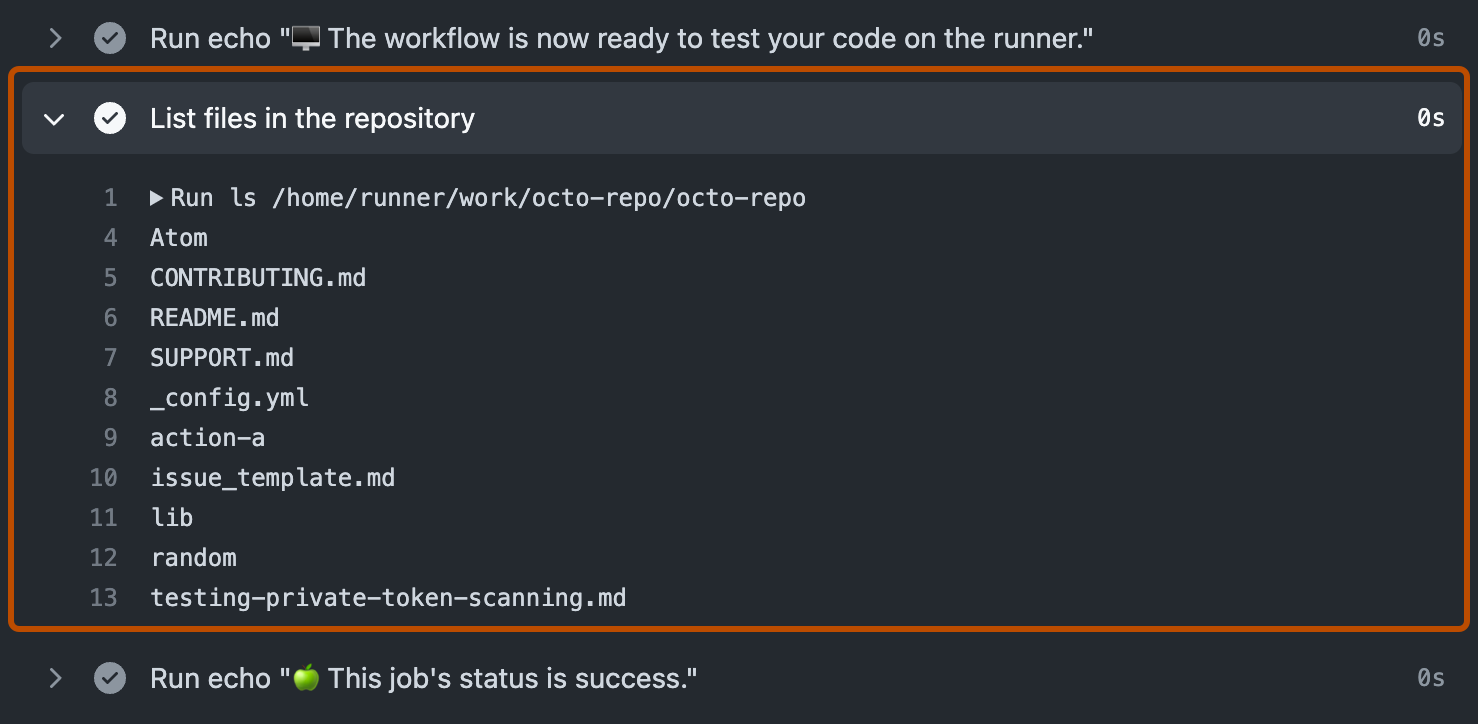
The log shows you how each of the steps was processed. Expand any of the steps to view its details.
For example, you can see the list of files in your repository:
See: Workflow syntax for github actions - on push/pull - request paths.
name: GitHub Actions Demo
on:
  push:
    paths:
    - 'TailwindTraders.Website/**/*'
jobs:

...
...
See: Webhook events and payloads - Issues
...
...

on:
  issues:
    types: [opened]

...
...
See: Workflow Syntax - Jobs - Matrix Strategy
...
...

Explore-GitHub-Actions:
    runs-on: ubuntu-latest
    strategy:
      matrix:
        configuration: [debug, release]
    steps:
    - run: echo "🔧 Building the cofiguration ${{ matrix.configuration }}."

...
...


