script runtime
The script runtime is meant for the game master as a management of the game play. With the included webapp it is possible for the player to manage the characters by them self.
You can play the script with you favored player characters. A script stores the information of the current game session so you can return to your game session on another day, simply save the data at the end of the day. So you need a created characters of your players, they can export and you import them as it is always good having a copy of your chummer.
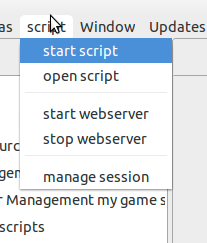 To start a script you choose the start script action and select the script you want to start. When this script is in use you will be ask if you want to continue the script, or start a new session.
When starting a new session, you need to select your player characters. All committed characters can be selected.
A quick fight is available in the script menu see script-quick-combat
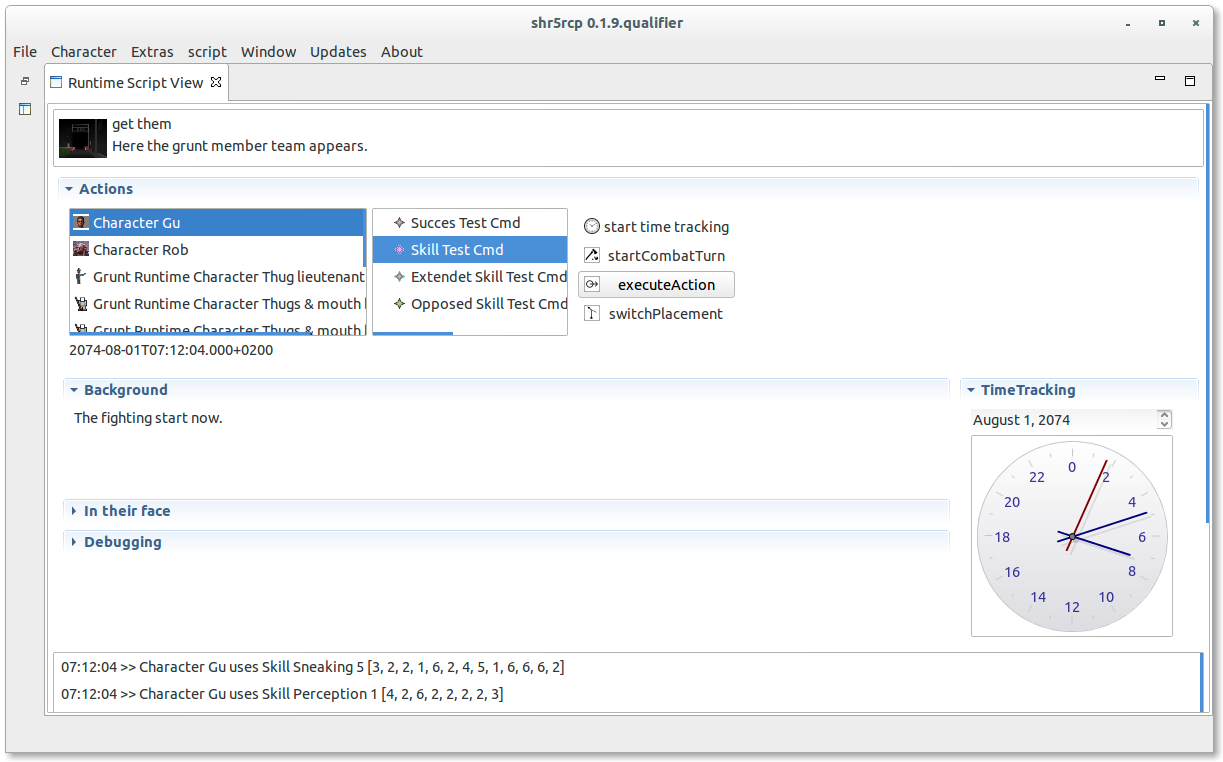
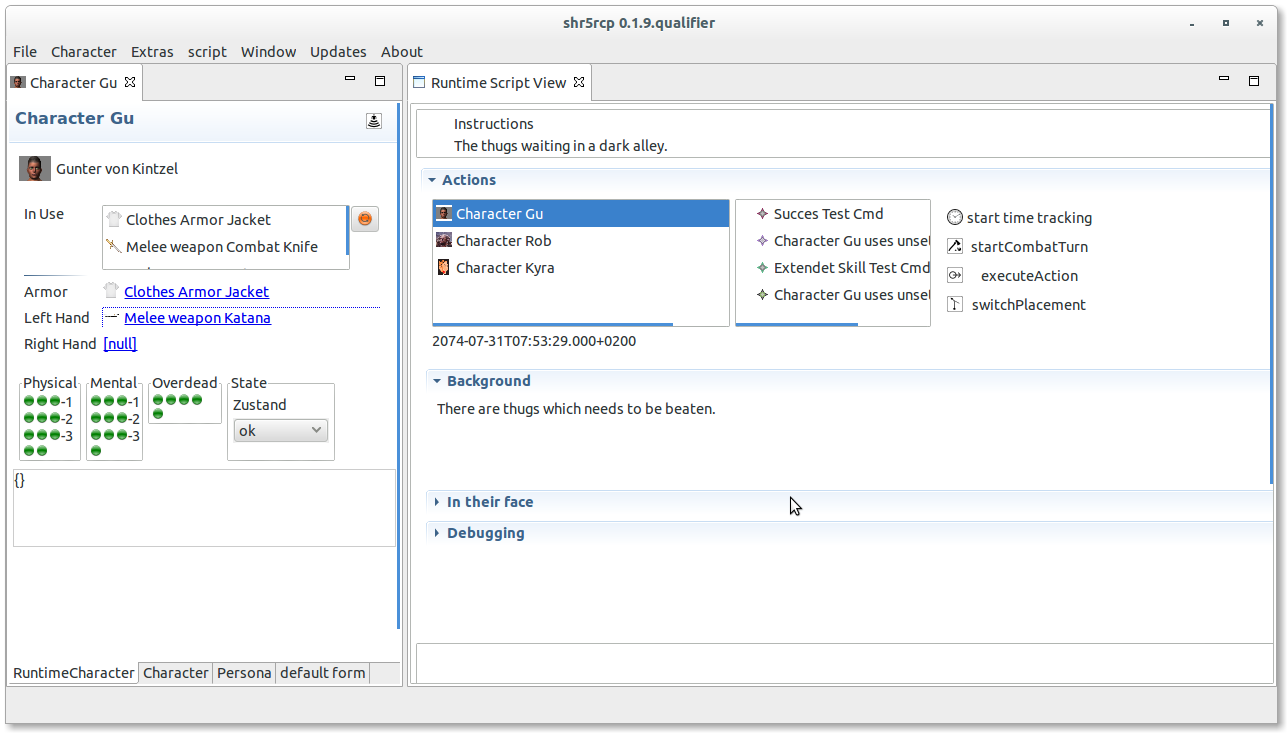
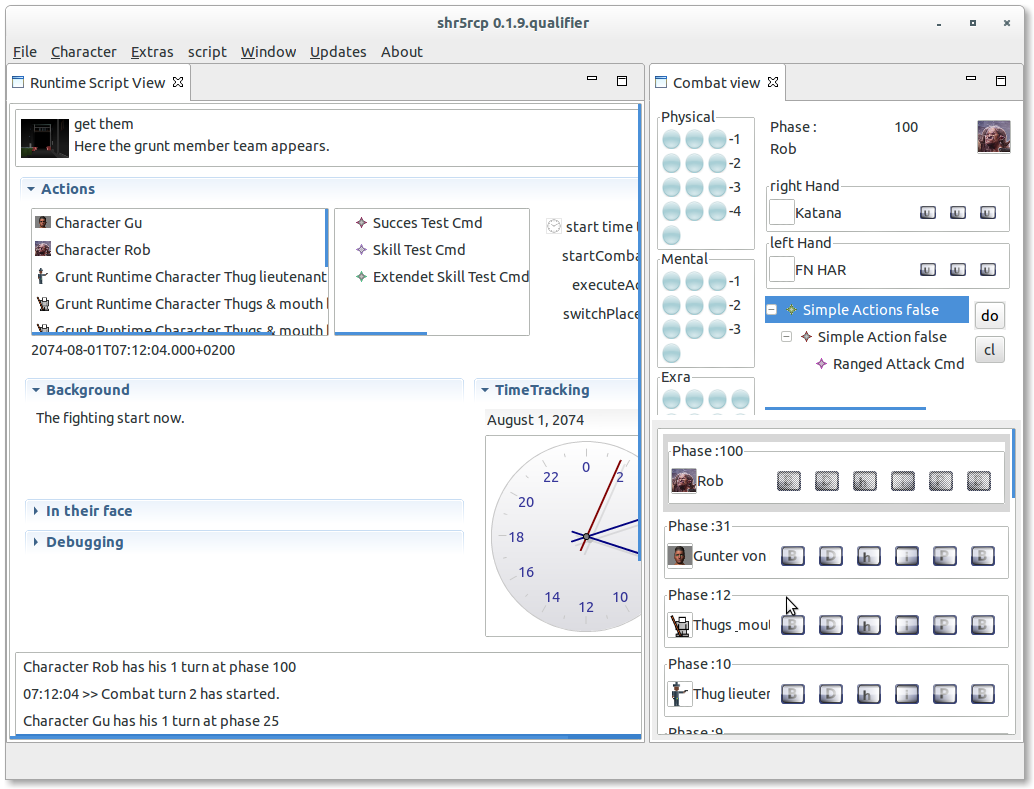
The runtime view displays the current placement/scene, all the notes, the time and the characters and the available actions.
As this is a gamemaster tool, in the action section you can test a character, start a combat or switch to a next placement.
You can also start the time tracking if you want to keep track of the game time. You can change the time factor, when a game minute is not like a real minute.
The action section displays all characters, the player character and the characters of the groups in the placement.
- start timetracking To let the game time pass you choose a real time to game time factor after that the clock will start moving.
- start combat turn Start a combat turn by selecting the combatants. See combat view for more details.
- execute action By selecting a character and a test you let the selected character execute an action like a skill test.
- send a message You can send a message the the selected characters device.
- switch placements When the placement is done, the players decide to move on, change the scene.
Currently you can execute the following actions :
- Skill Test
- Success Test
- Extended Skill Test (not completely working)
- Opposed Skill Test
- Defense Test
- Damage Test
- Melee Attack
- Ranged Attack
- Drain Test
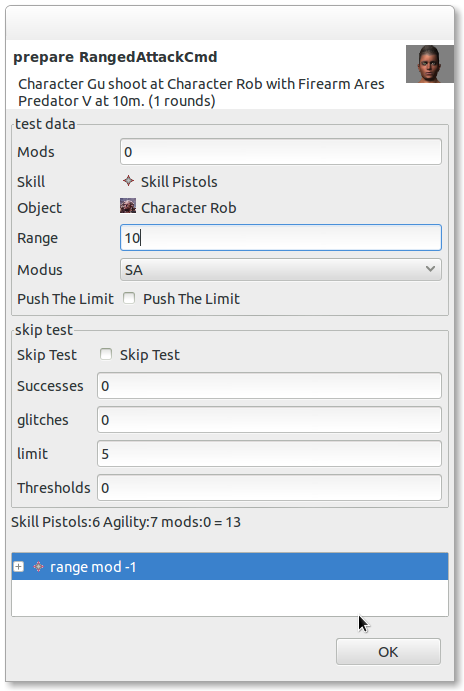
We prepare the test.
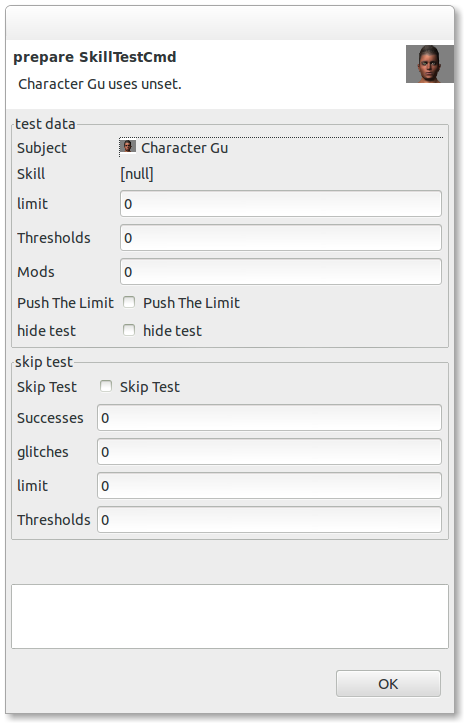
As you execute an action for a character, the subjects is filled, the test data group contains the properties for a test. When a character wants to use edge with the push the limit option you could check this, the edge will be used. When using with the web app and you roll a hidden test for a connected character the test will not be displayed in the protocol or notified to the player when checking the hide test checkbox.
When you want to define the result of the test you check the skip test and fill out the successes and glitches.
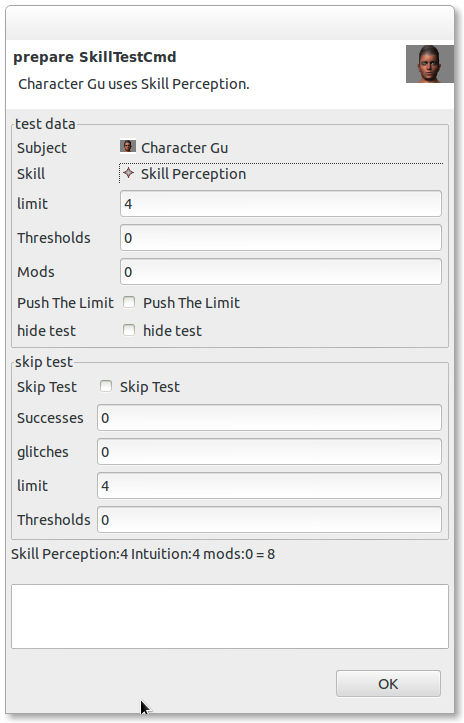
When you select the skill for the test, the limit is filled in by a rule of thumb, where ever the corresponding attribute is charisma it is the social limit, all other mental attribute the mental limit and finally the physical limit for all physical attributes.
On the bottom the dice pool is explained.
After the software has roll the dice you could use edge for the second change by selection the checkbox.
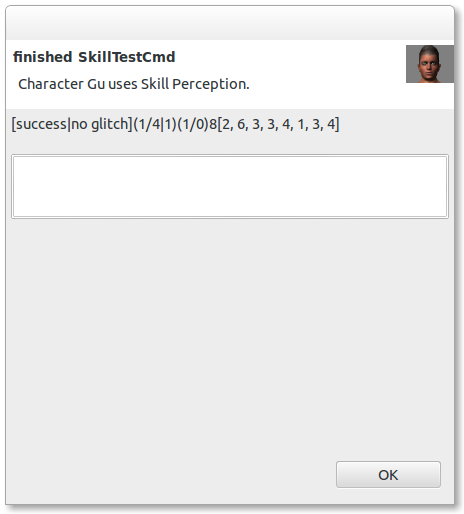
After the test, the result is displayed.
When a ranged attack is initiated in the combat sequence the weapon is defined. With the weapon the limit and if you have set the runtime properties of the item also the skill is defined and filled in by the software. You need to set the target and it's range, the software will calculate the range mod.
In combat the time tracking is disabled but a combat turn counts as 3 seconds as defined in the "core rule book".
When you start the time tracking the time moves on in the chosen factor, you may also change the time by hand, to keep track.
![]()
When you first add your player characters, the runtime representation is newly created so the character are like naked with a double click on a character you can open and configure it.
Configure the character by adding stuff from it inventory and put some of the as armor, which is the clothes and if you want take some items in your hand, see more detail in the combat view section.
Here you also can see the current state of the character like the condition monitor or the current game play mods. Since the 0.2.2-rc The players can login to a webapp and configure their runtime repesetation by them self.
Each fireweapon has a magazine you can choose in the runtime section, when a magazine is plugged in the weapon,
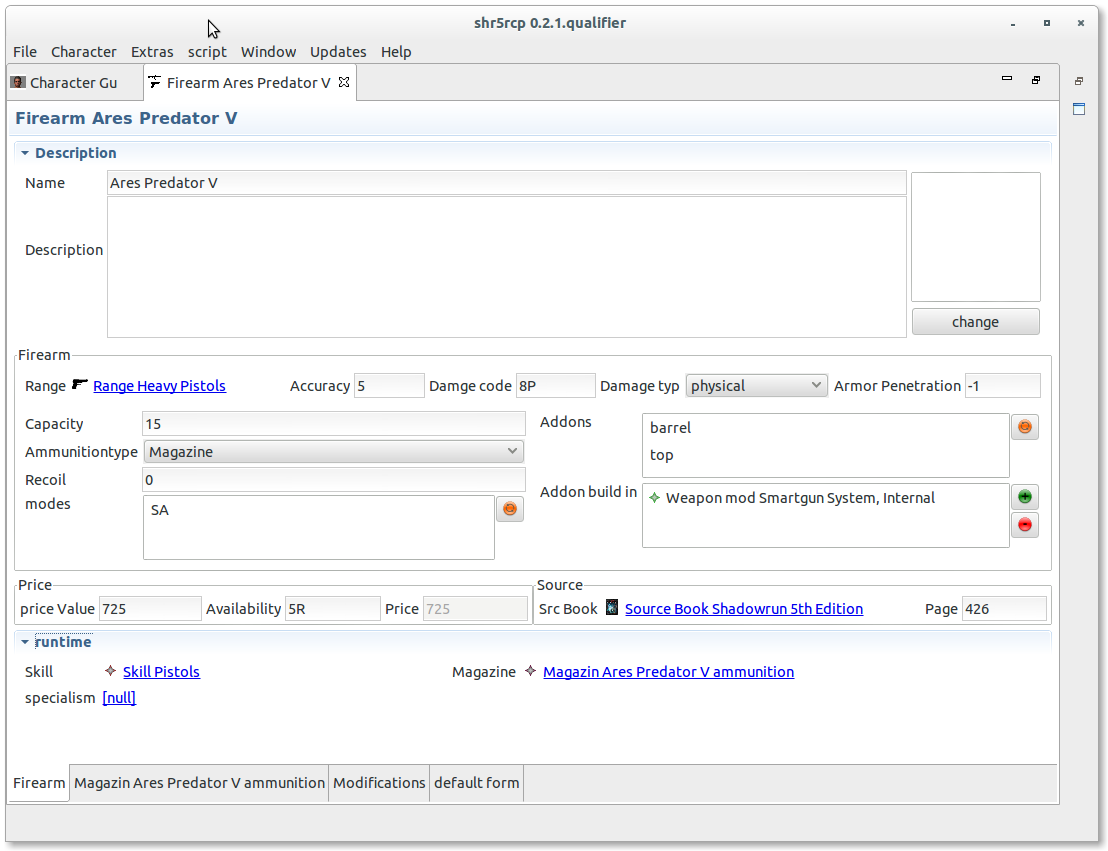 you can access the magazine as own page of the weapon, and there you can load you weapon with your ammo.
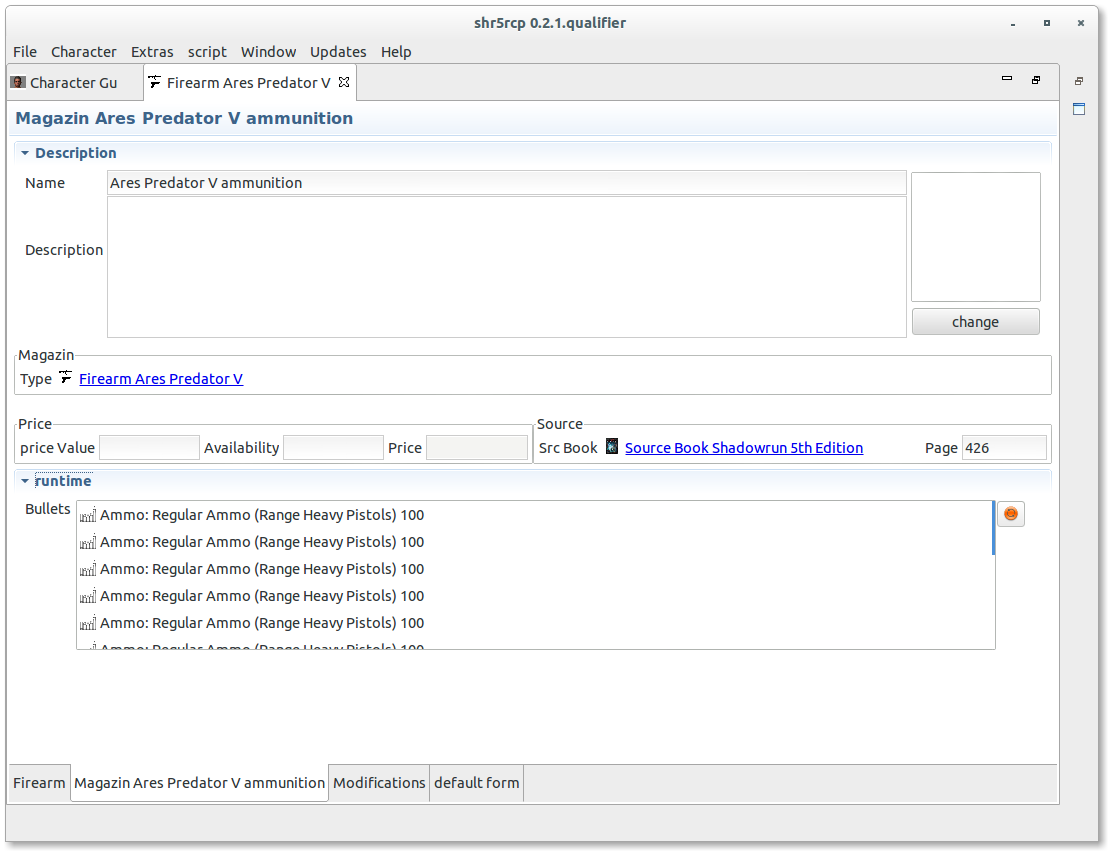 Which the manage button you can choose bullets from the ammo you have in you inventory. Only ammunition of the matching type can be used, also the ammunition is "post payed", when you use the ammo by firing your weapon the bullets will be removed from the magazine also as from the ammunition object (which keeps track of the number of bullets of this type). This is also true for the spare clip object it self, so you can fill the clip, and use it when necessary.
The protocol stores all the informations happening, when a character make a test, when the group moves on or a combat take place. The history will be available for the whole playing session, and could be exported before a new game would be started. So with the protocol you have a basic description of how and what happens in the game.
For every test the state is printed in the protocol using the following code :
-
test :
[state](successes/limit|glitches)dicepool[roll] -
succestest :
[state](successes/limit|glitches)(nethits/threshold)dicepool[roll]
When it gets nasty and the combat starts the perspective changed a bit. After selecting the combatants the initiative roll is done and displayed as dialog, as player normally want to throw their own dices all ini result are changeable. (the seize option is currently not implemented)
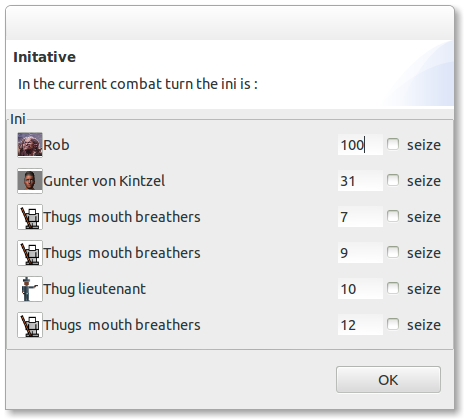
After setting the initiative the combat view displays the list of initatives, the current active phase is at the top where the active character can choose it's actions, the right and left and are displayed, a character might choose using the object, dropping or change it.
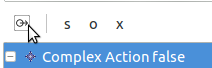
When using, the appropriated action is created, for a melee weapon a complex action and so on. This is the "step 1. declare", of resolving combat.
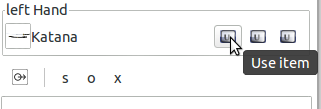 The item in a hand can by also dropped or replaced with an other from the inventory.
After selection the combat turn actions executing will start the actions. Which is "step 2. attack", where you select a target for the attack and the basic properties like the basic test modifications.
 The chosen combat turn actions are executed when pushing the execute action button on the actionbar.
The resolving of the action will will produce the series of tests like in the defense section decribte. First the defending character can roll a defense test, when not defending a damage test.
The probing sequence is interrupted by dialogs in which you able to set the necessary information or change it when for example the play has thrown is own dice.
There is a sequence of dialogs for one test :
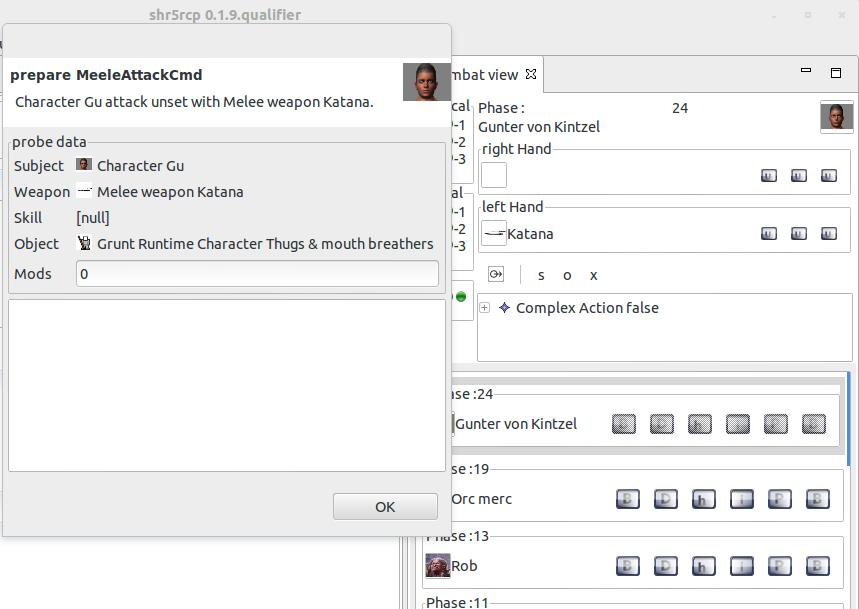
- prepare the test
- before execute
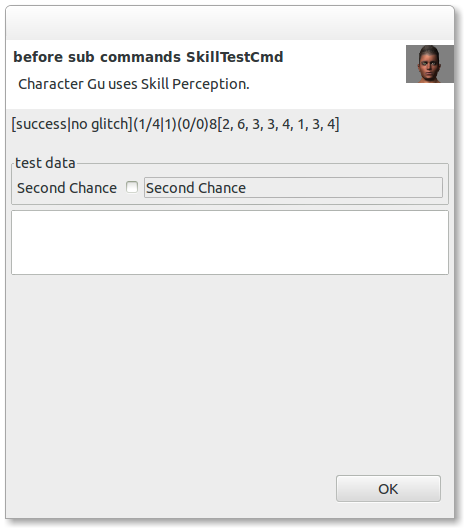
- before subcommands
- after execute
Also are some commands contains in others, when shooting at a target and having success, the target need to execute a defense test which is a subcommand of the attacking command. The damage test would be also a contained in the attack.
Take an example, where Gunter attacks one of the Thugs, he uses his Katana in the left hand to attack, in the prepare dialog we choose the object of the attack, the Thug. The skill is defined by the Katana Gu uses so we don't need to choose it. We could define dice pool modifications the program is not aware of.
After these the attacking test is done and the result is displayed, the number of net hit will be used in the following tests.
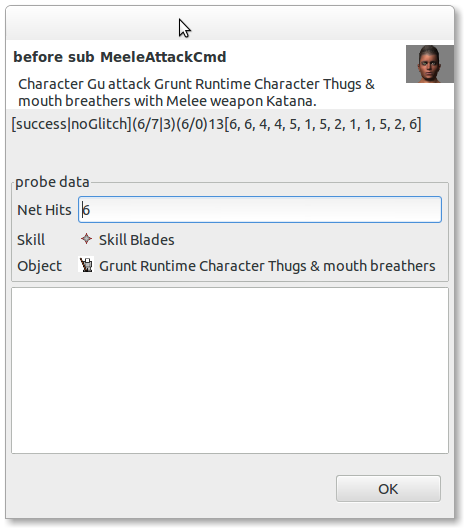
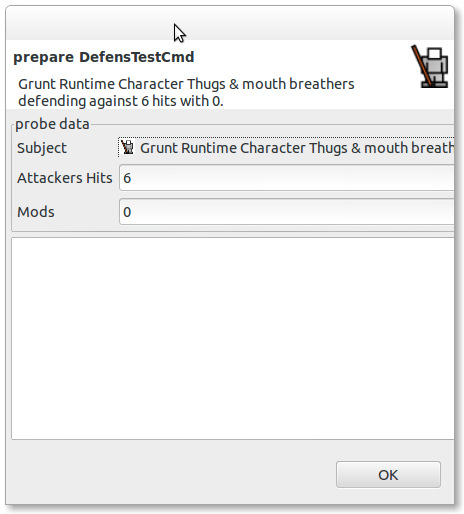
As Gu has 6 net hits in this test the Thug need to make at first a defense test. As it is also a test the probing sequence start with the prepare dialog of the defense test. The number of attackers hit are filed from the attack test.
And the defense test is rolled, where the poor Thus has only one success.

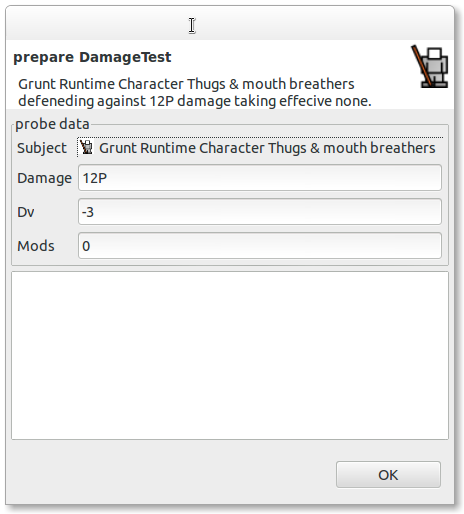
Which means a damage test need to be done. It is a new test, so in the prepare damage dialog the calculated values are filled in.
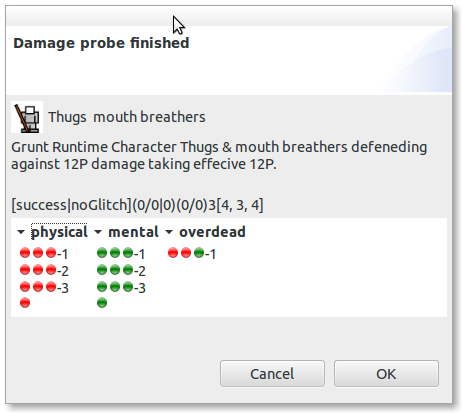
After rolling the defense test, the damage is applied ad displayed. The test is finished.
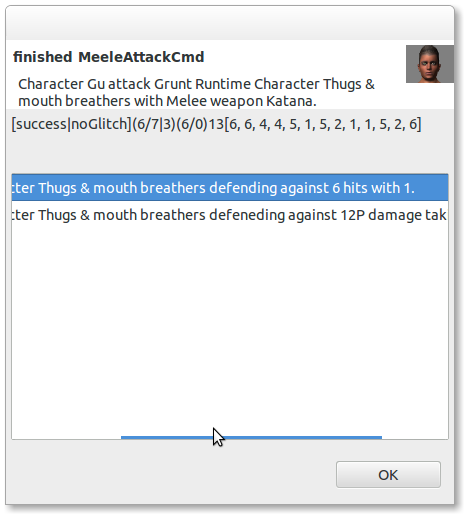
Now the melee attack has ended and is displayed in the finished dialog.
With the dialogs popping up it should be possible to mix the probing between program based and real life based dice throwing. Where the gamemaster could throw the dices with the program and the players throws real dices.