-
Notifications
You must be signed in to change notification settings - Fork 61
Example dApp Usage
Follow these steps to interact with the Polkadot Wallet snap example dApp. The source code for the example dApp is available as part of this repository. This guide assumes that MetaMask is installed and properly configured.
Click the webpage button labeled "CONNECT TO METAMASK"

Click the arrow to view the entire third-party software notice and, if you accept it, click the MetaMask "Third-party software notice" button labeled "Accept" to accept the MetaMask third-party software notice.


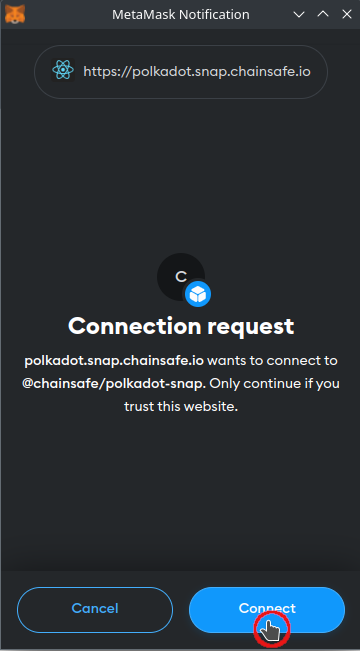
Review the connection request and, if you accept it, click the MetaMask "Connection request" button labeled "Connect" to accept the Polkadot Wallet snap connection request.
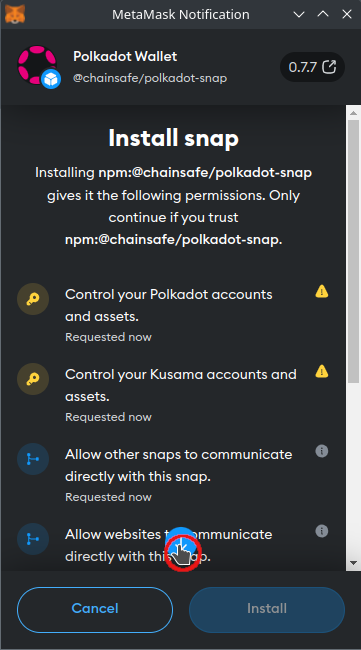
Click the arrow to view the entire list of permissions required by the Polkadot Wallet snap and, if you accept them, click the MetaMask "Install snap" button labeled "Install" to begin installing the Polkadot Wallet snap.

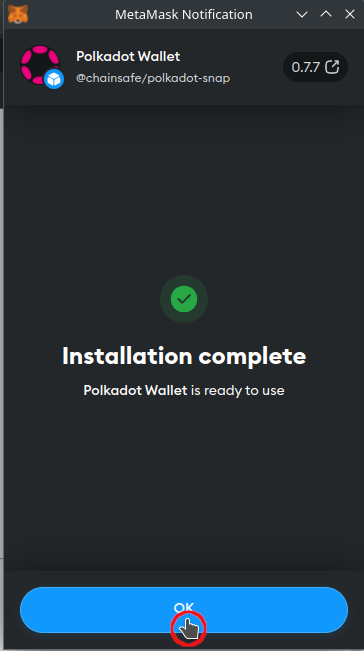
Because the Polkadot Wallet snap has permission to control accounts for the Polkadot & Kusama Networks (whose tokens carry real economic value), it's necessary to review and confirm this elevated level of access. If you accept this elevated of access, check the boxes and click the MetaMask "Proceed with caution" button labeled "Confirm" to confirm the elevated level of access and install the Polkadot Wallet snap. Click the MetaMask "Installation complete" button labeled "OK" to continue to the example dApp.


The Polkadot Wallet snap is configured to default to the Westend Network, which is the official test network of the Polkadot ecosystem. Notice the address & the public key for the account that were derived using the entropy from your MetaMask seed phrase. The address will change depending on the selected network - for this example, only the Westend Network is used. The public key does not depend on the network and will always be the same. As with all asymmetric cryptography systems, the public key is complemented by a private key, which will be used to sign a message in the next step.

Type a message of your choosing in the example dApp's "Sign custom message" text field and click the "Sign custom message" button labeled "SIGN". Review the MetaMask notification that describes the action that will be taken and, if you approve, click the MetaMask button labeled "Approve". Review the resulting signature; click the "Message signature" button labeled "OK" when you have finished reviewing the resulting signature.


Go to the faucet for the Westend Network and enter the address (not the public key) for your account. If you are not a robot, check the box labeled "I'm not a robot" (the faucet for the Westend Network does not currently support robots 🤖). Click the Westend faucet button labeled "Get some WNDs".
Optionally, you can view the transaction (extrinsic) details for the faucet transaction. If you'd like to view these details, click the Westend faucet button labeled "See transactions details".
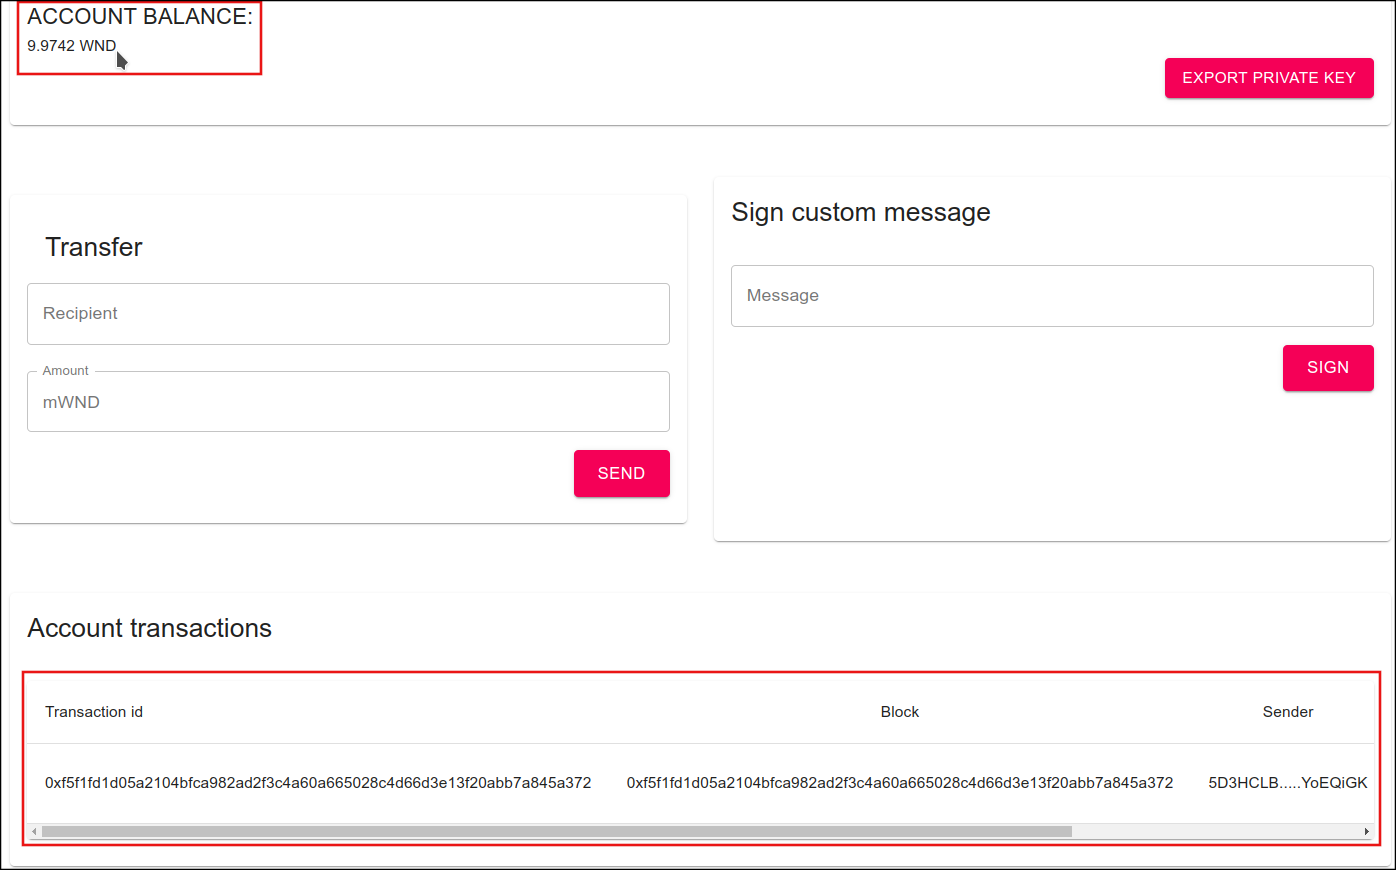
Return to the example dApp and review your account balance - it should be 10 WNDs.


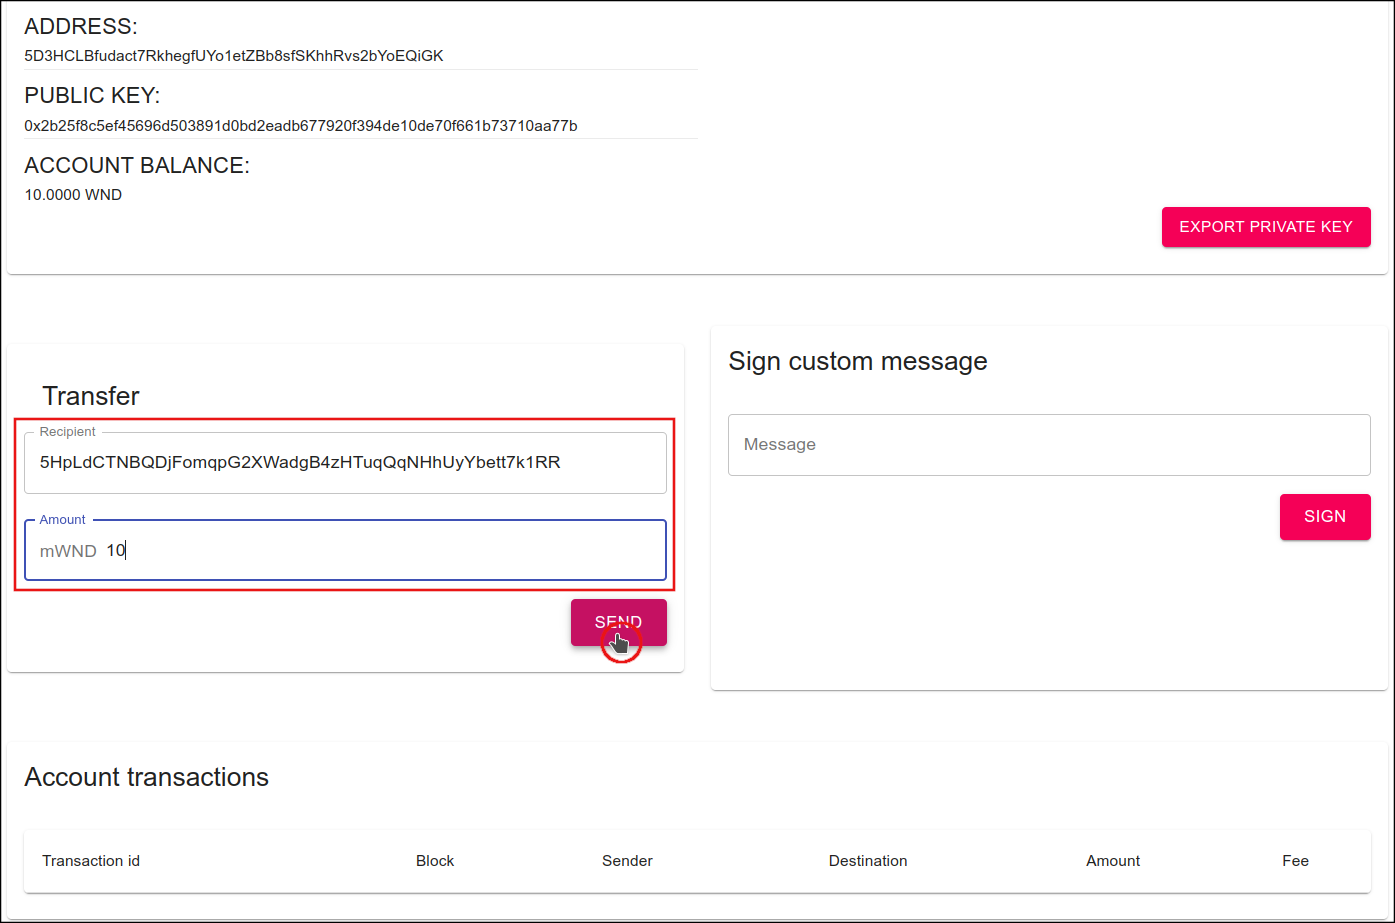
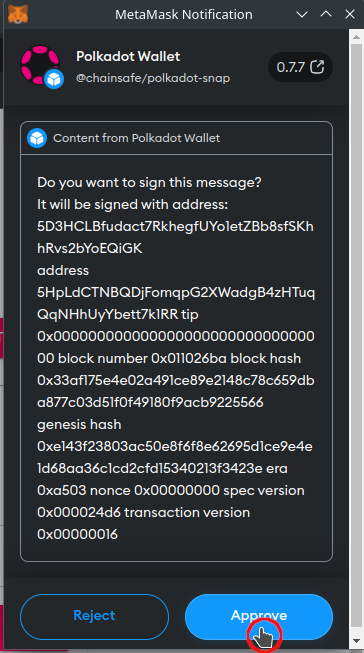
Enter a valid Westend Network address in the example dApp's "Transfer" text
field labeled "Recipient" - for example, use the address of the Westend faucet:
5HpLdCTNBQDjFomqpG2XWadgB4zHTuqQqNHhUyYbett7k1RR. In the "Transfer" text field
labeled "mWND" enter a relatively small (e.g. 10) number that represents the
number of milli-tokens to transfer. Click the "Transfer" button labeled
"SEND". Review the MetaMask notification that describes the action that will be
taken and, if you approve, click the MetaMask button labeled "Approve". After a
second or two, a dialog with transaction details will appear at the bottom of
the page. Several seconds later, transaction details will appear in the example
dApp's "Account transaction" section - if they don't appear automatically try
refreshing the example dApp (you will need to click the button labeled "CONNECT
TO METAMASK" again in order to refresh the example dApp).

That concludes the Polkadot Wallet snap example dApp demo. If you have any questions or believe you have found an error or bug, please open an Issue.
🦊 🫰 🔴
